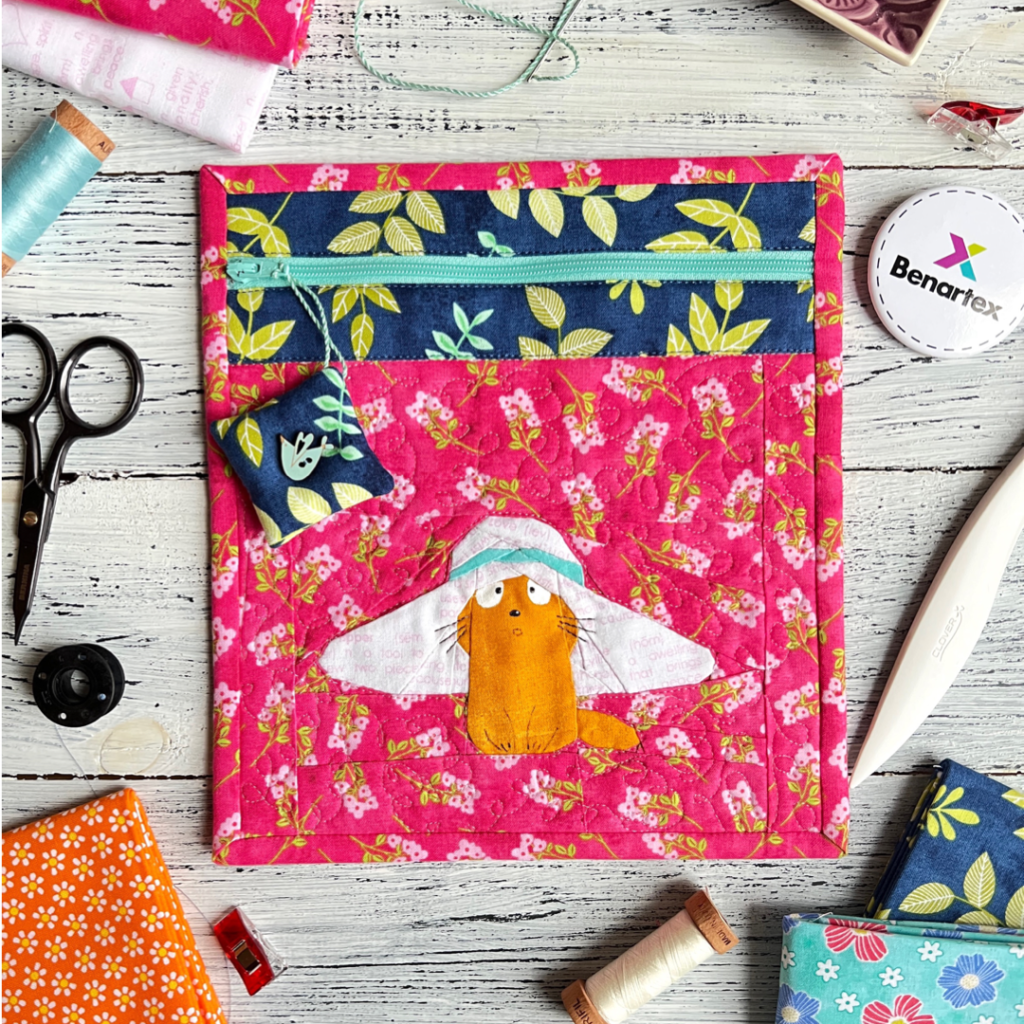
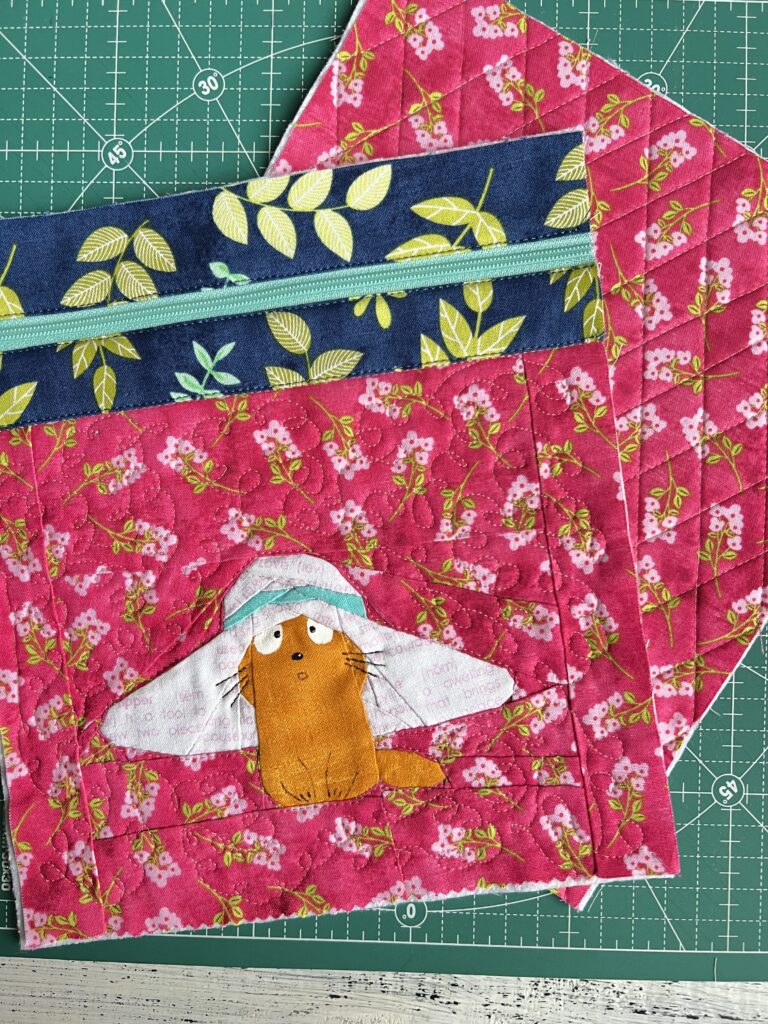
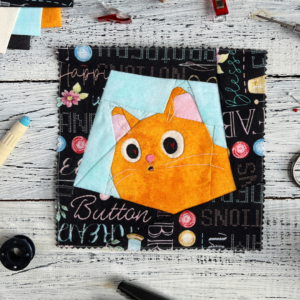
Are you ready to add some cuteness to your crafting projects? Look no further than the “I’m Cutie and I know it” pocket with a ginger cat block, featuring the beautiful Benartex Chalk Garden fabrics!
As a new Benartex Ambassador, I am excited to share my first project using these lovely fabrics. Follow along step-by-step as I guide you through the process of creating this adorable easy to make pocket with a zipper.
So grab your sewing supplies and let’s get started on this fun and free tutorial! Trust me, you won’t be disappointed with the end result. Click the link: Store Locator for your local shops for these super cute fabric collection by Cherry Guidry.
Let’s get started!
The overall process is sewing and quilting basics and classical piecing or FPP block using stitching by hand or sewing machine if you prefer. The basic process is to prepare block of your choice, cut the fabric according to the material list, work with interfacing and pressing, then put everything together!
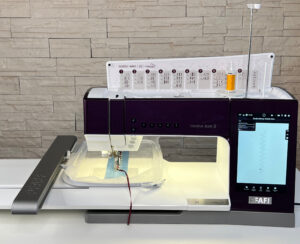
The block and back was machine quilting: front block free-motioning and the back with the simplest straight lines.
Fabric
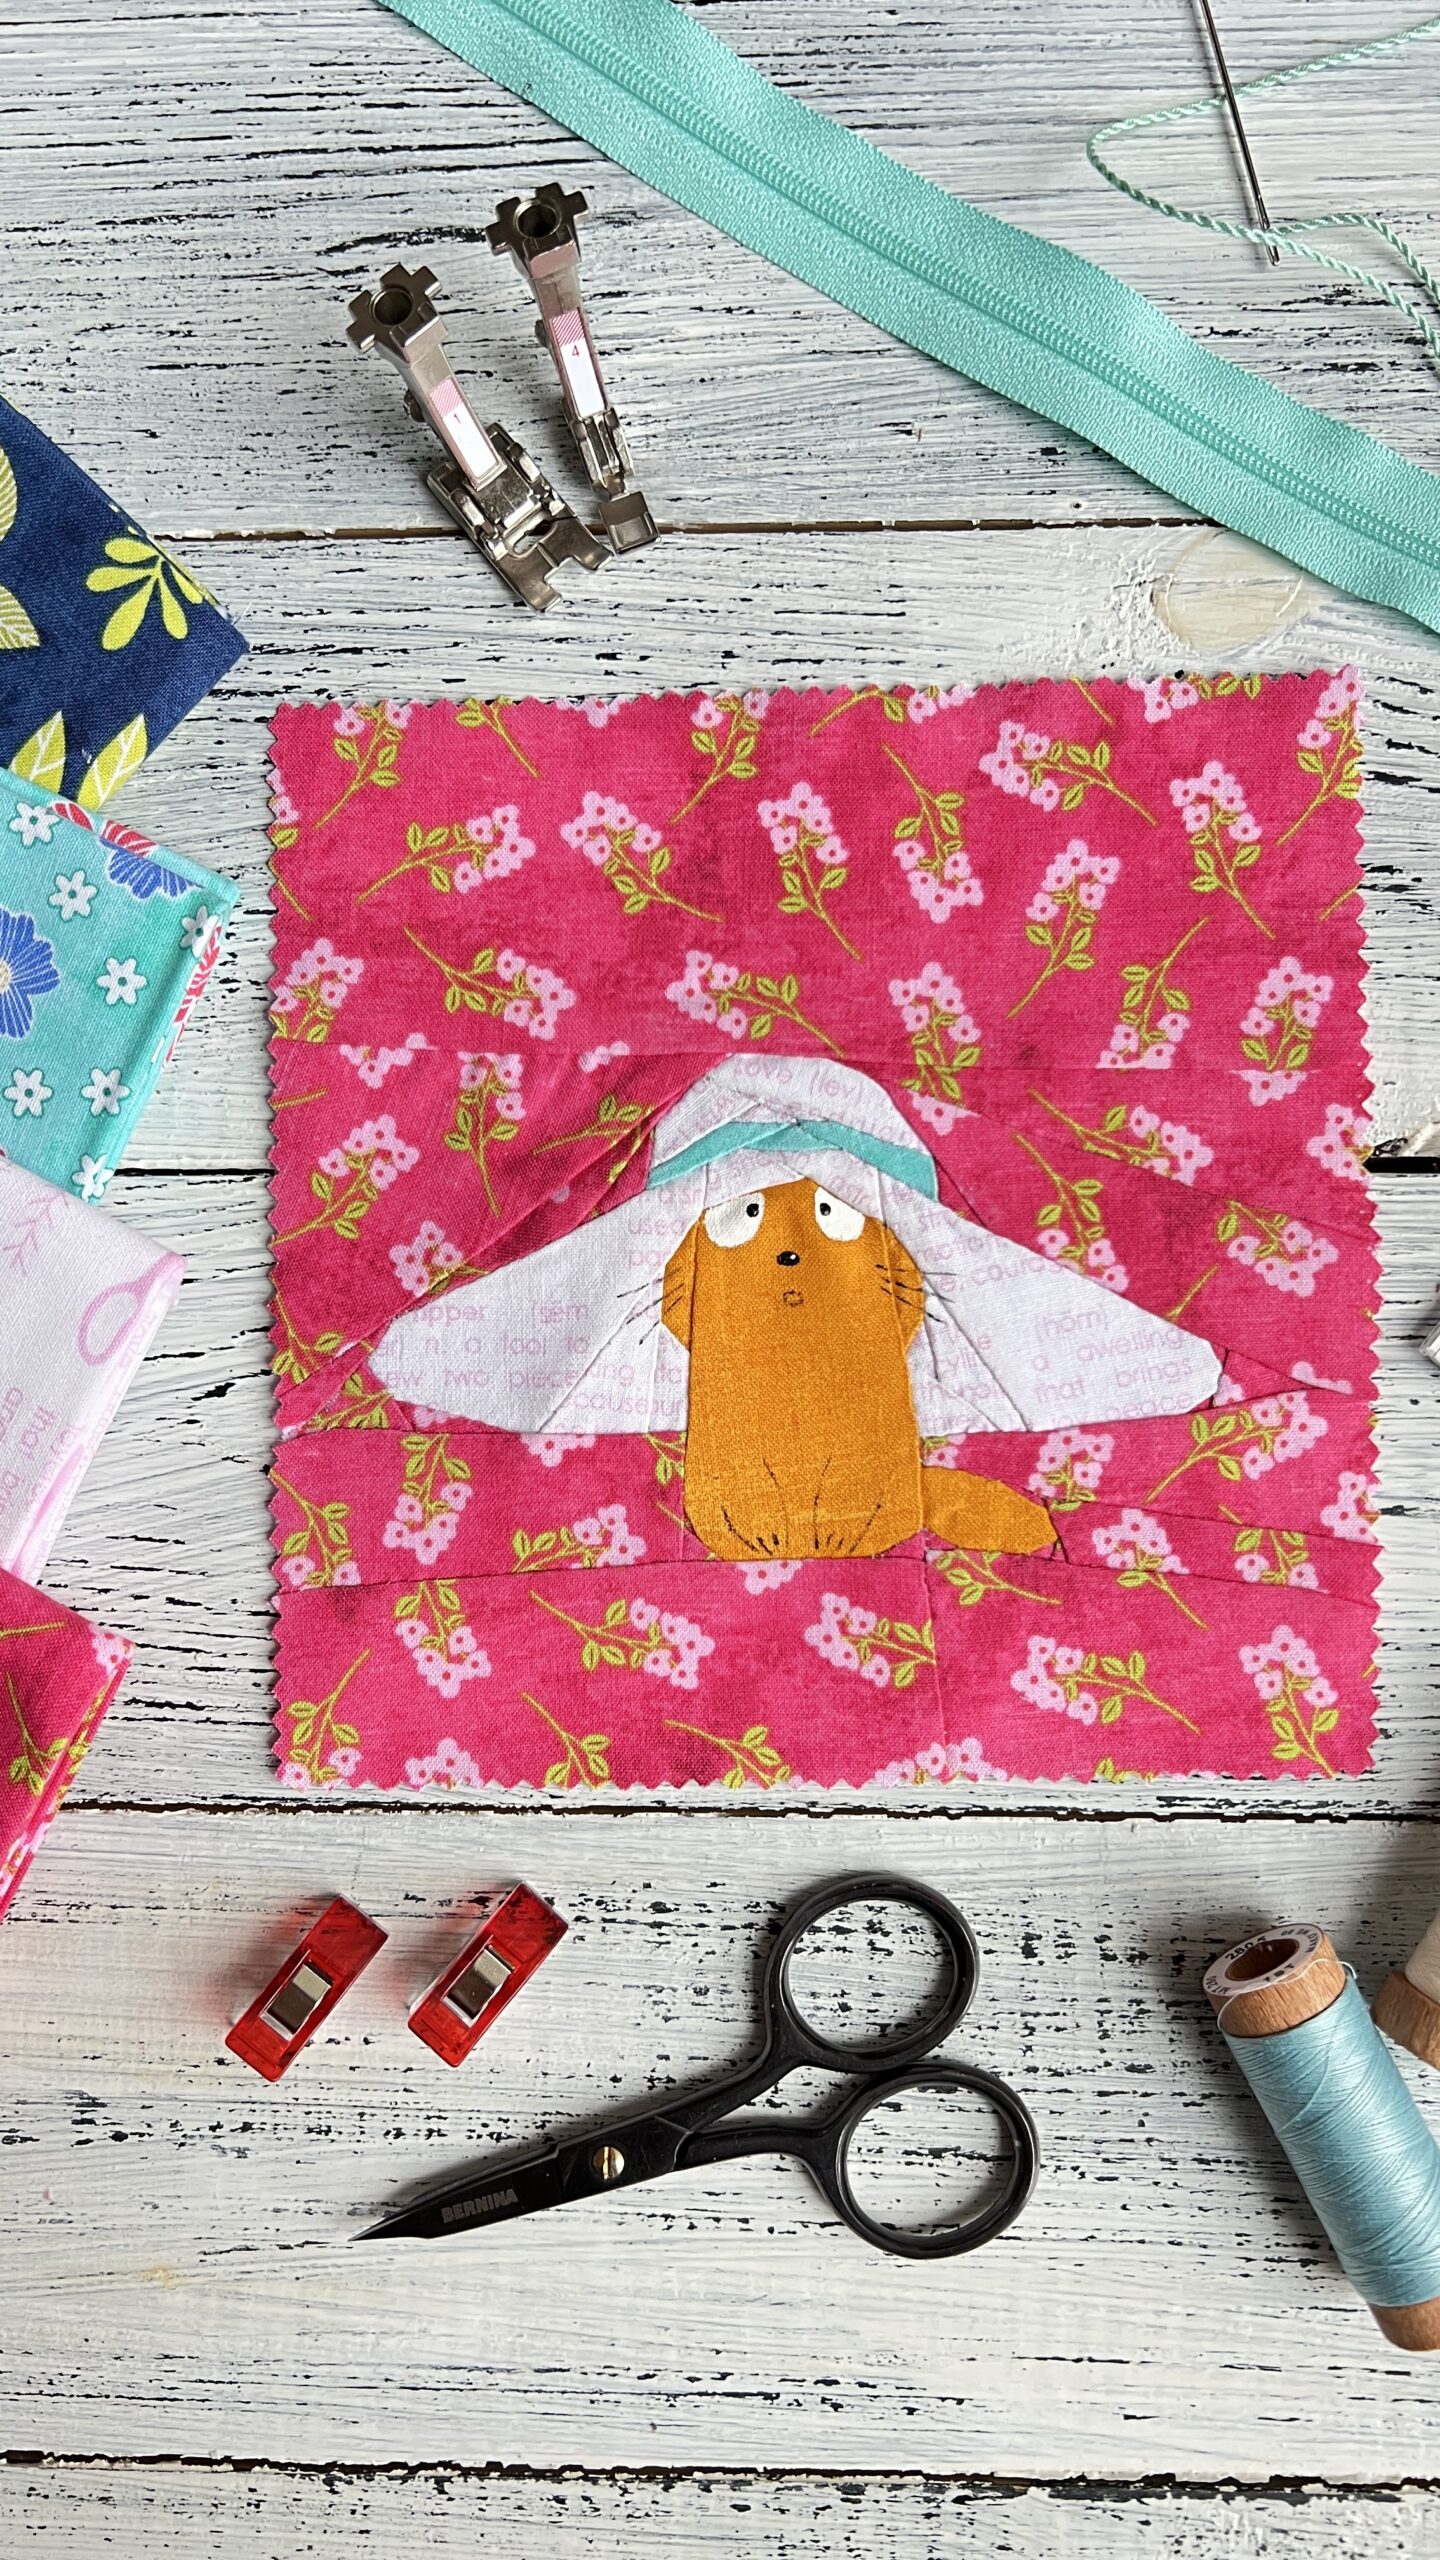
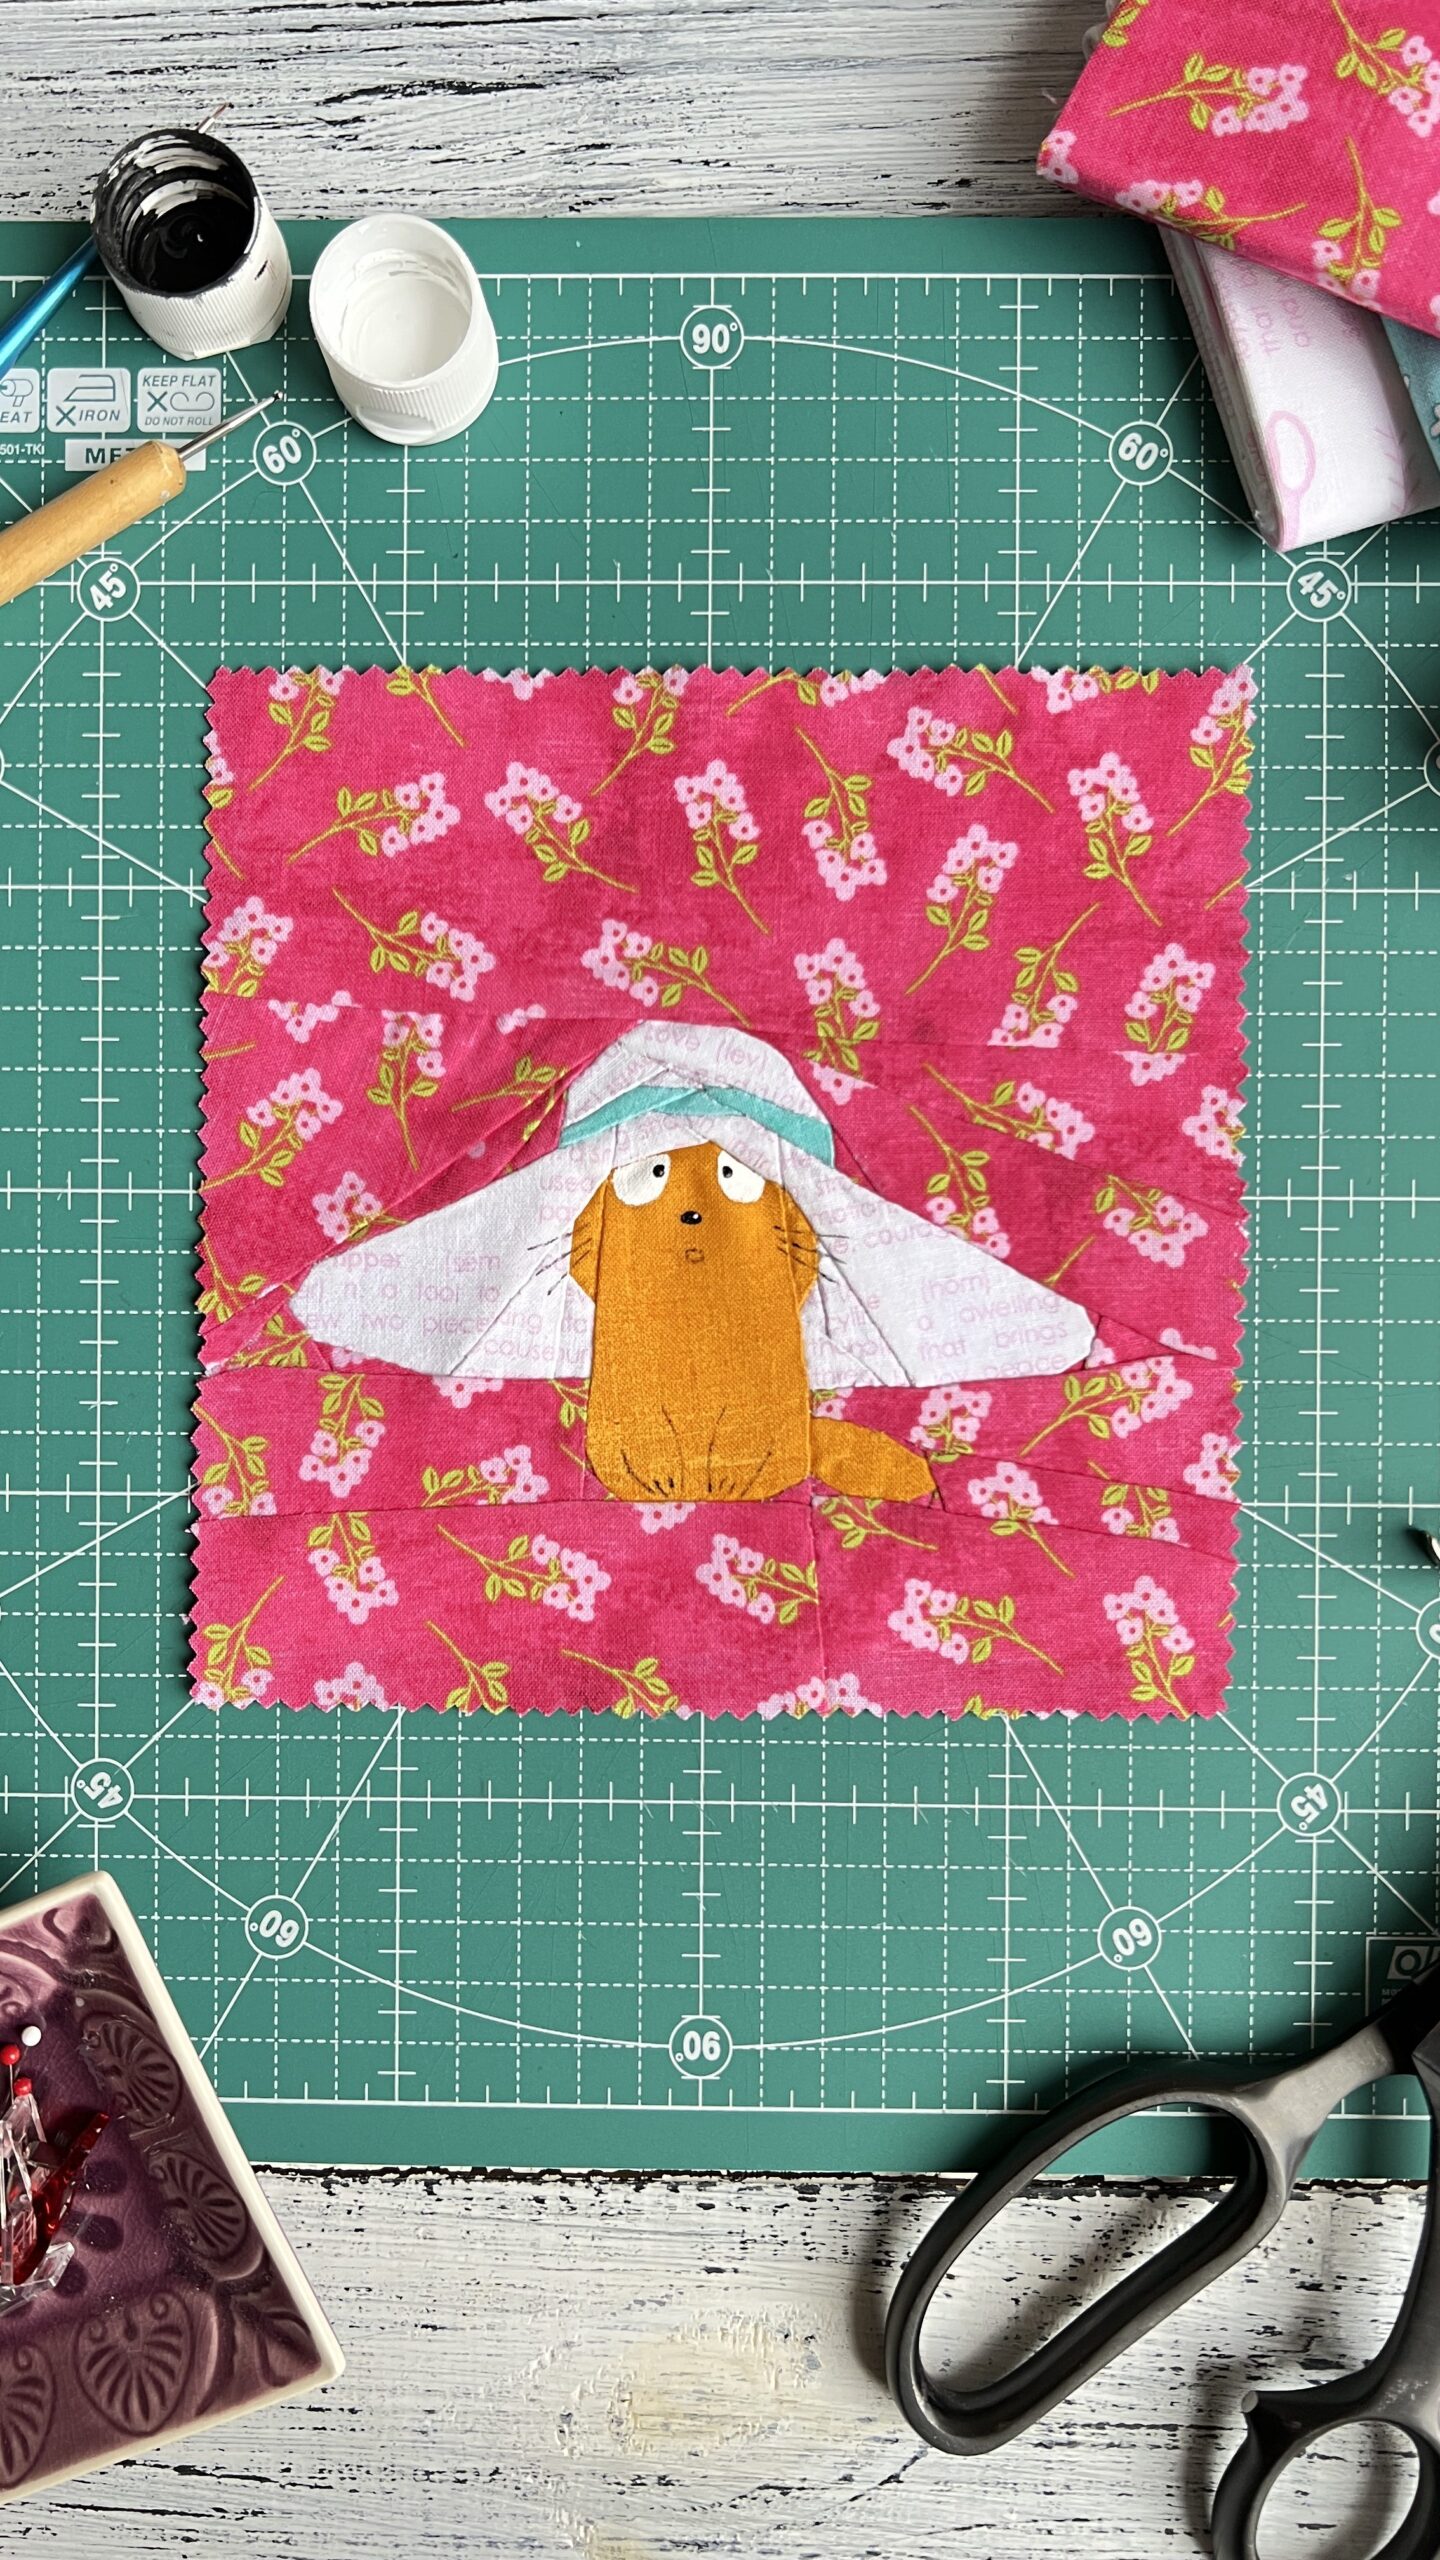
- 6” x 6“ ready block of your choice for the front side
- 6” x 1 ¼” 2 stripes of main fabric for block sides
- 9” x 1 ½ “ 2 stripes of lining fabric
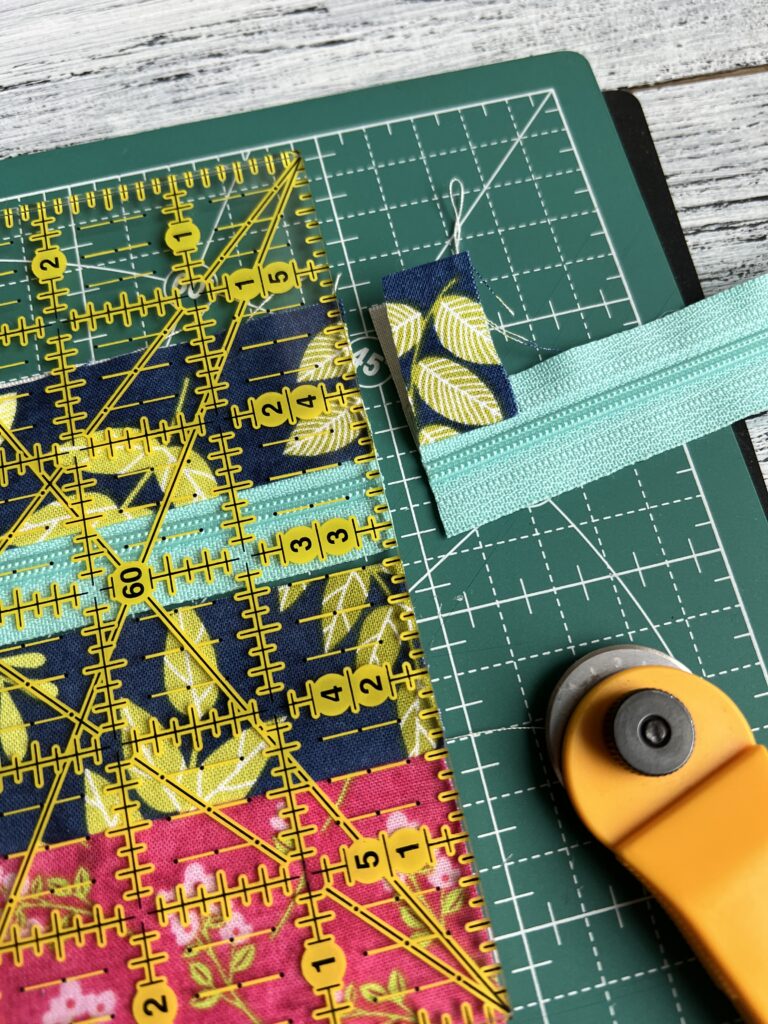
- 9” x 1 ½ “ 2 stripes of contrast fabric for zipper opening
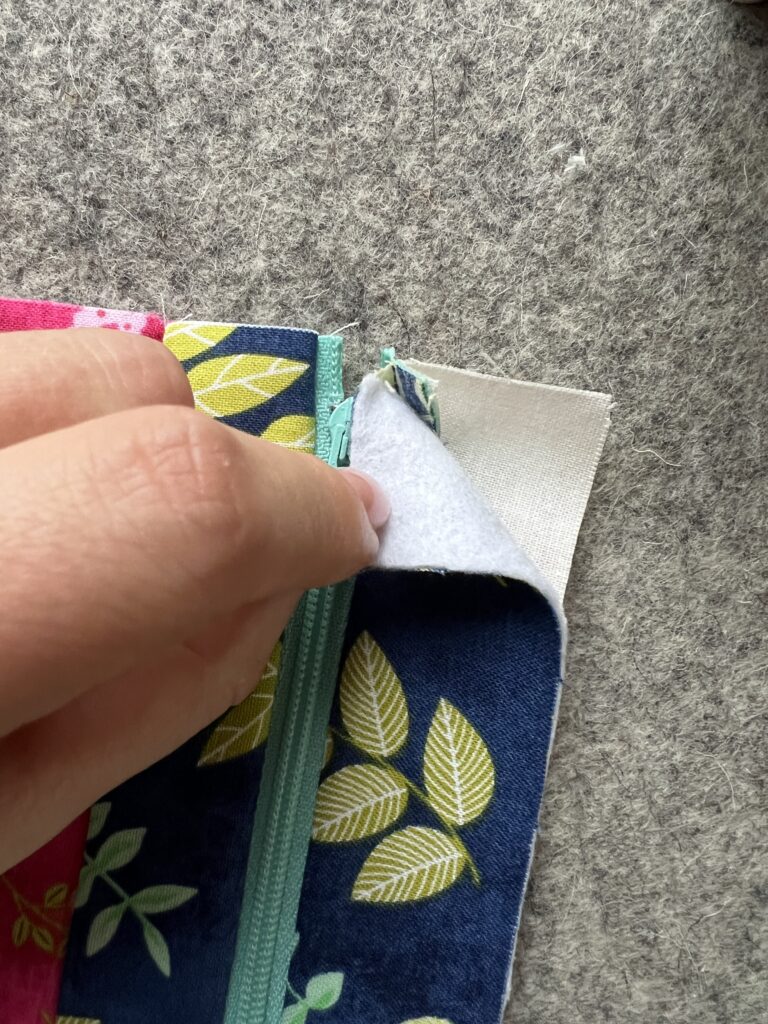
- 8 ¼” x 1 ¼” 1 stripe of one-side fusible fleece
- 8 ¼” x 7 ¾” 1 piece of each: lining fabric and one-side fusible fleece
- 9 ¼” x 8 ¼” 1 piece of each: front fabric, one-side fusible fleece and lining fabric
- 1 ½” x 44” 1 bias strip of main fabric
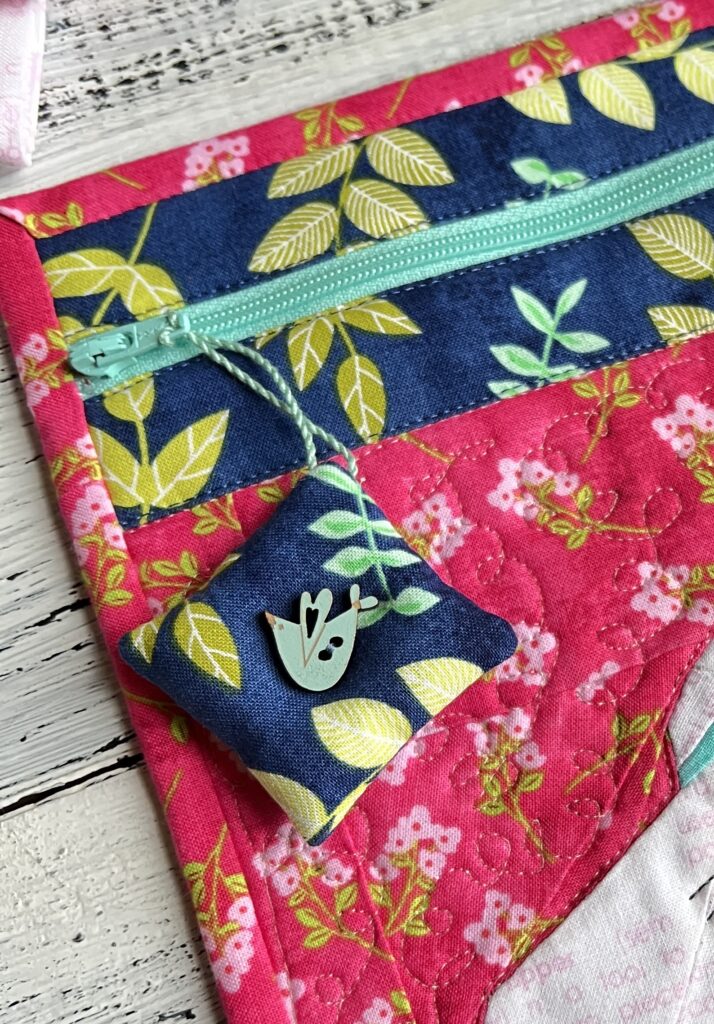
- 2 ¼” x 2 ¼” 2 pieces of contrast fabric for a pin pillow (optional)
Threads
- piecing thread (40 wt)
- embossing threads/yarn for decorative cord (optional)
Notions
- 1 zipper 9” length
- BERNINA Feet#1 
- water-soluble marker or Hera fabric marker (such as Clover Point 2 Point Turner, optional)
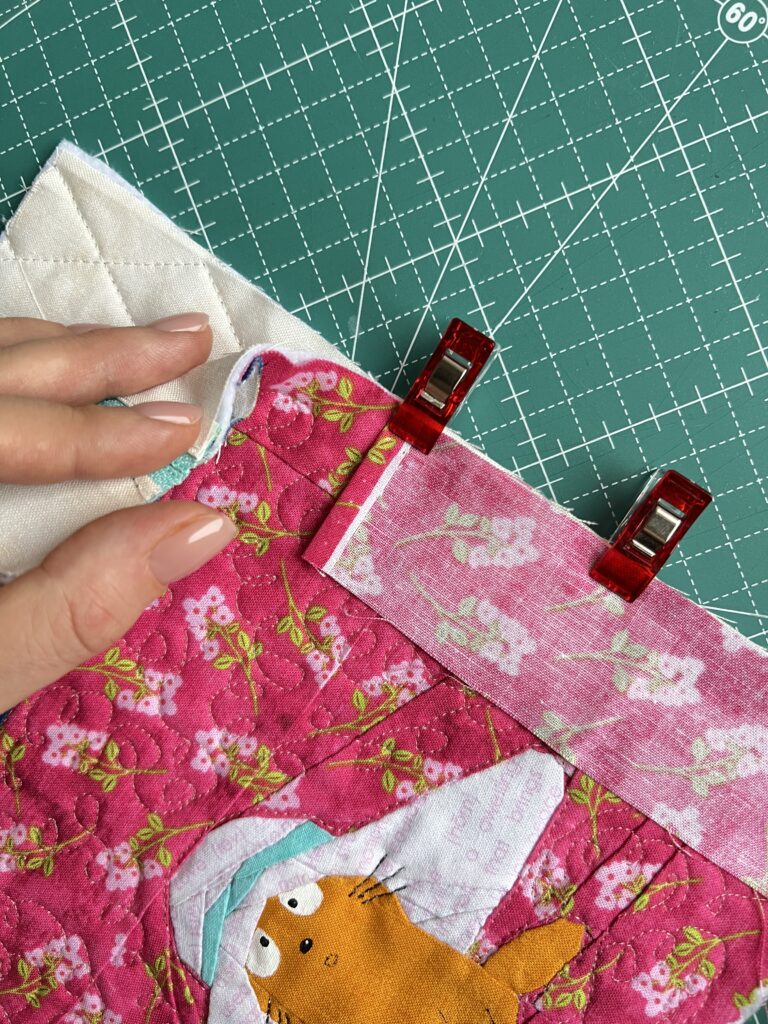
- wonder quilting clips
- quilting ruler, sharp scissors and rotary cutter
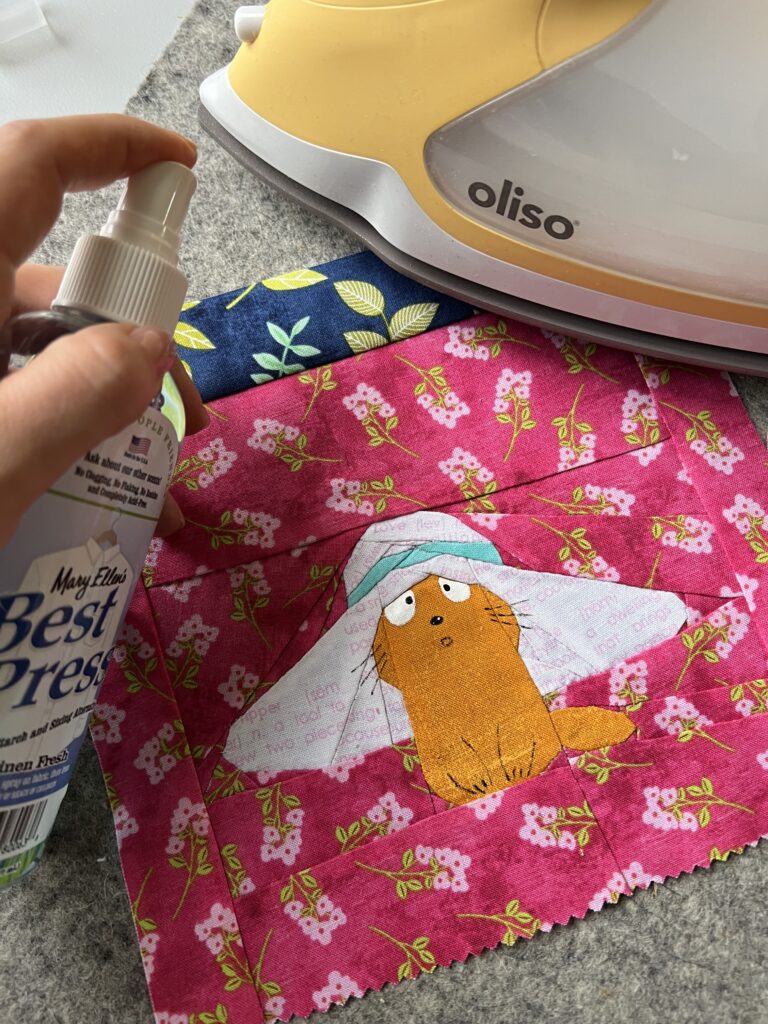
- Best Press spray for easy ironing (optional)
- wadding and a decorative button for a pin pillow (optional)
I made a 6″ x 6″ block with a funny new character. Fabrics I used: MARIGOLD for a kitty, MAKER DICTIONARY WHITE/PINK and TURQUOISE for the hat; for bias, front and back sides as a main fabric I picked SPRING HOT PINK. To make an accent for zipper opening I used FERN NAVY piece.
You can find block right here just click: “I’m Cutie and I know it”.
To get 25% OFF use a promo code IMCUTIE
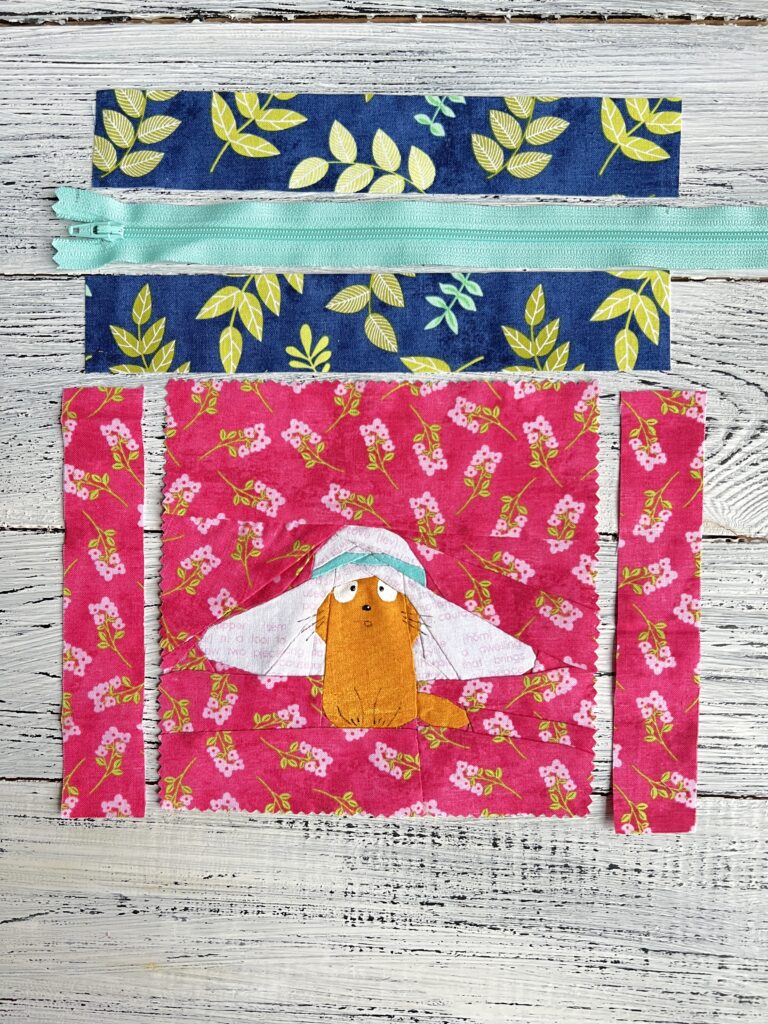
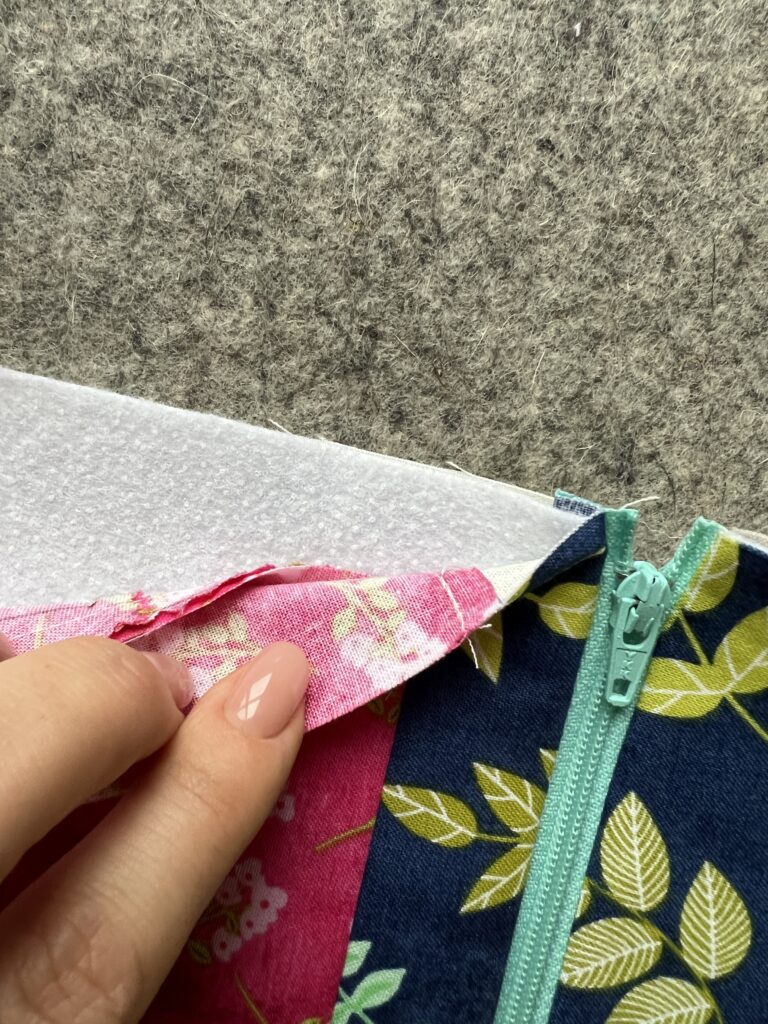
Step 2 Clip block and board stripes with right sides together and stitch with ¼” seam allowance. Press.
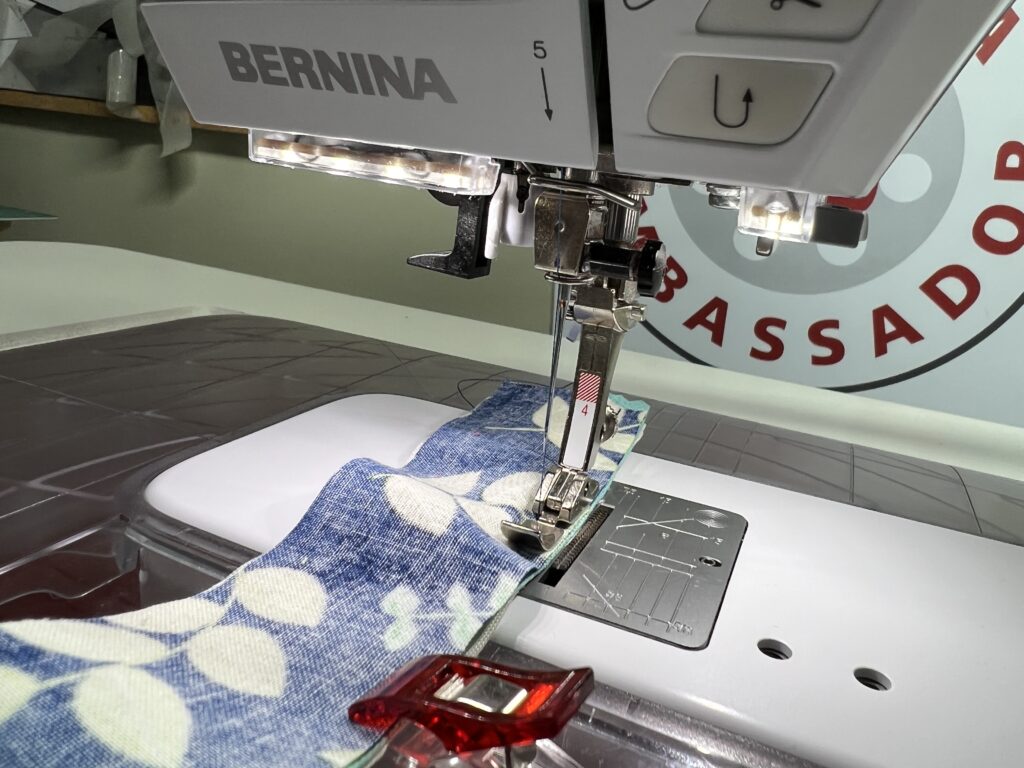
Press with steam.
If any questions or help please don’t hesitate to text me on my Instagram
Happy quilting!!!
Always yours,
Olesya
One Response
This is sew cute. I hope I can make several of these. Wish it were in pdf.