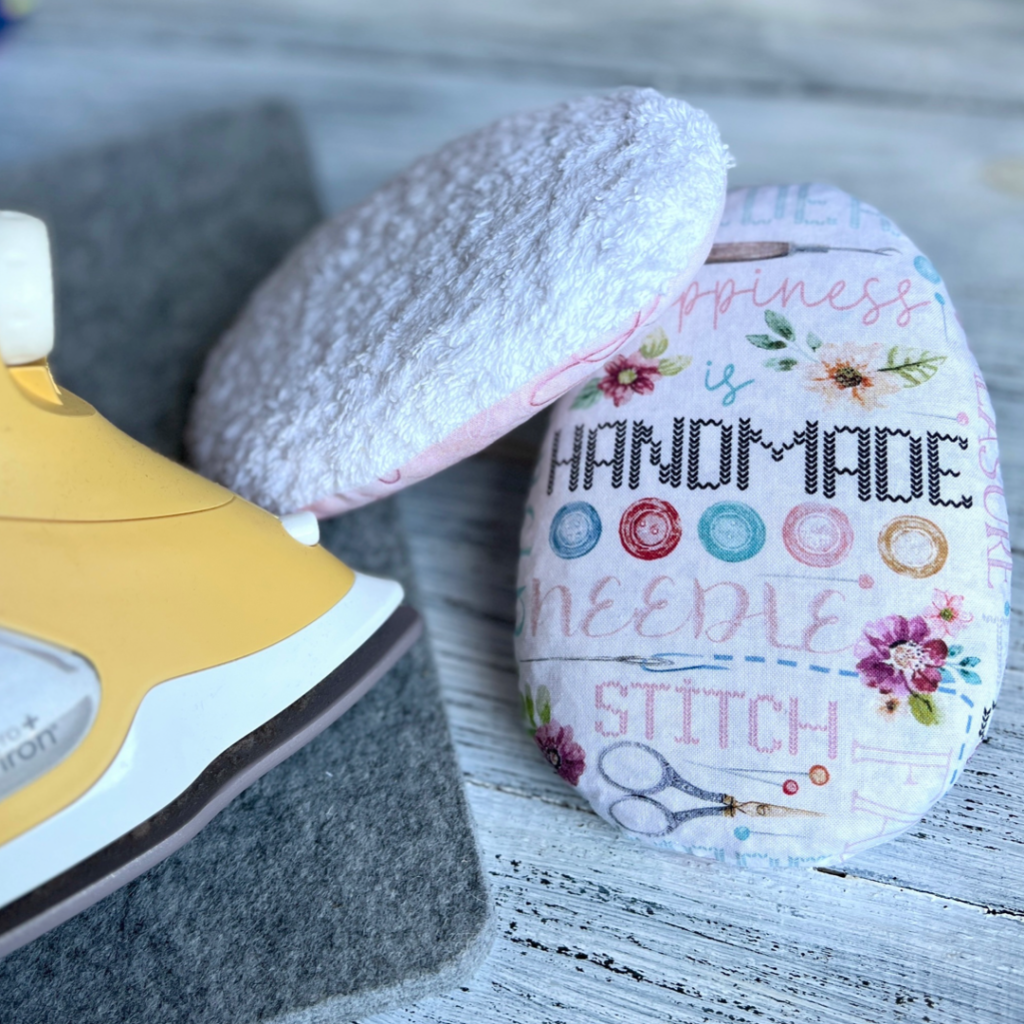
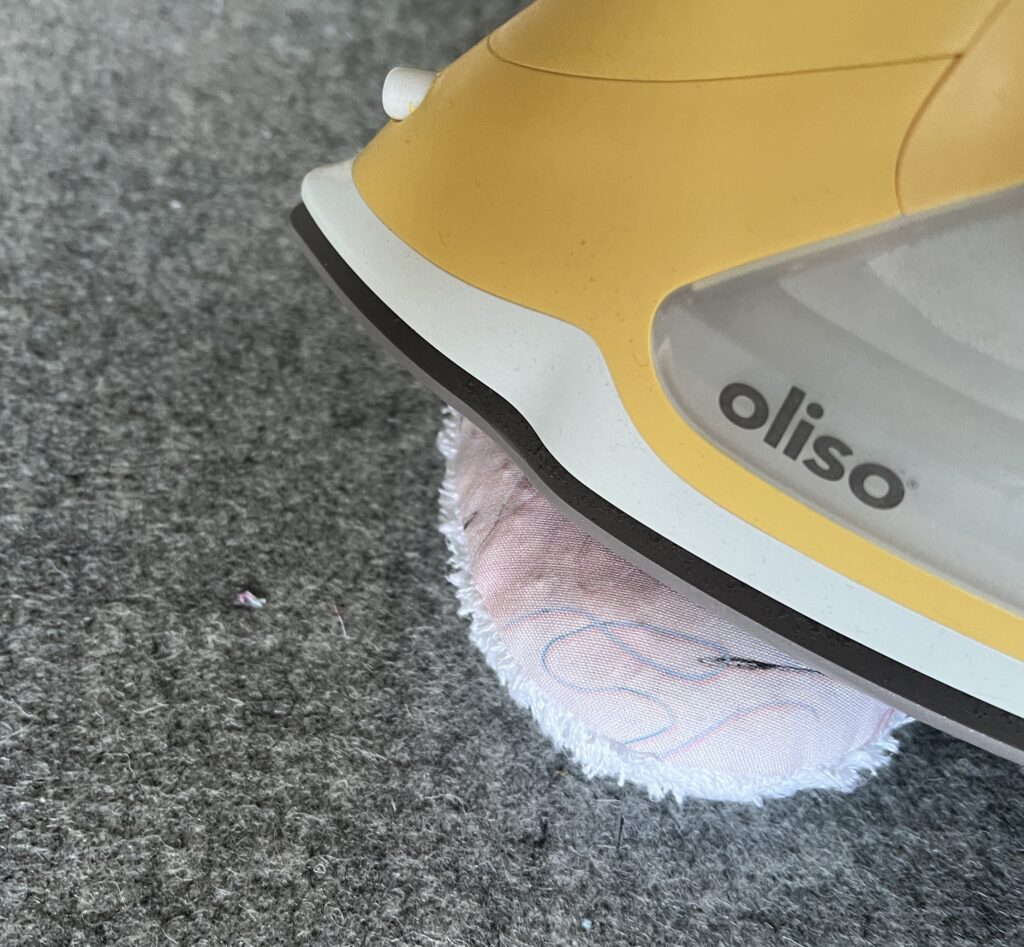
The pressing ham, known by different names including tailor’s ham and dressmaker’s ham due to its shape, is an elongated object featuring a narrower “nose” compared to the wider “seat.”
This unique design allows us to press items without flattening them. Such tool is perfect in garment pressing for curved areas like darts, sleeves, cuffs, collars, and waistlines. For instance, when inserting darts into a garment, it helps create shaping that mimics the needed contours. Resembling the shape of a ham, it can be adapted for various garment sizes and tapering.
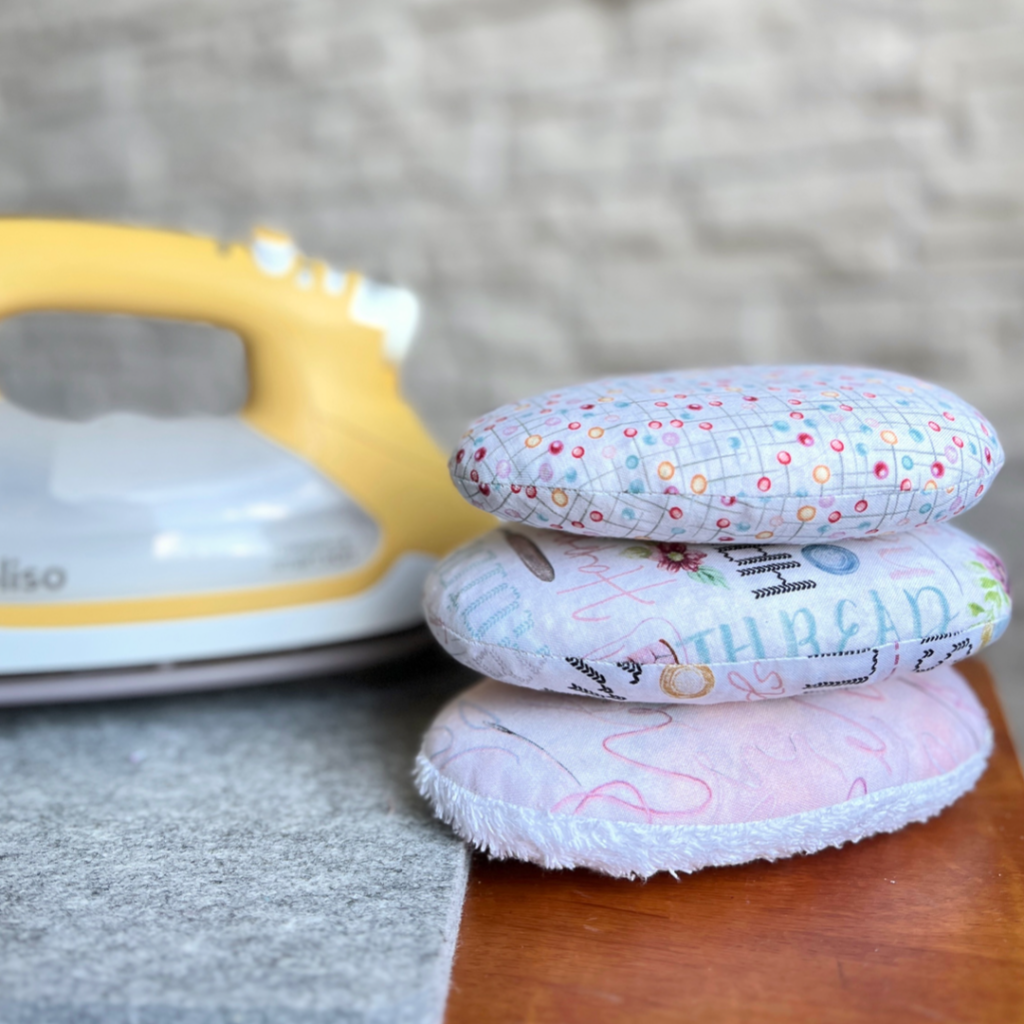
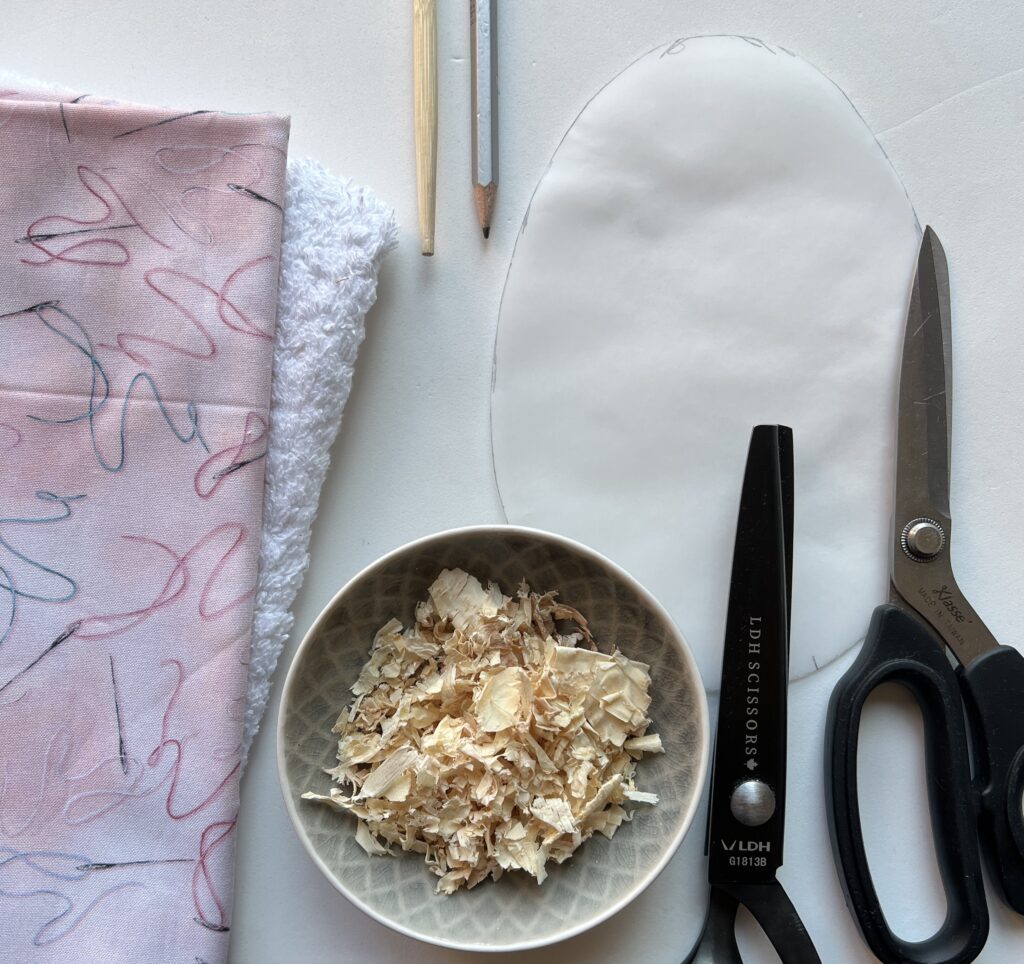
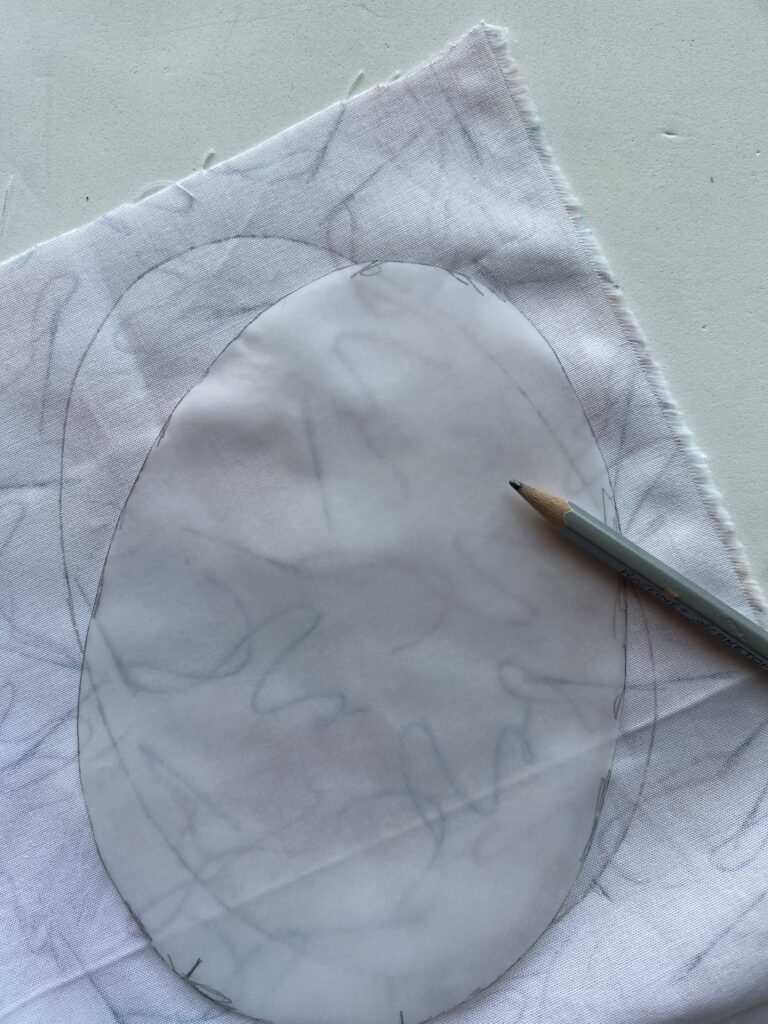
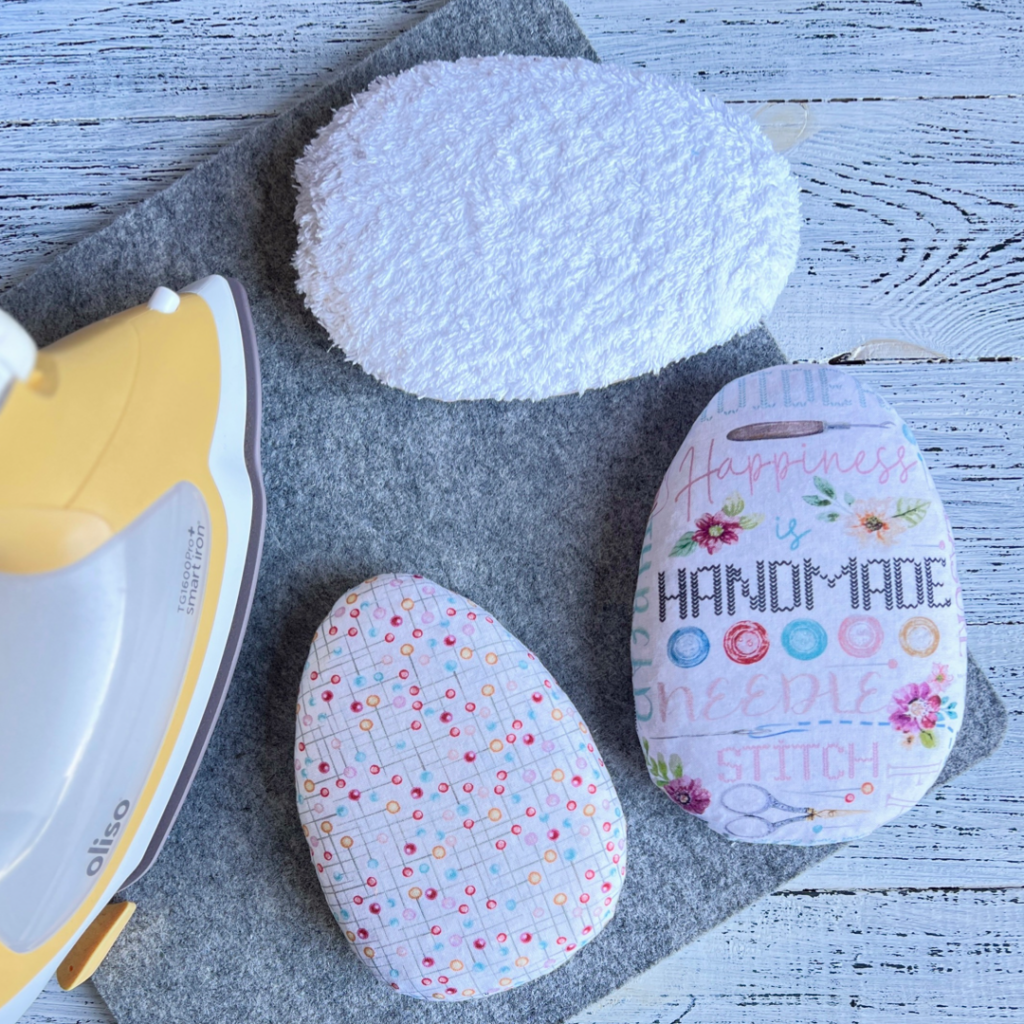
In my tool arsenal I have several such cushions (hams). My favourite and most useful shape is egg in 6” x 5 ½” x 1” size. And today I’m going to share with you the process of its creation!
So let’s get started!
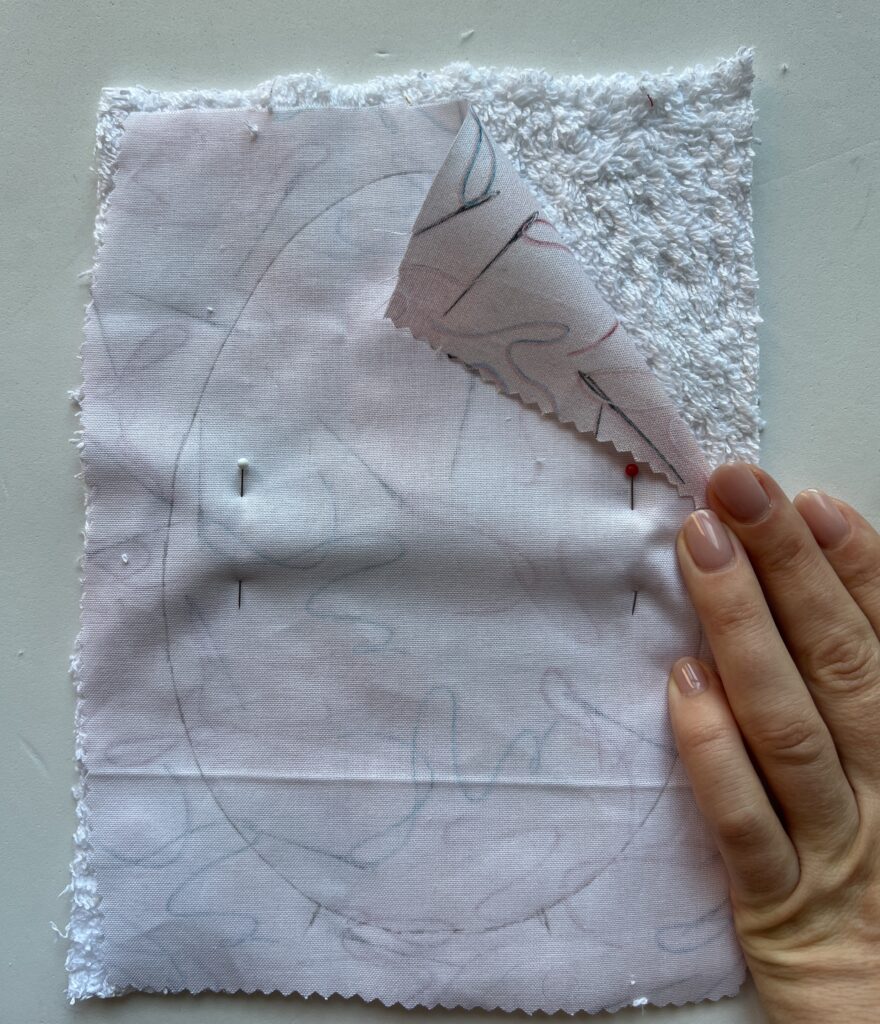
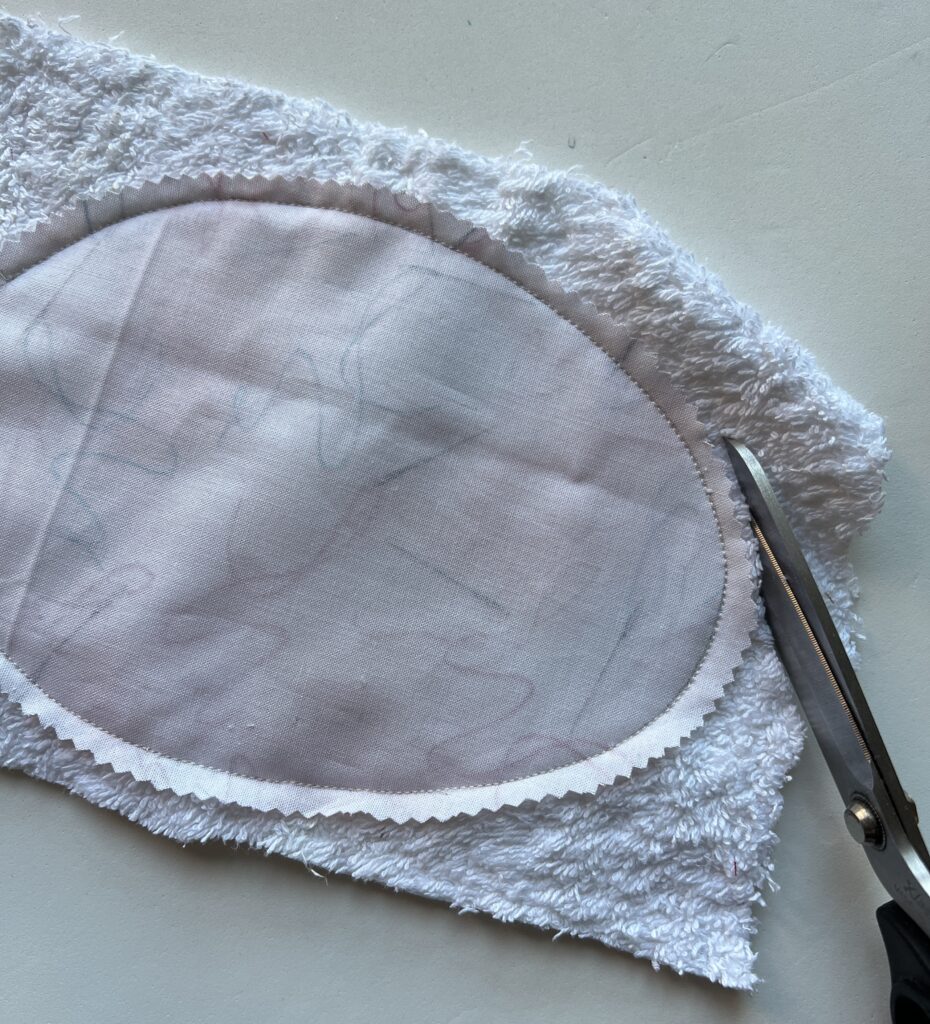
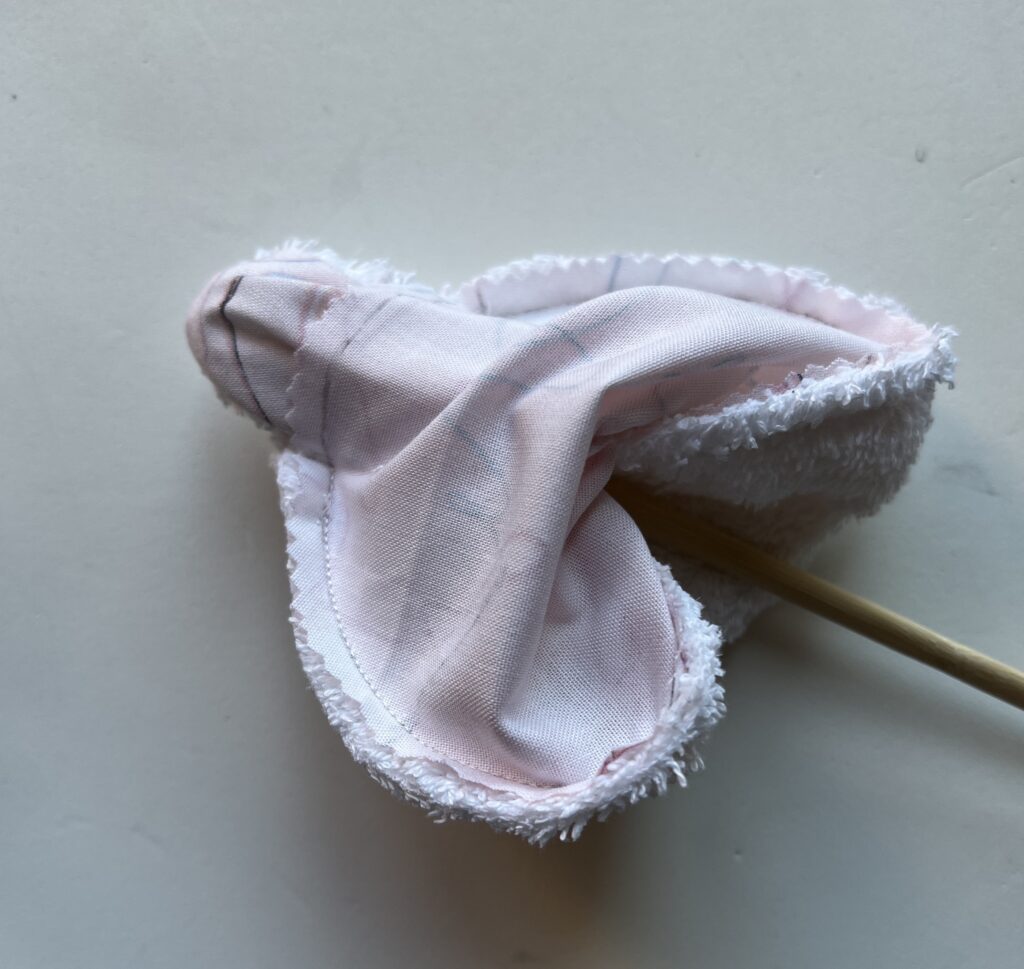
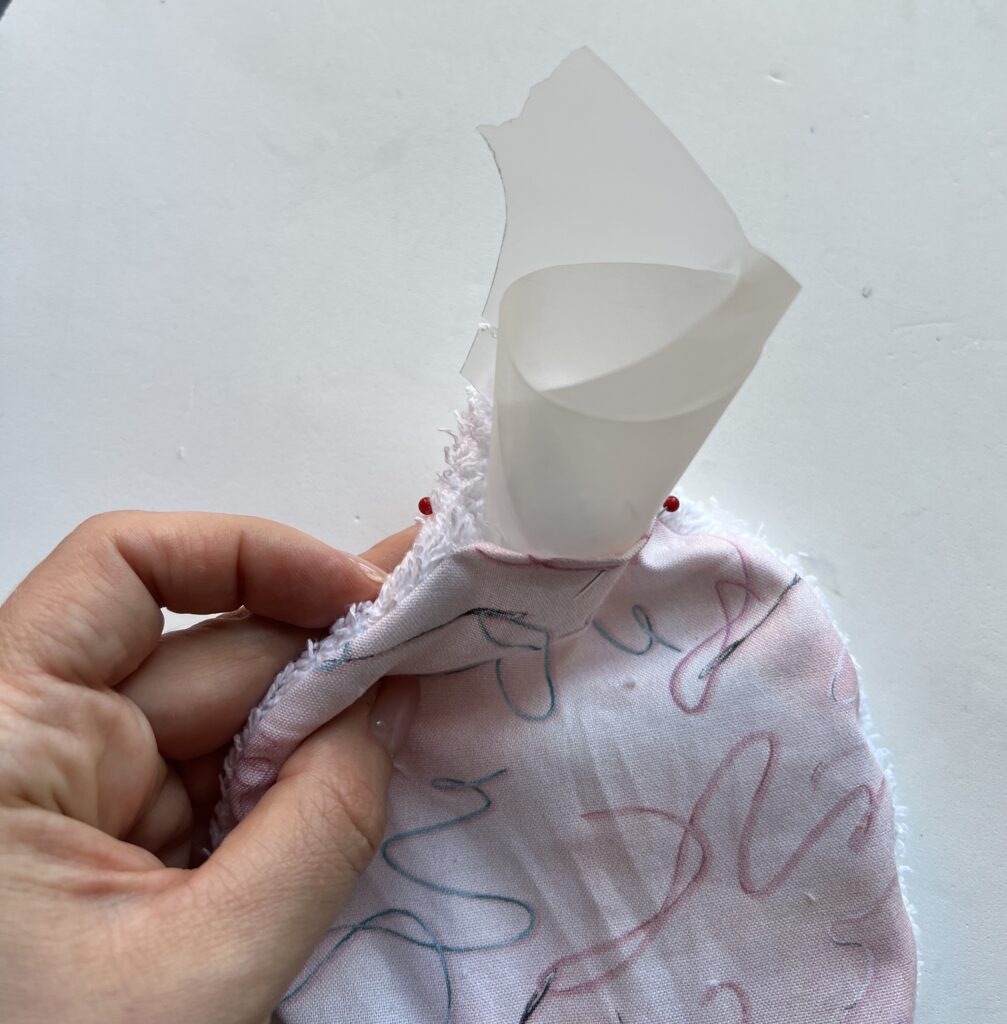
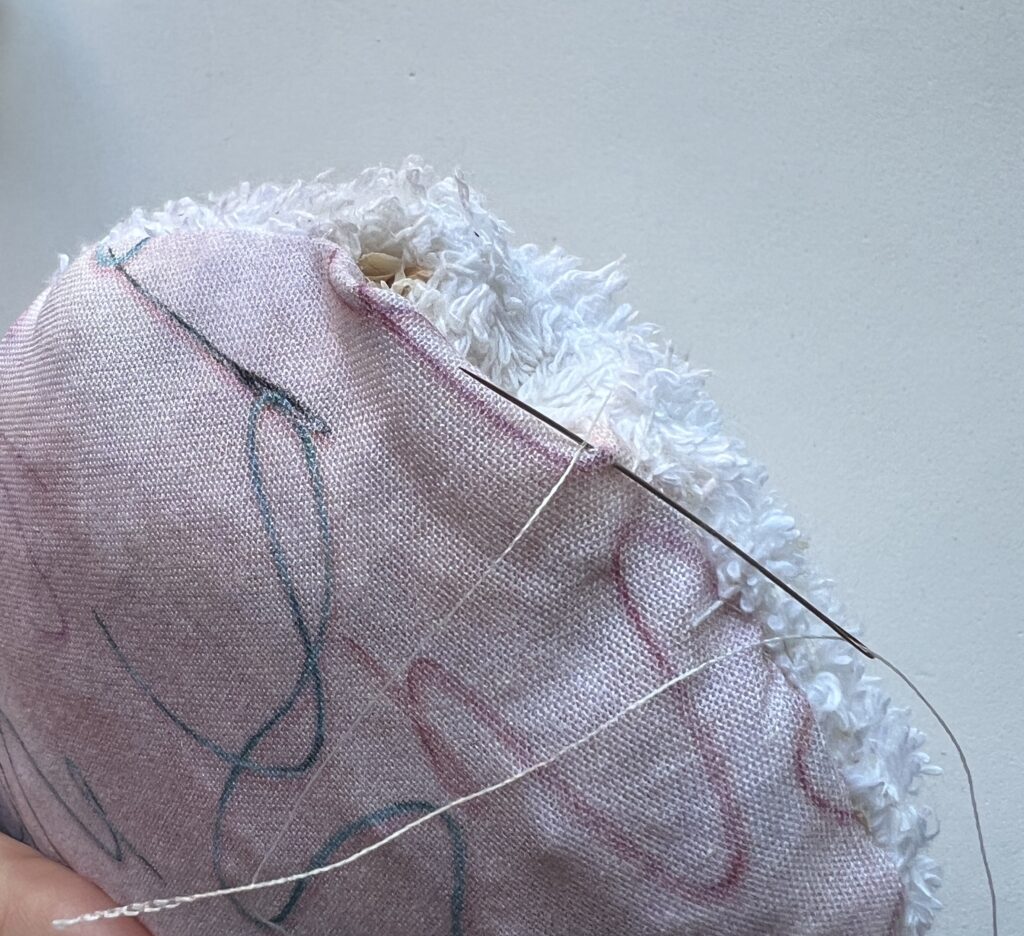
The overall process is sewing and stuffing basics using stitching by hand or sewing machine if you prefer. The basic process is to cut the fabric according to the material list, trace the pattern, stitch and stuff to create the perfect pressing tool!
Fabric
- 8” x 6“ 1 piece of cotton;
- 8” x 6“ 1 piece of terry cloth (or canvas/ flannel/ linen)
Threads
- piecing thread (40 wt)
Notions
- Non-stick universal needle
- Pinking shears (optional)
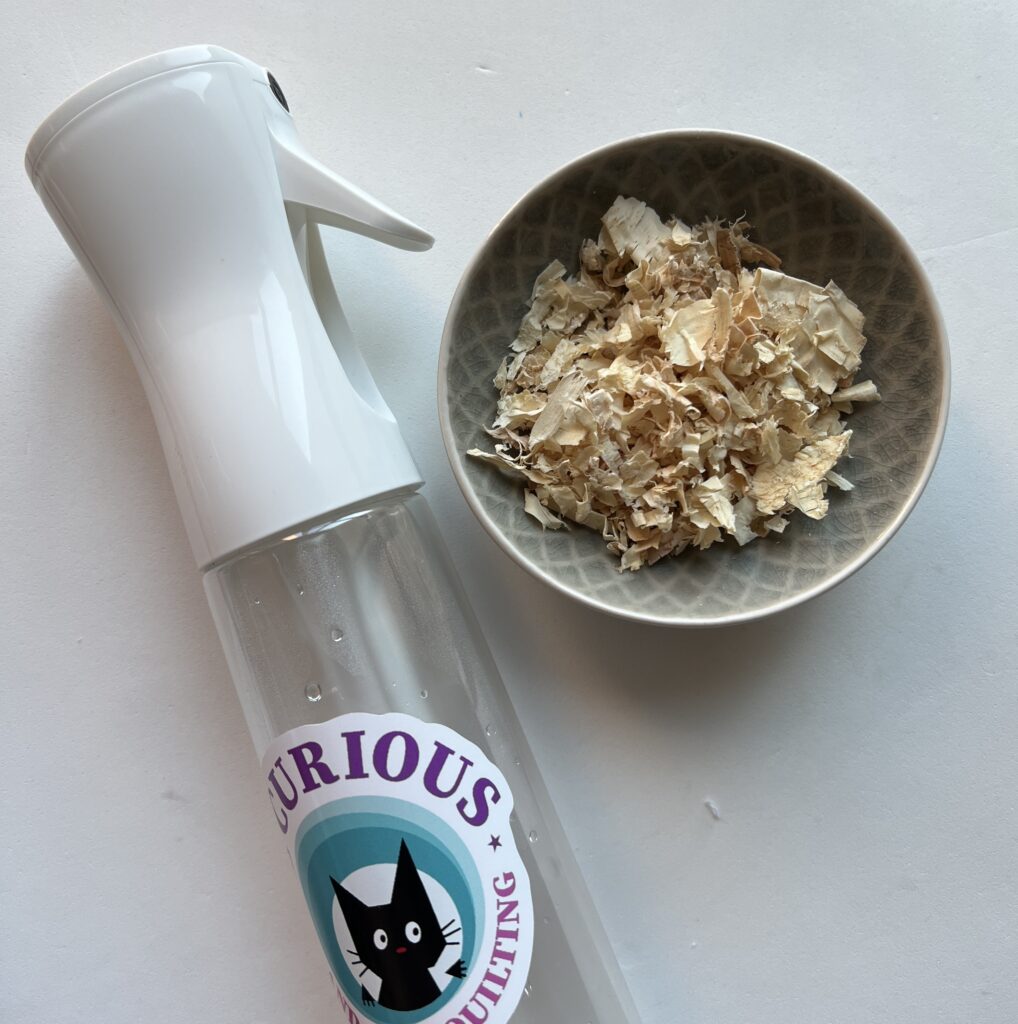
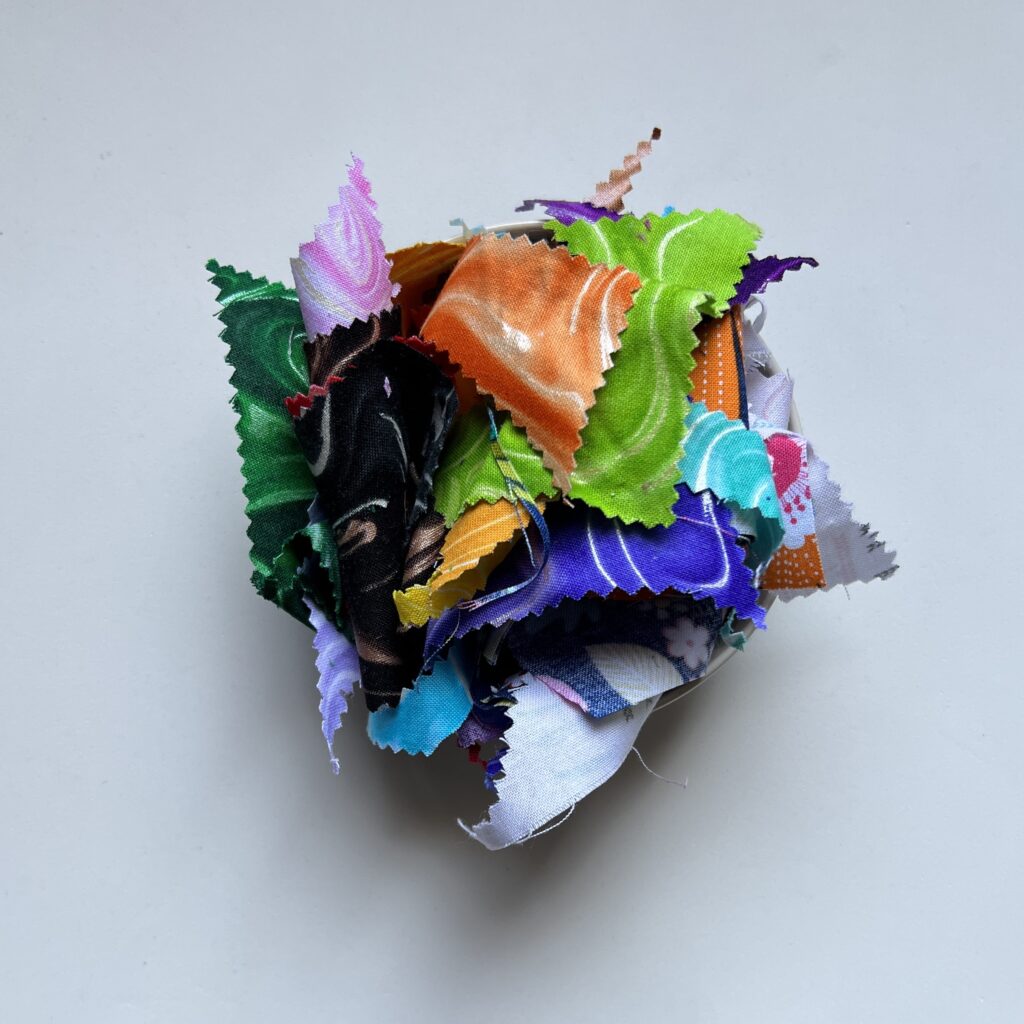
- Wooden chips/ wood dust (or fabric scraps)
- Pencil and chopstick
- Scissors
As a bonus you can FREE download tutorial in step-by-step pictures in PDF format here (click): Tailor’s Pressing Cushion or Tailor’s Ham
Click the link: Store Locator for your local shops for this adorable Sew In Love fabric collection by Nicole DeCamp.
Follow Benartex on Facebook or @benartex_fabrics on Instagram for more sewing related videos, tips and classes to inspire sewing and FABRIC.
If any questions or help please don’t hesitate to text me on my Instagram
Stay Quilty!!!
Always yours,
Olesya