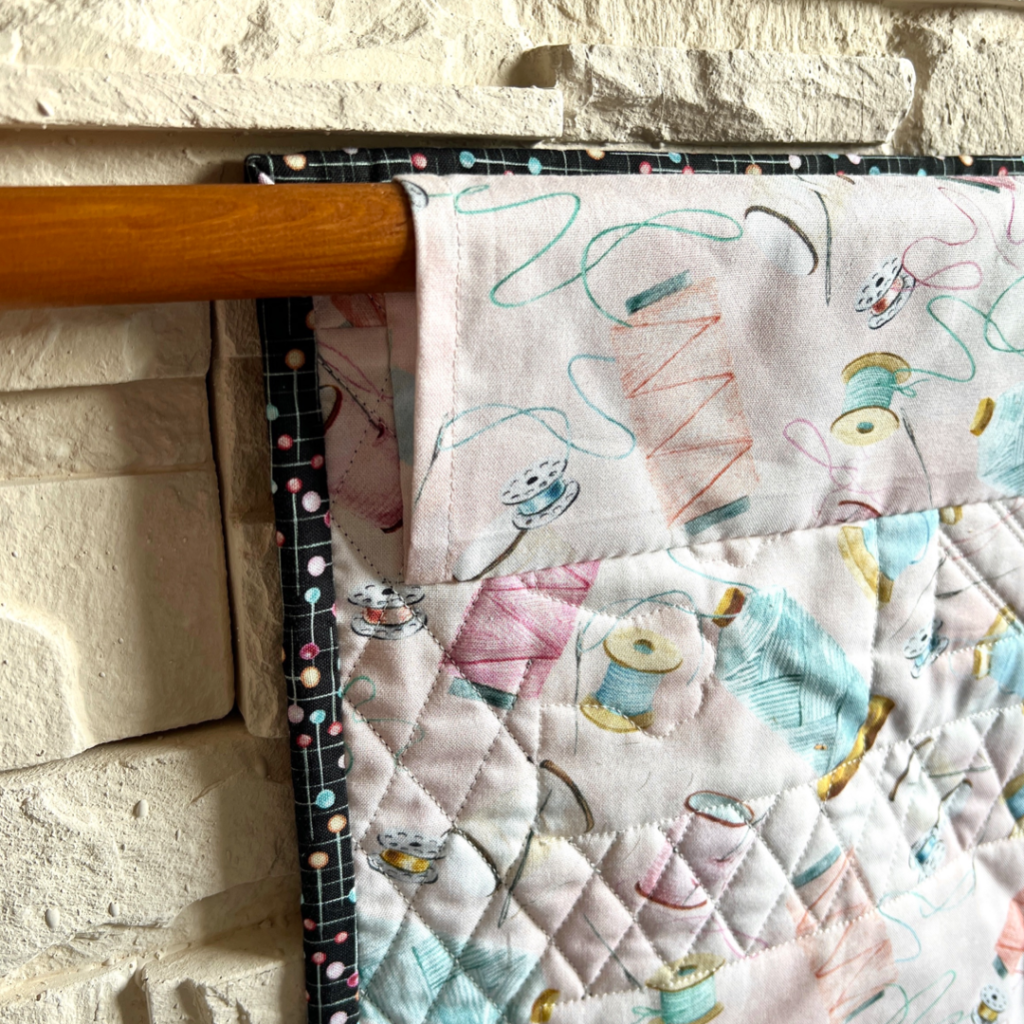
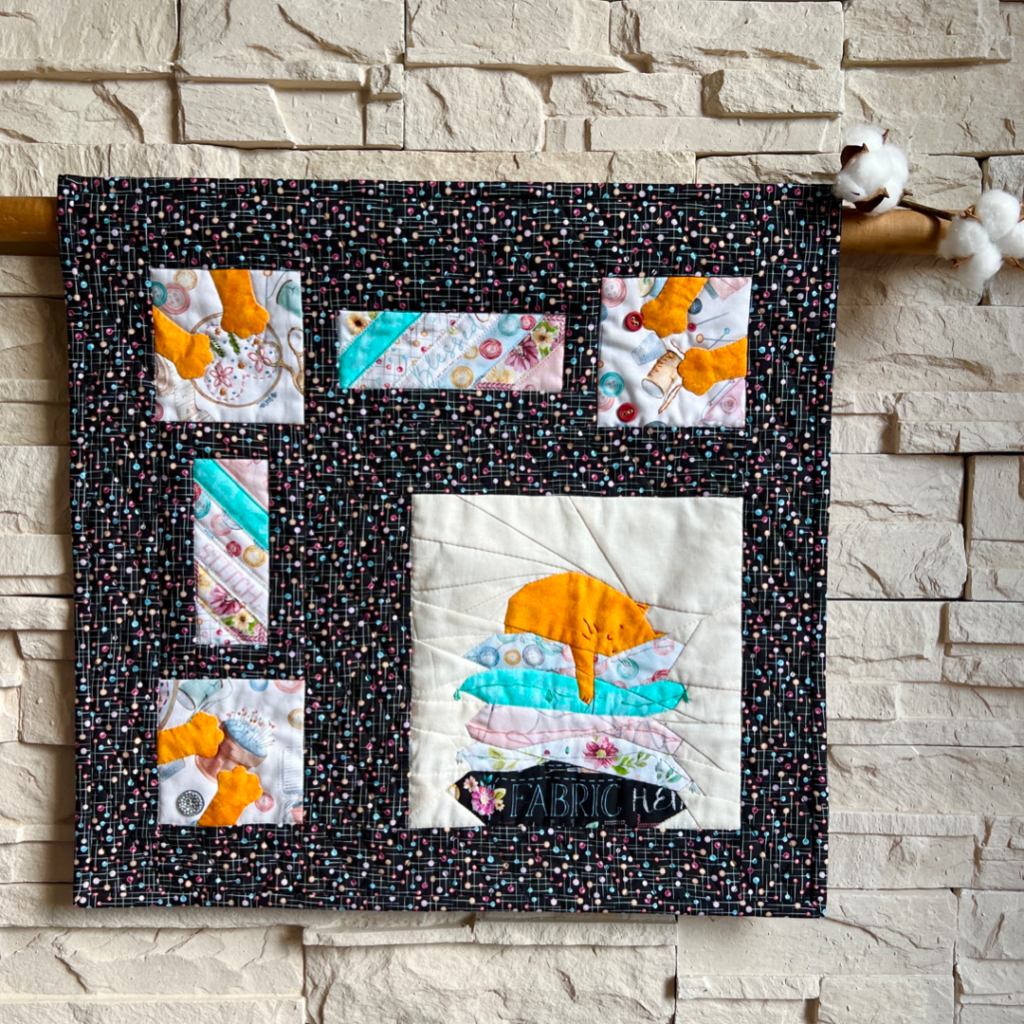
Typically, we tend to think of smaller quilts as suitable for hanging, but in reality, you can hang quilts of any size, even those as grand as a king-size masterpiece! The process remains consistent regardless of the quilt’s dimensions. It’s a delightful way to put the entire quilt on display, especially those exquisite quilts that make full use of their design potential. By featuring these quilts on the wall, you can relish their beauty daily, as opposed to having them neatly folded on a couch.
The great news is that you won’t require an extensive array of materials and notions to hang your quilts, but a few basics are necessary.
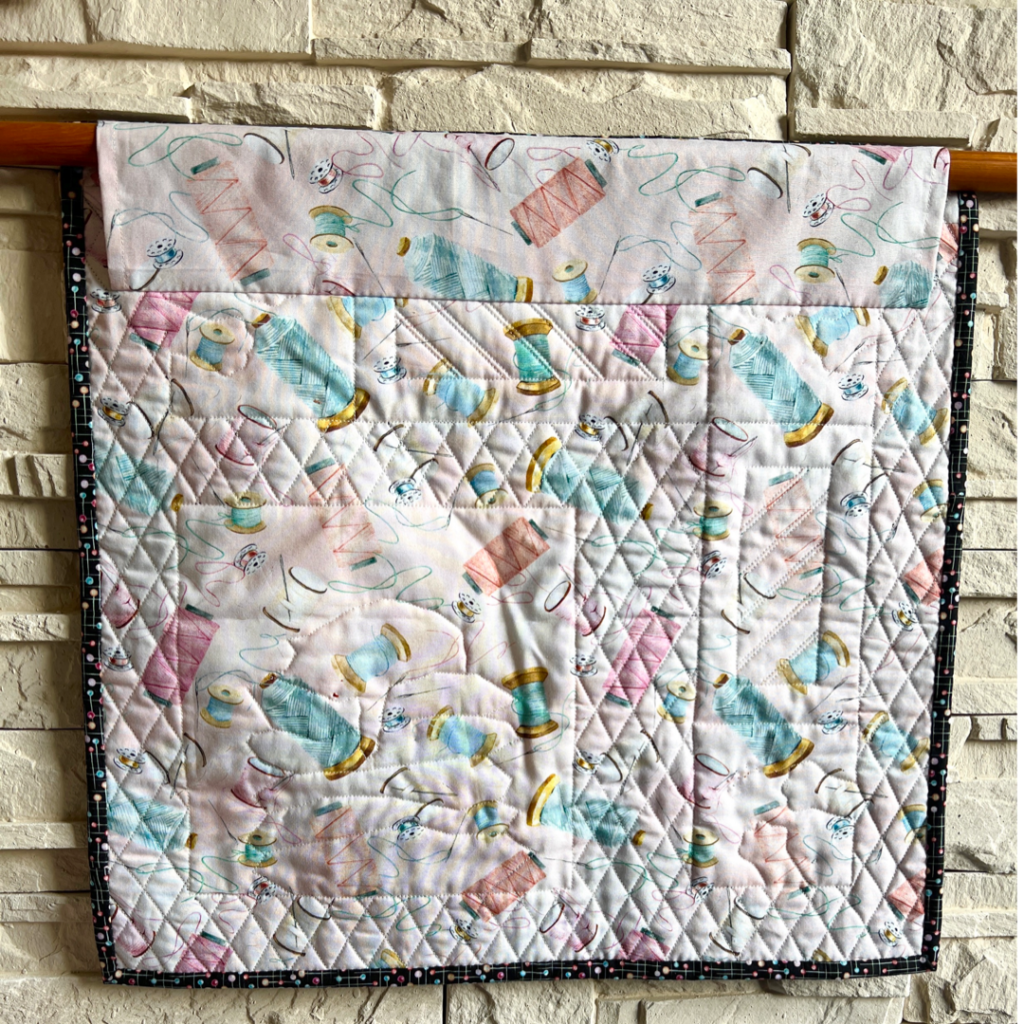
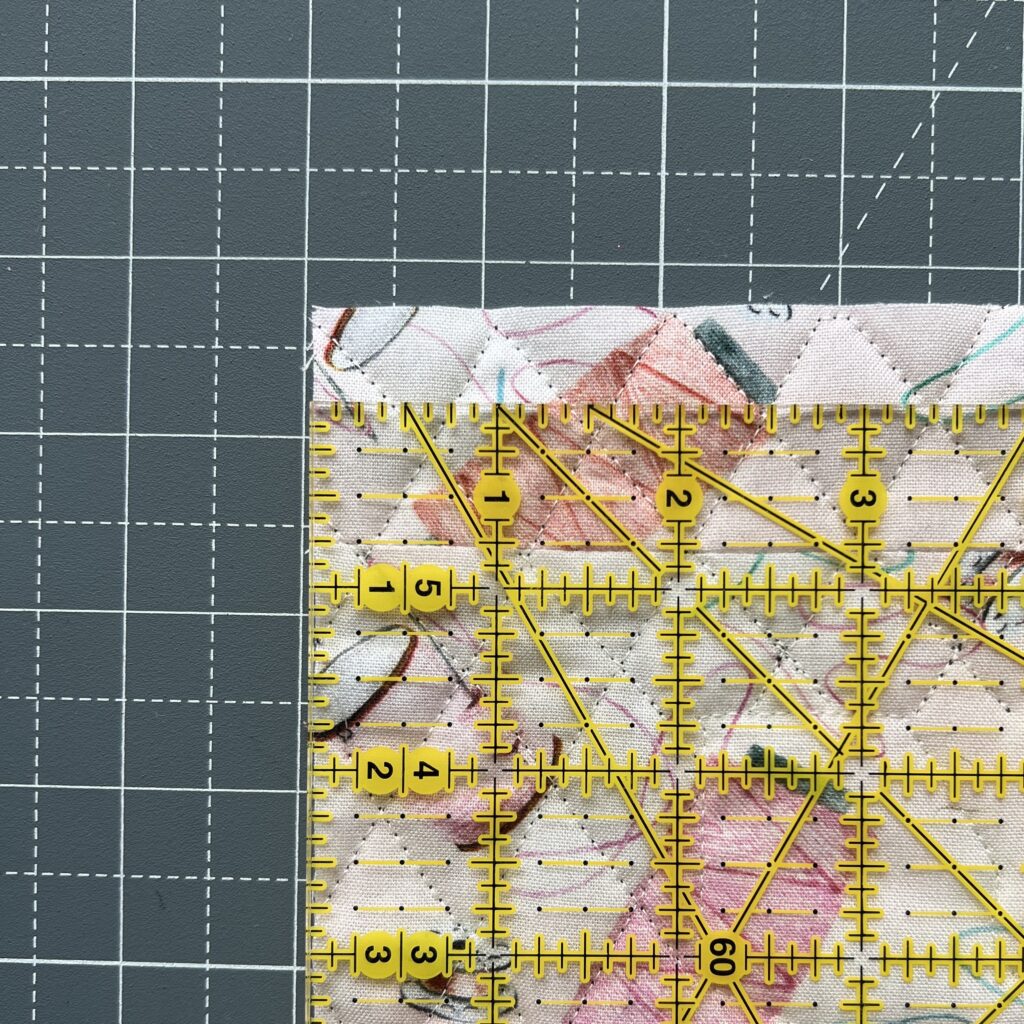
Finished measurements 8” by the measured length of the top side of the quilt
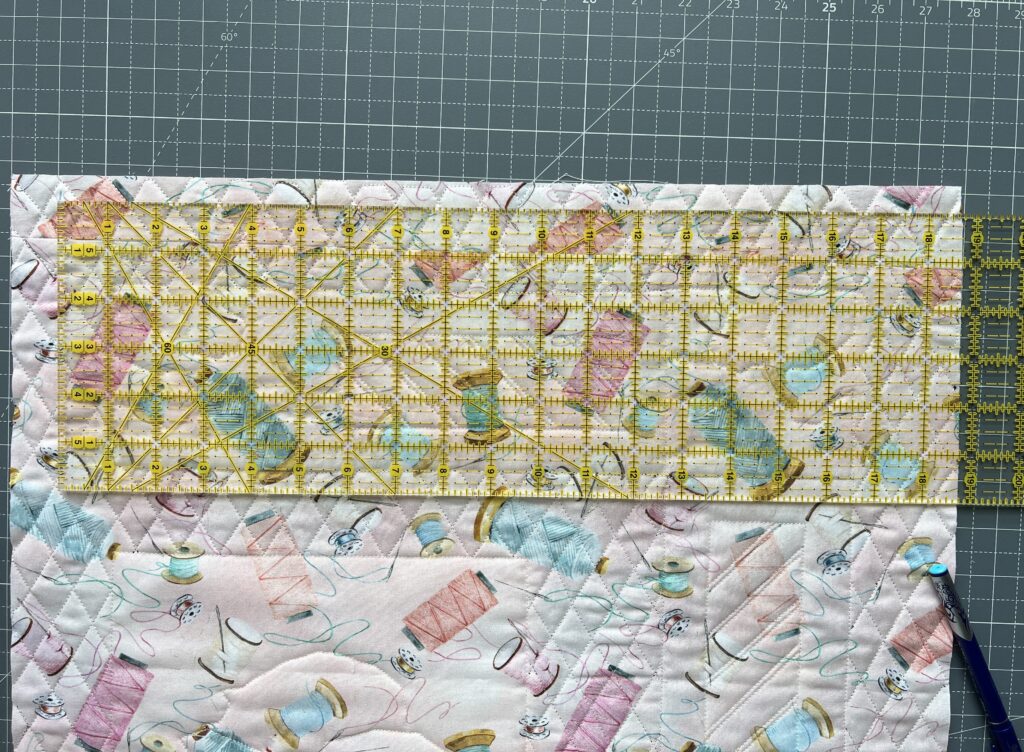
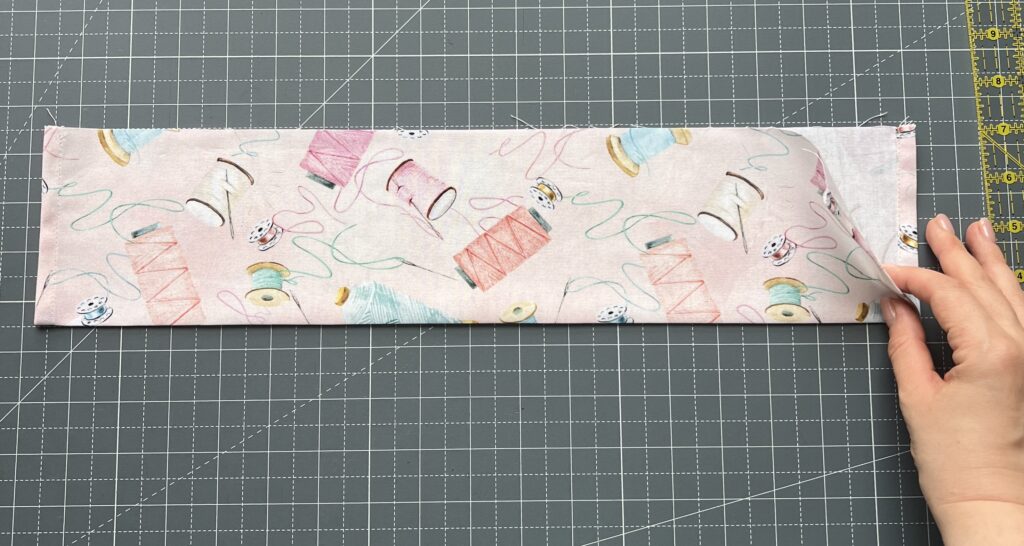
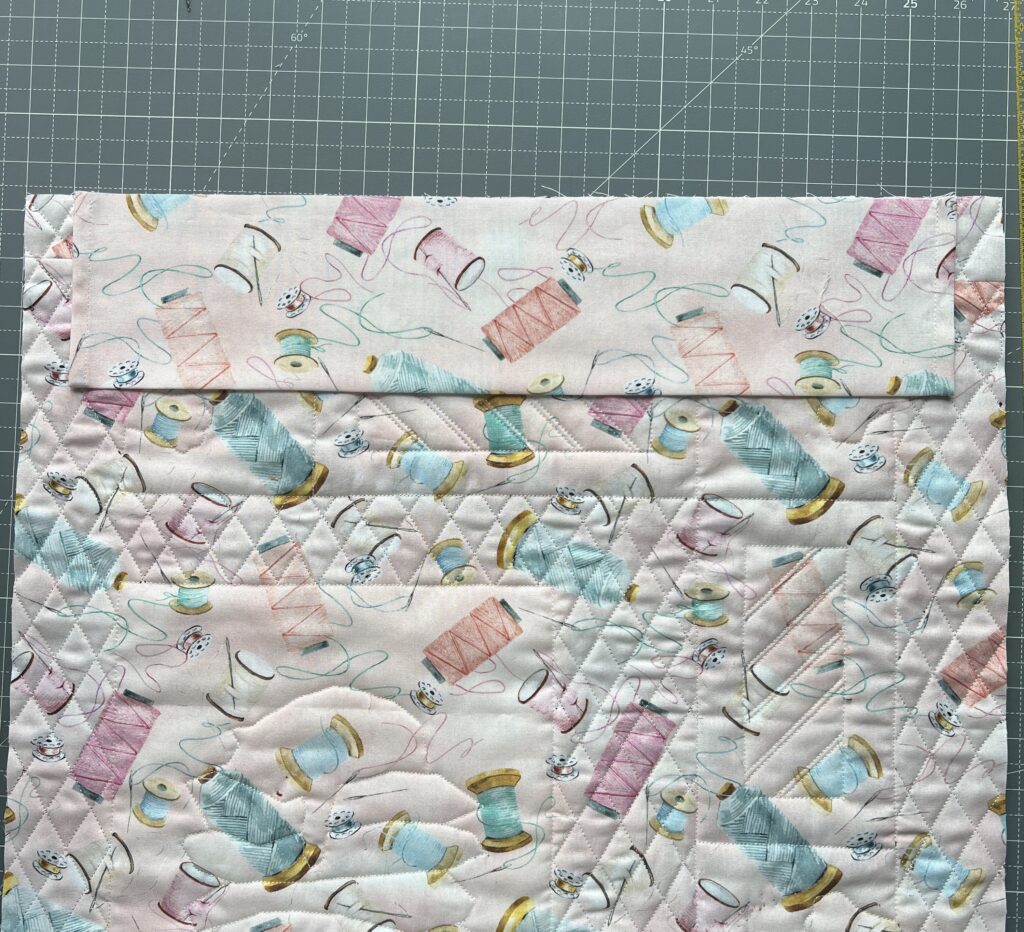
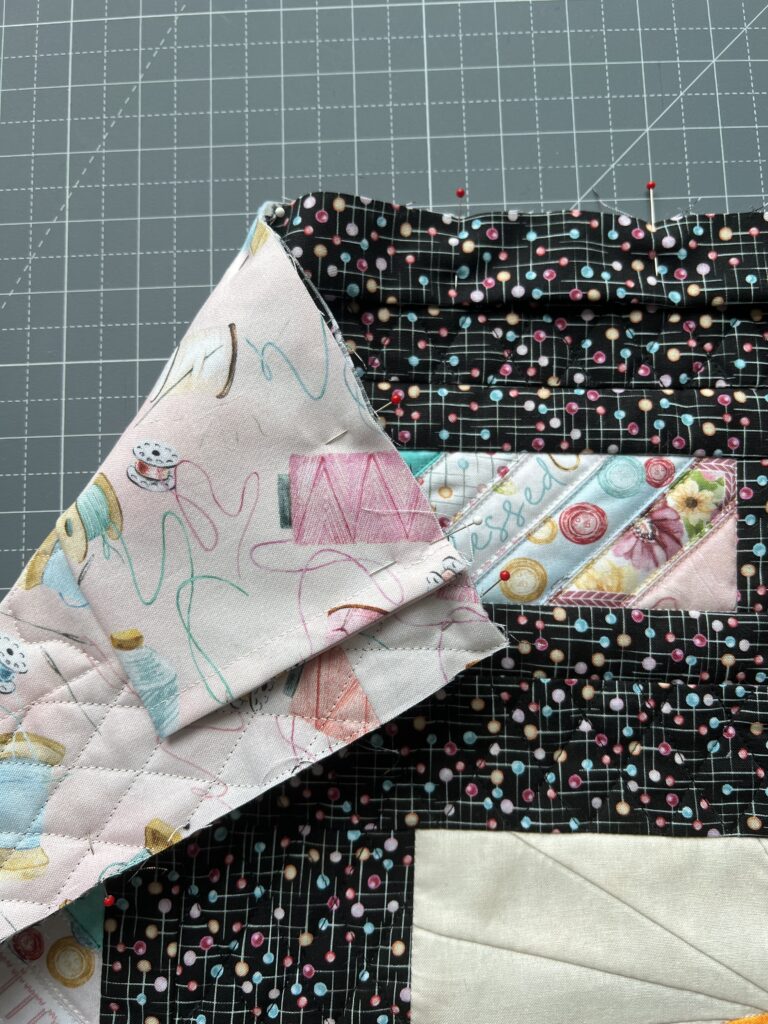
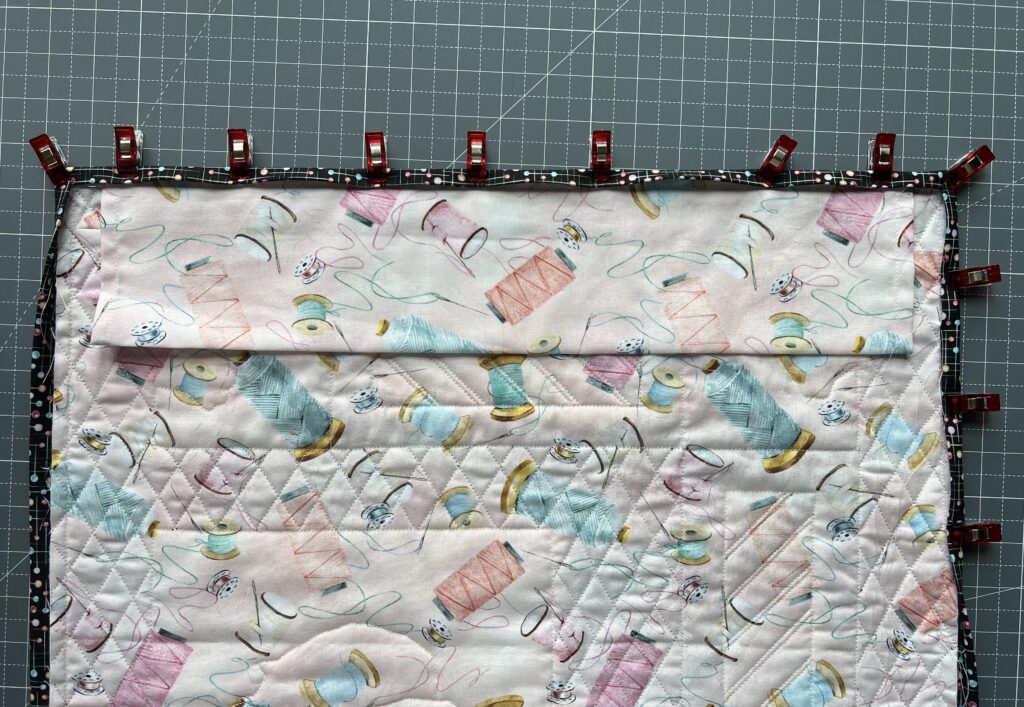
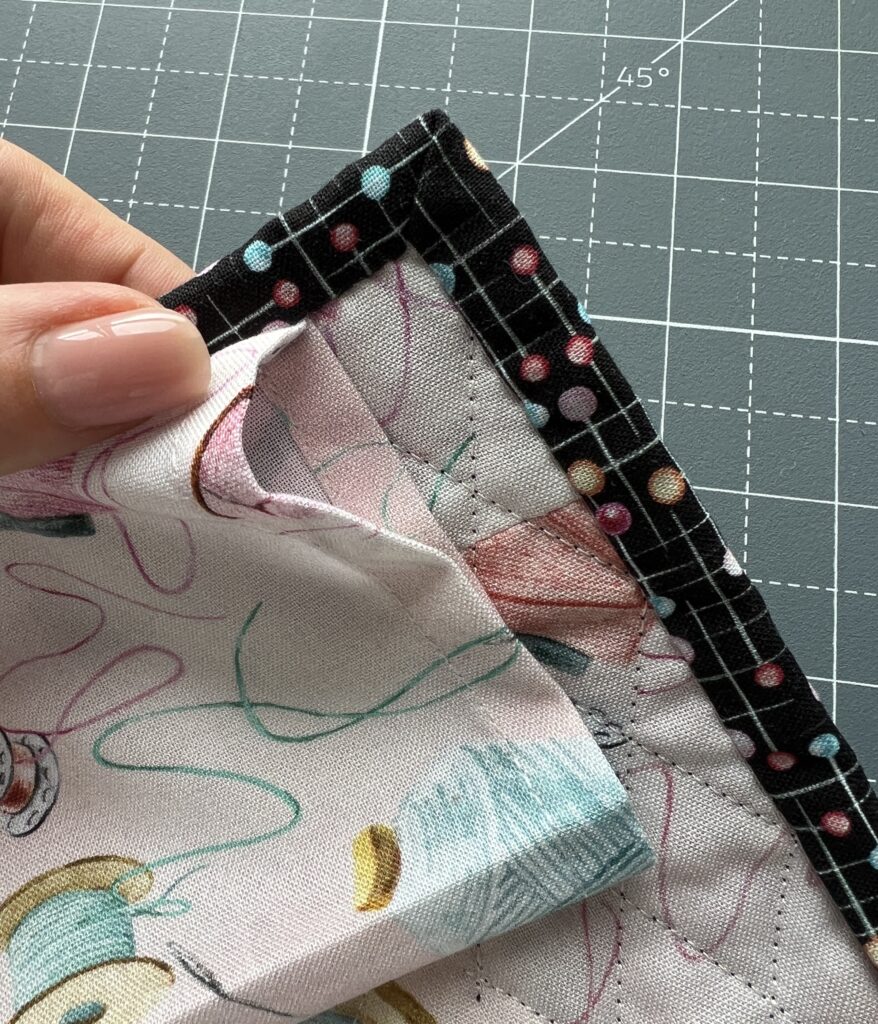
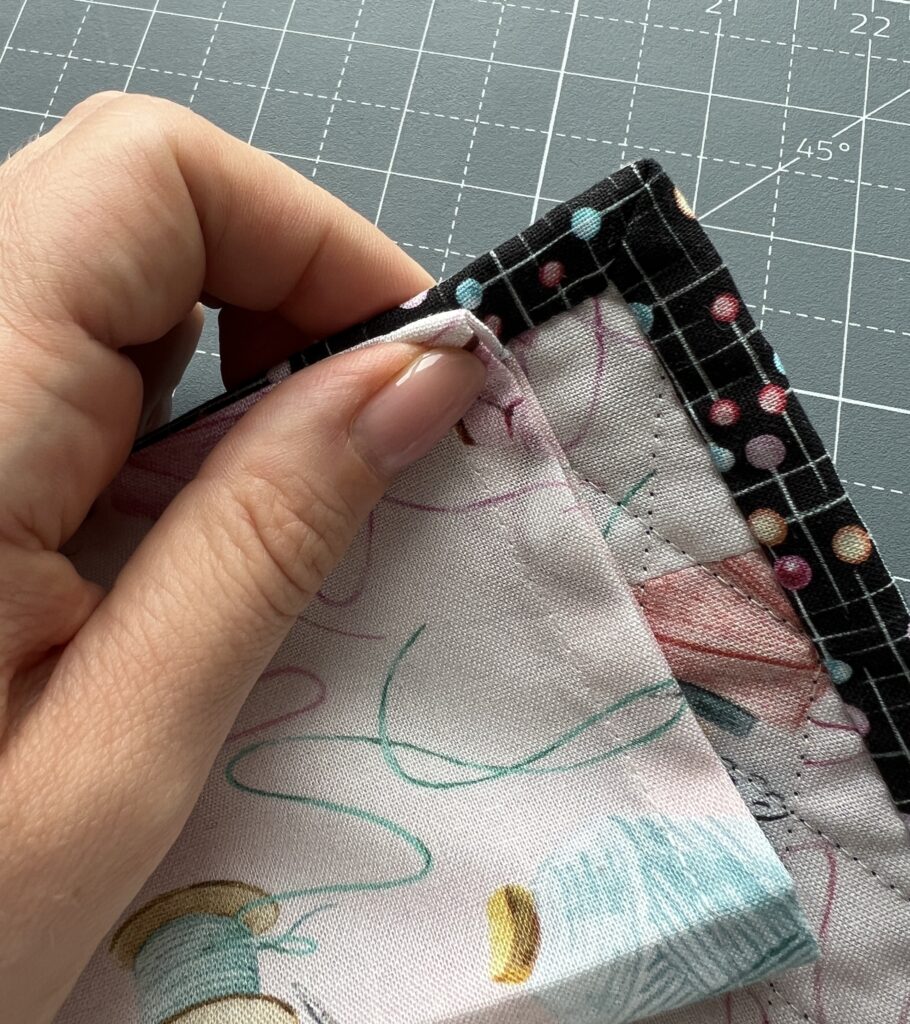
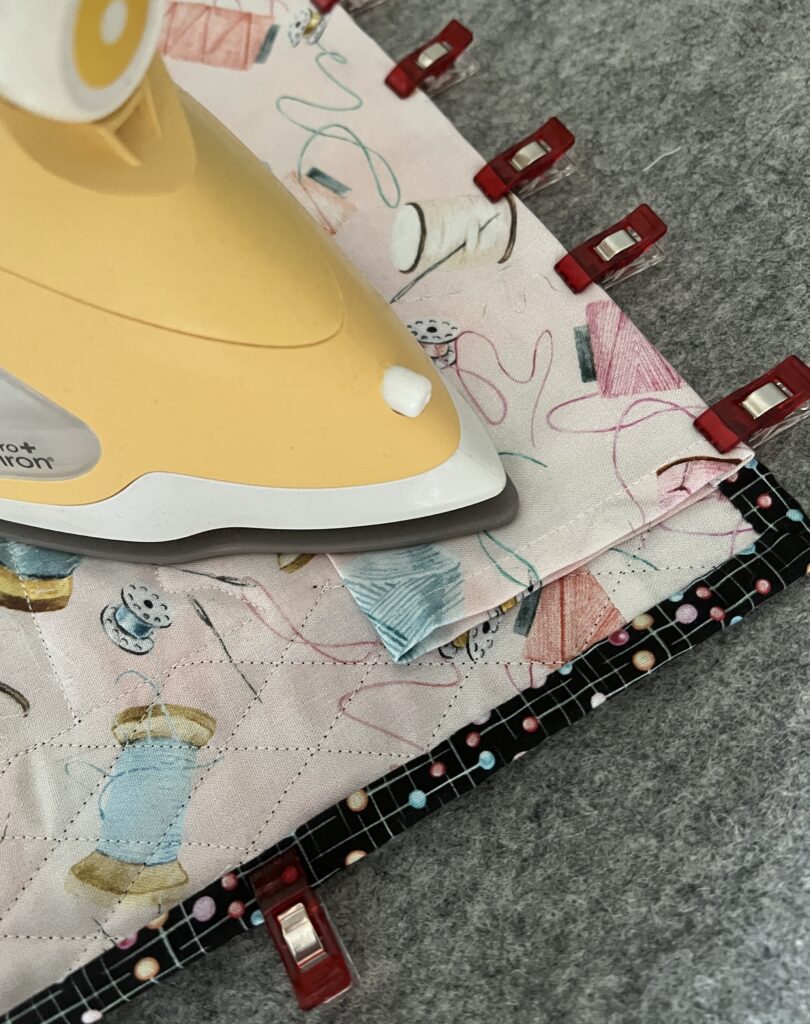
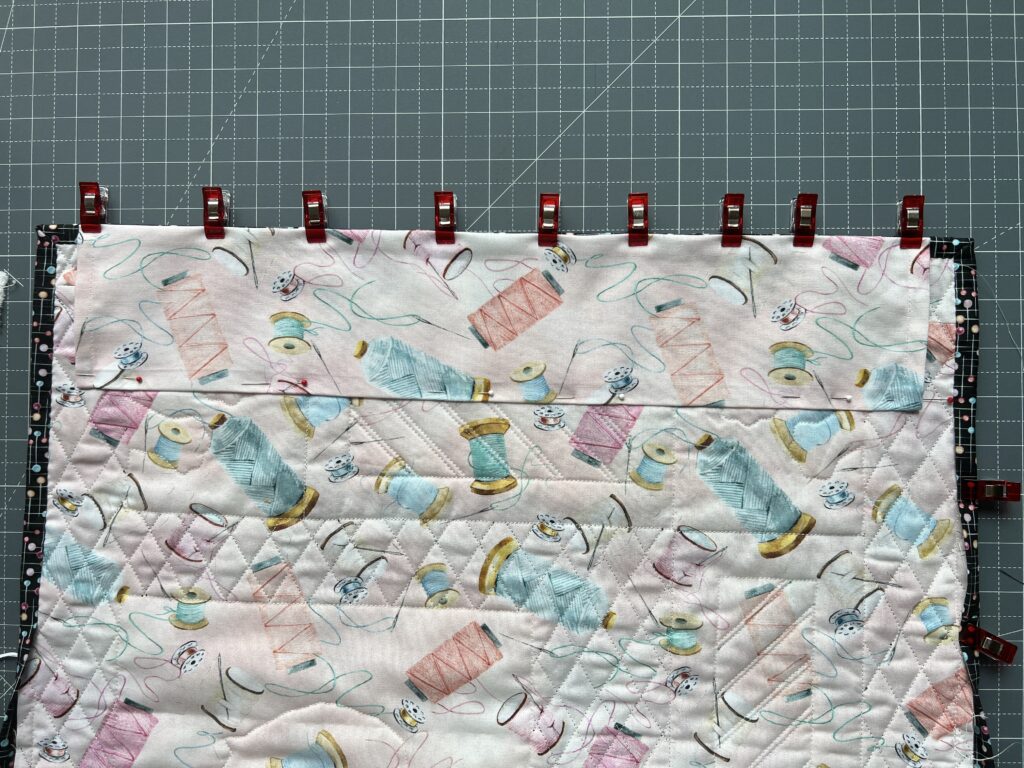
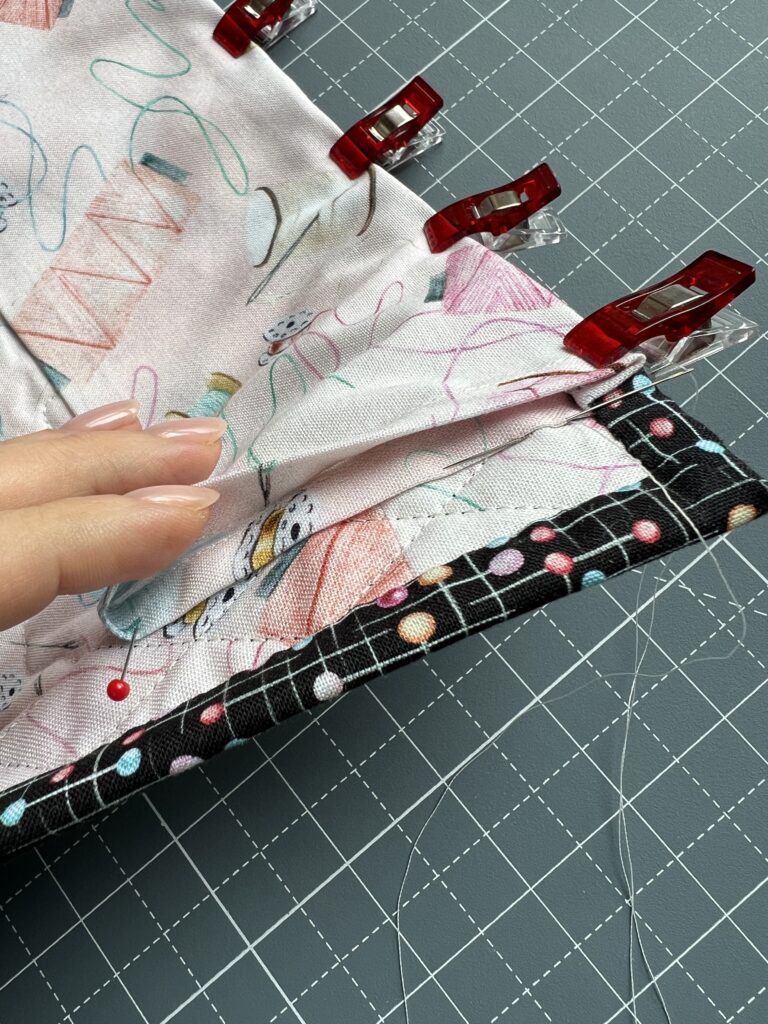
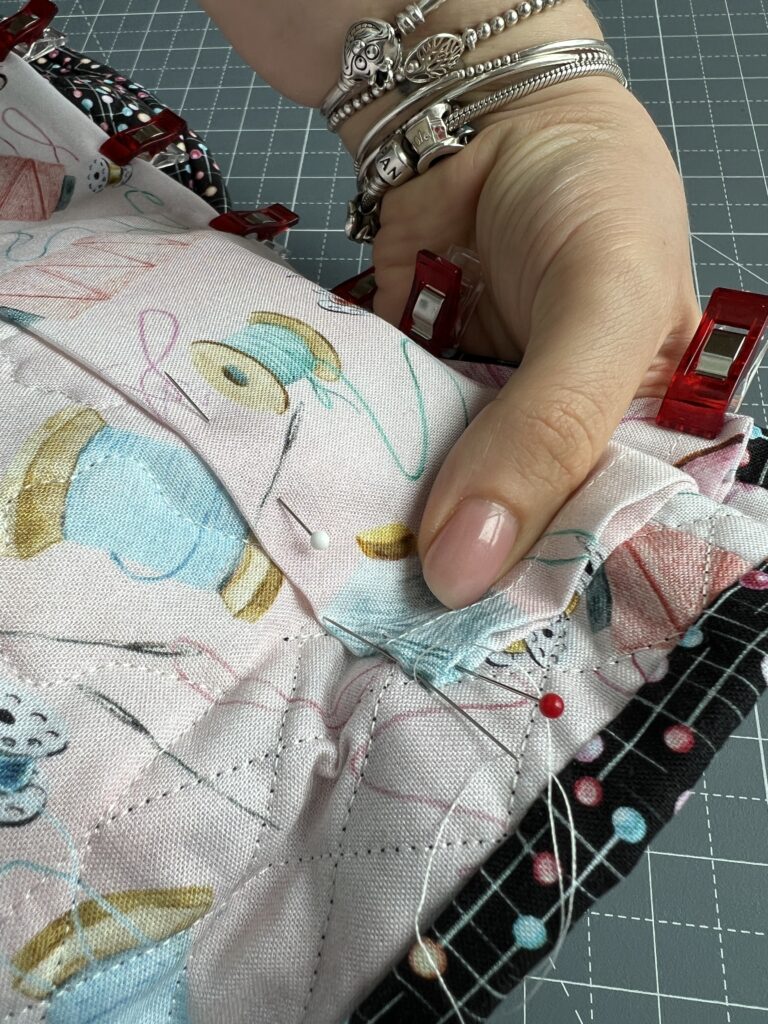
The overall process is sewing and quilting basics using stitching by hand or sewing machine if you prefer. A fundamental guideline to follow is to craft a sleeve with a width precisely matching that of the quilt you intend to hang and a height of 8 inches. The formula is the following: Width of Quilt (trimmed and ready for binding) x 8 inches in height.
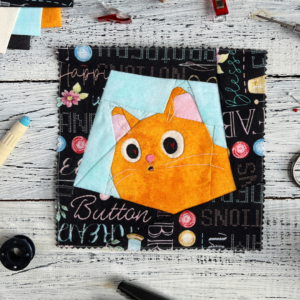
For the quilt shown, I went with a starting sleeve size of 18 1/2″ x 8″ to fit my mini All Is PurrFect quilt (pattern available here, click), which measures 19″ wide.
So let’s get started!
Fabric
- 8” by 18 ½” of backing fabric for a sleeve
Notions
- Piecing thread (40 wt)
- Non-stick universal machine needle
- Rotary cutter, ruler and pins
- Heat erasable or water soluble marker (optional)
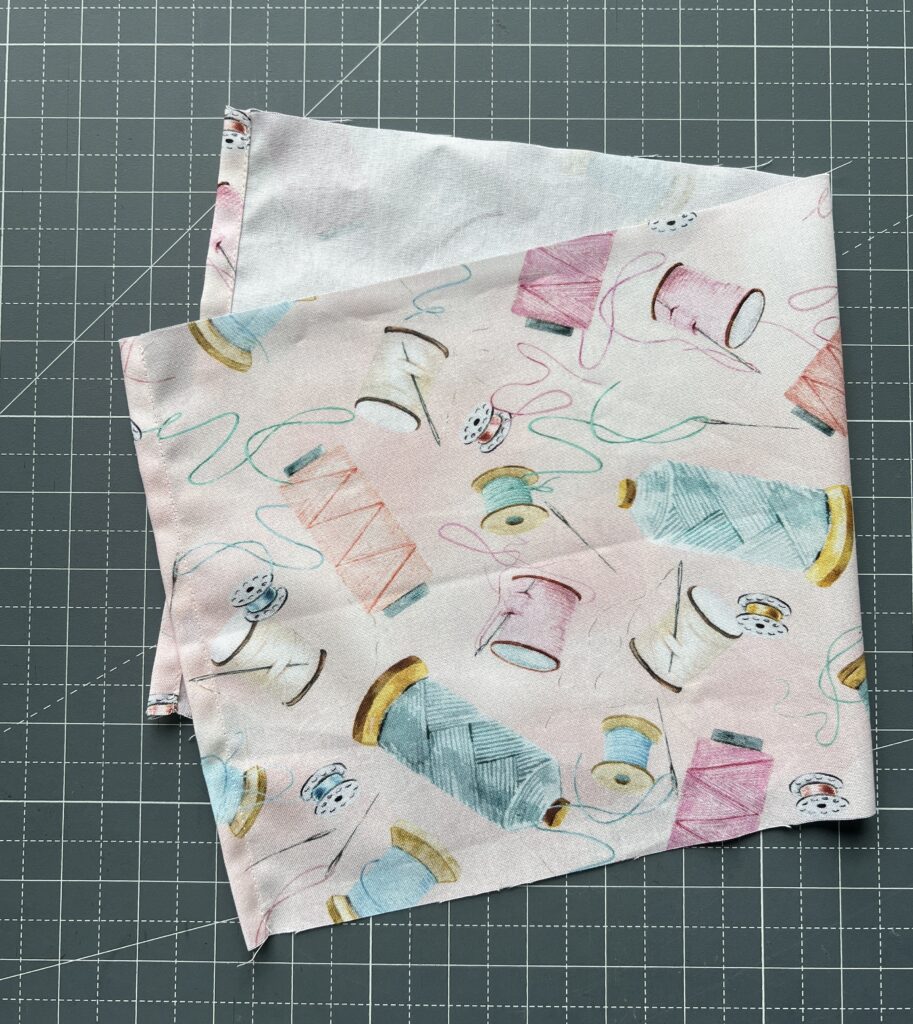
As you can see, it’s an easy and fun process, isn’t it?
How do you take pleasure in displaying your quilts? Share your experiences in the comments below so that we can all revel in the joy of quilting!
As a bonus you can FREE download tutorial in step-by-step pictures in PDF format here (click): Quilt Sleeve.
Click the link: Store Locator for your local shops for this adorable Sew In Love fabric collection by Nicole DeCamp.
Follow Benartex on Facebook or @benartex_fabrics on Instagram for more sewing related videos, tips and classes to inspire sewing and FABRIC.
If any questions or help needed please don’t hesitate to text me on my Instagram
Stay Quilty!!!
Always yours,
Olesya