Collapsible Thread Catcher

Facebook
Pinterest
Email
Print

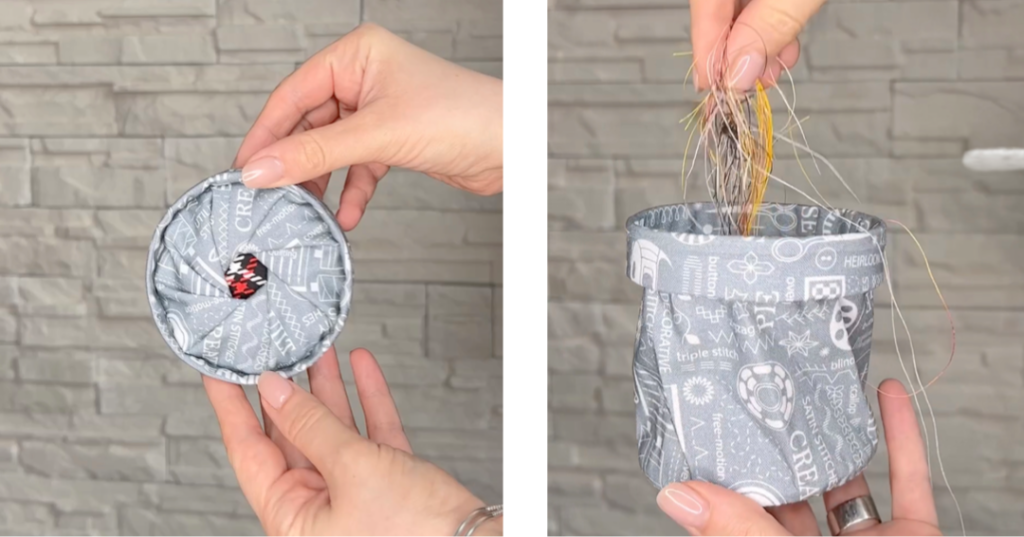
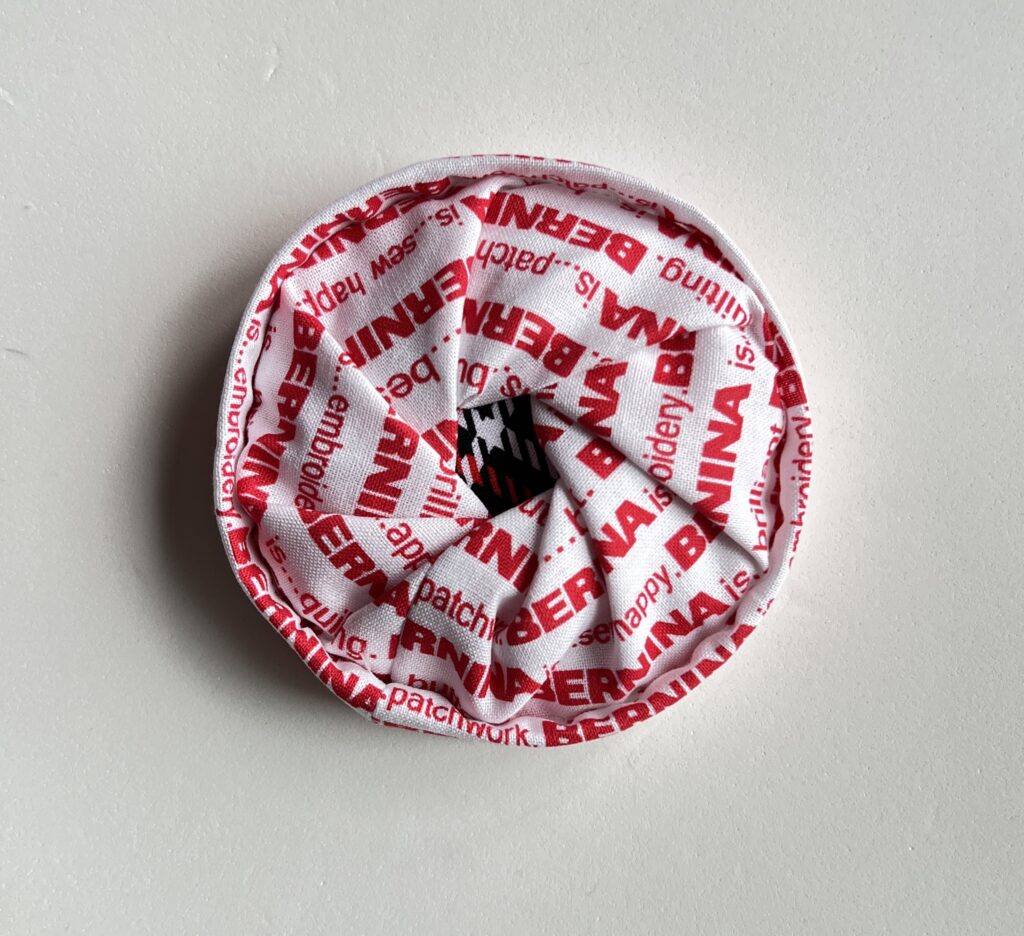
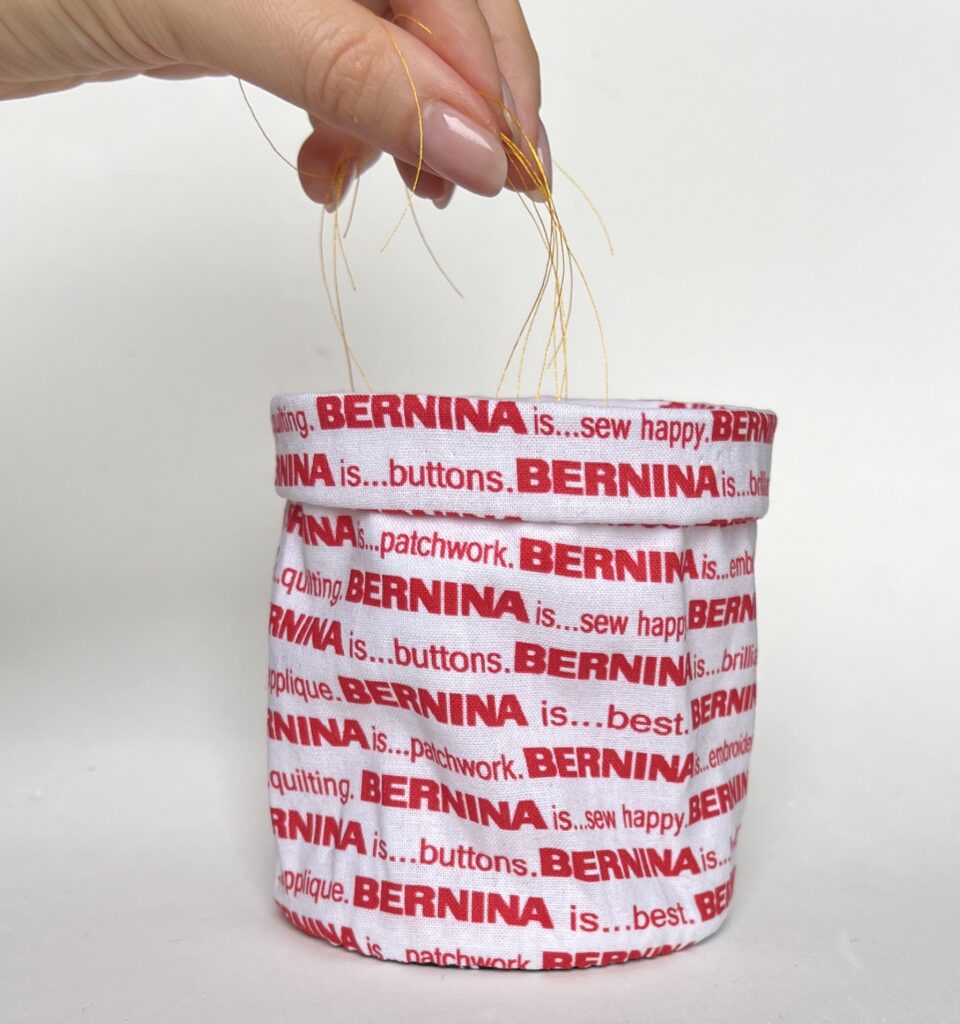
Meet my new travel companion – the ultimate COLLAPSIBLE THREAD CATCHER! Whether I’m hand-stitching or using my sewing machine, those pesky thread ends and bits of quilting cotton end up scattered all over. It’s a sure sign of chaos when I’m engrossed in my stitching and Bo, my Yorkie, casually struts by, adorned with threads and fabric scraps clinging to his fur!

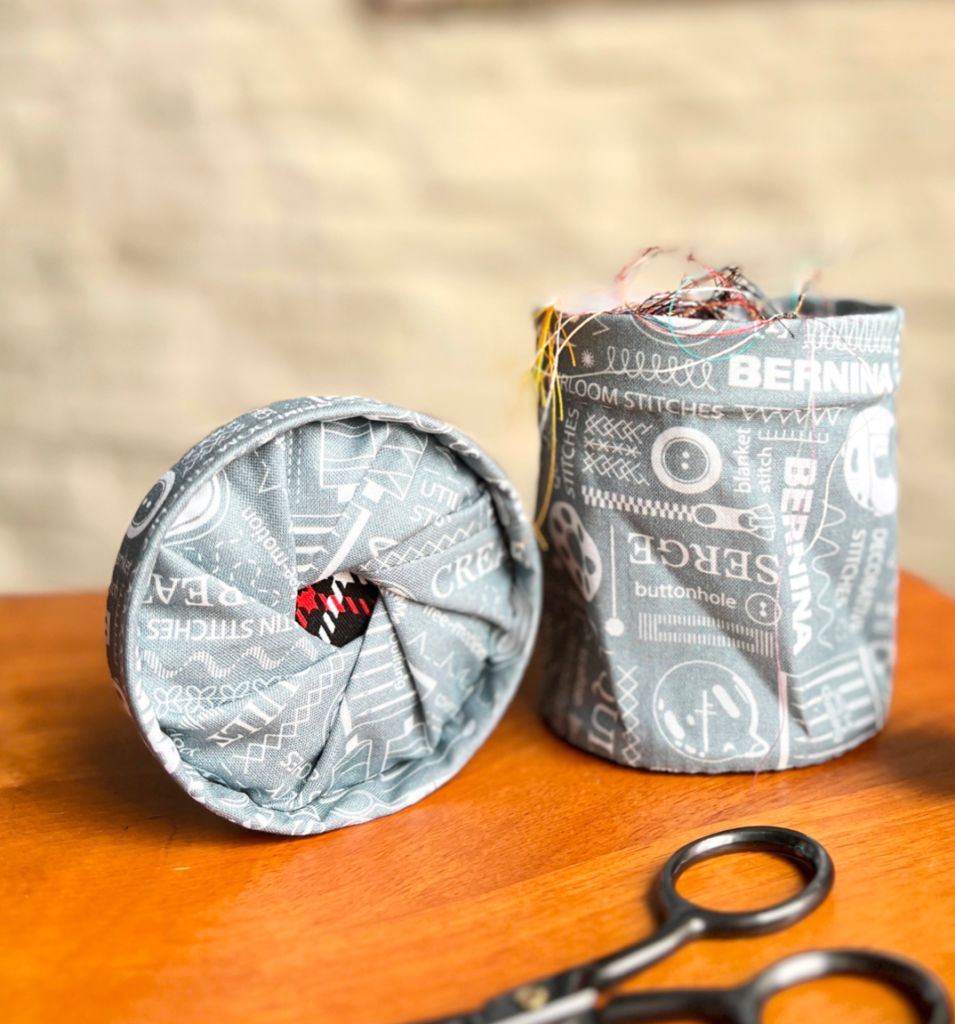
This ingenious little thread catcher conveniently folds up when not in use, keeping stray threads under control. It’s compact and easy to tuck into your bag, making it an ideal companion for your travels, quilt retreats, and classes. It’s a breeze to make, so you might want to craft a few extras.

Skill level Confident beginner Finished measurements 3 ¾” x 3 ¼”

Consider placing one by your workspace and another in your quilting bag. Moreover, your quilting and sewing buddies will undoubtedly cherish them as thoughtful gifts.

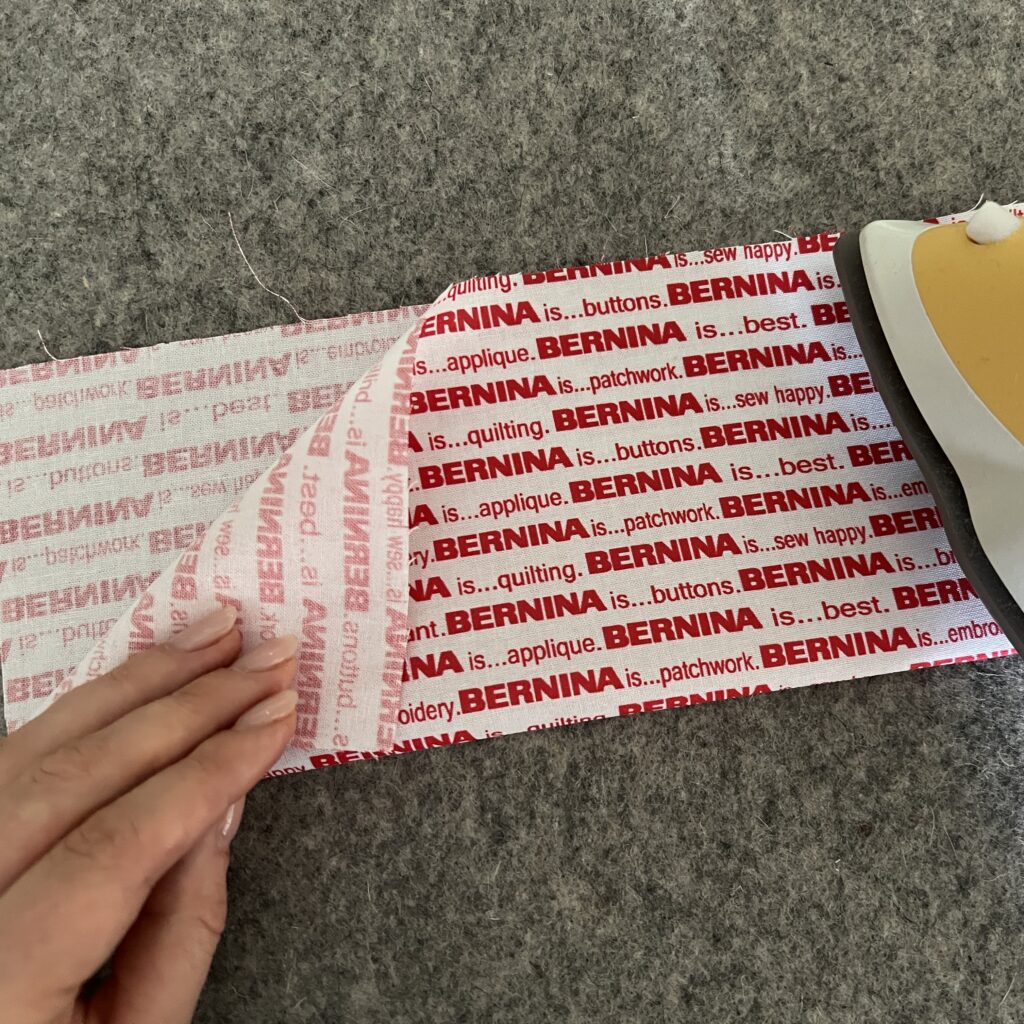
I made my catchers in nearest “Bernina Exclusive Prints” fabric collection fabric collection 2023 by BENARTEX STUDIO.

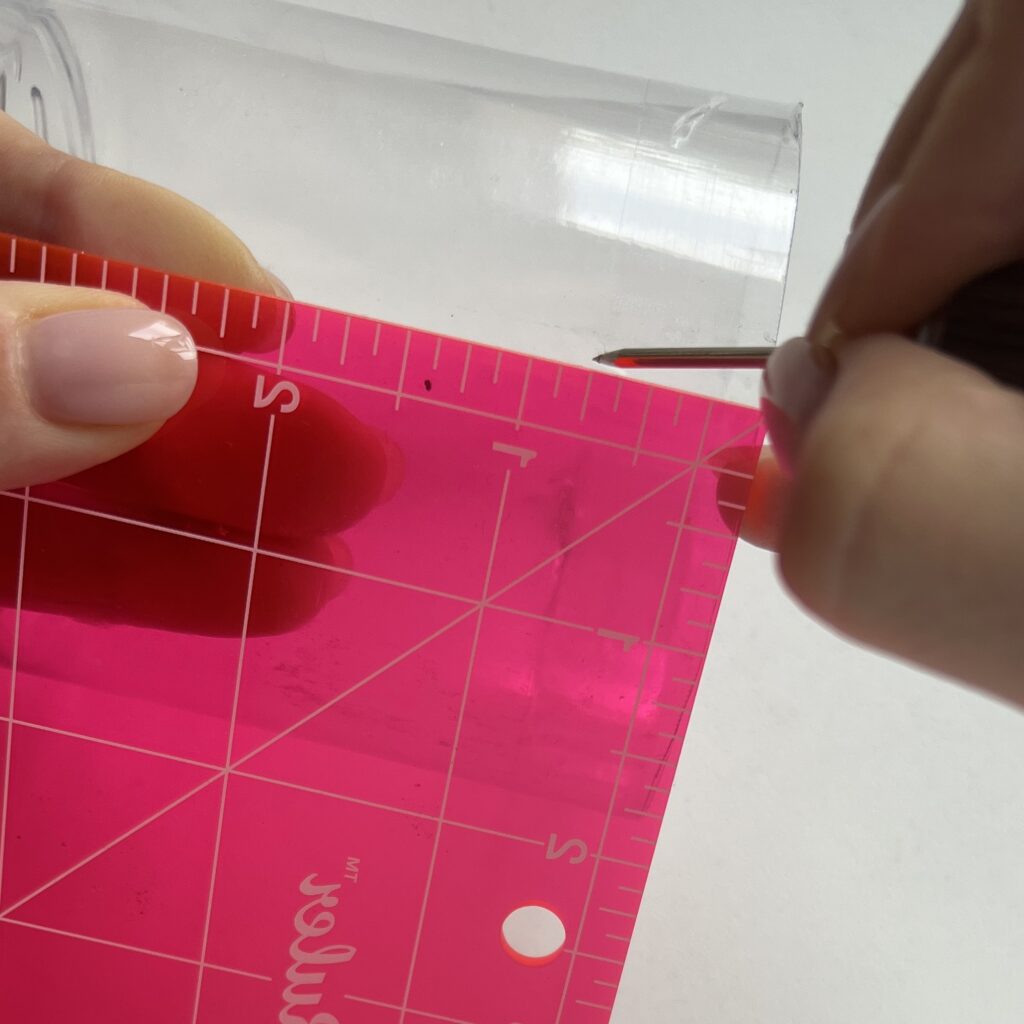
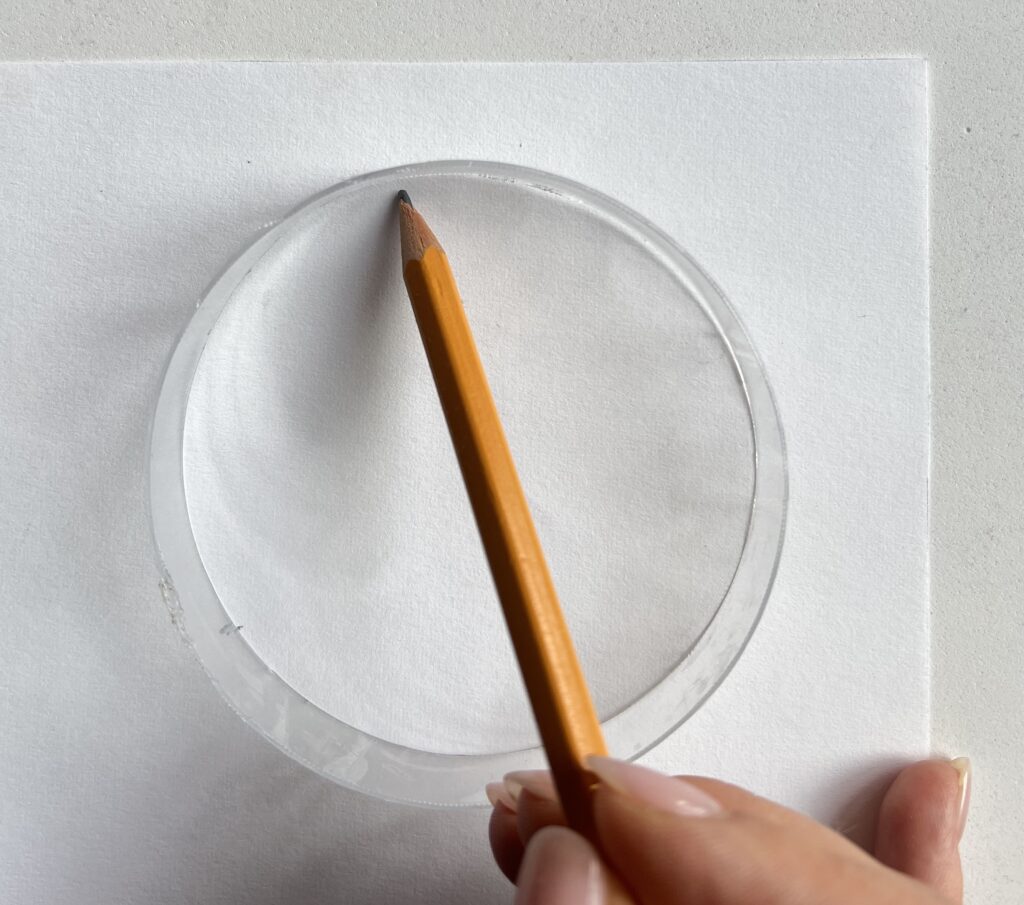
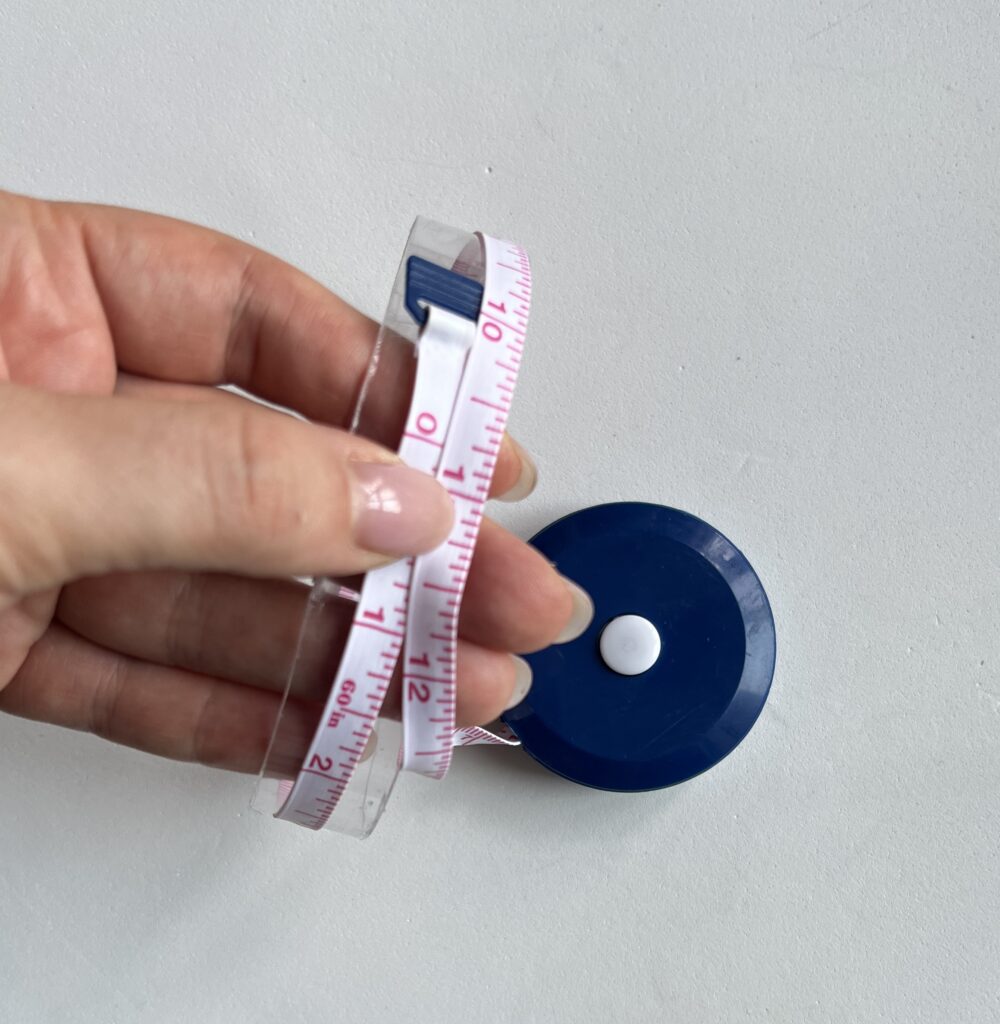
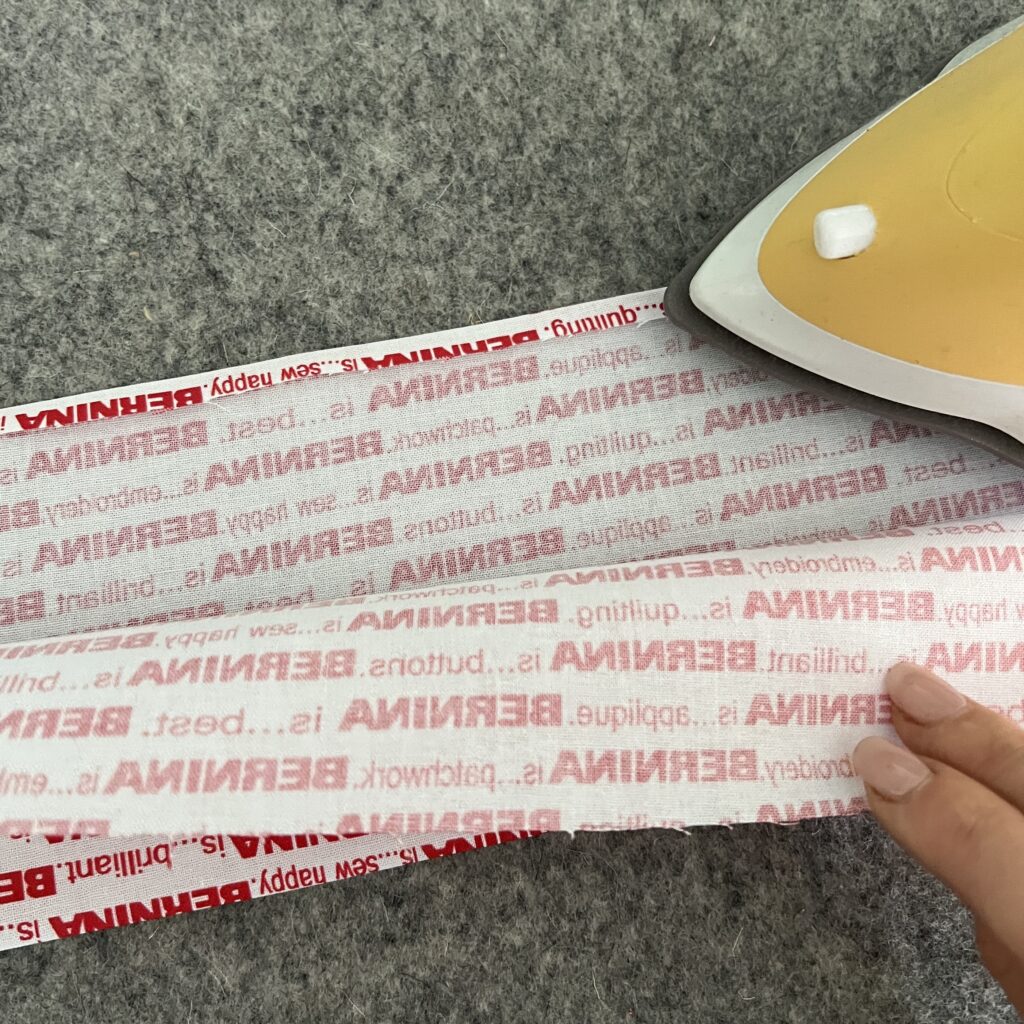
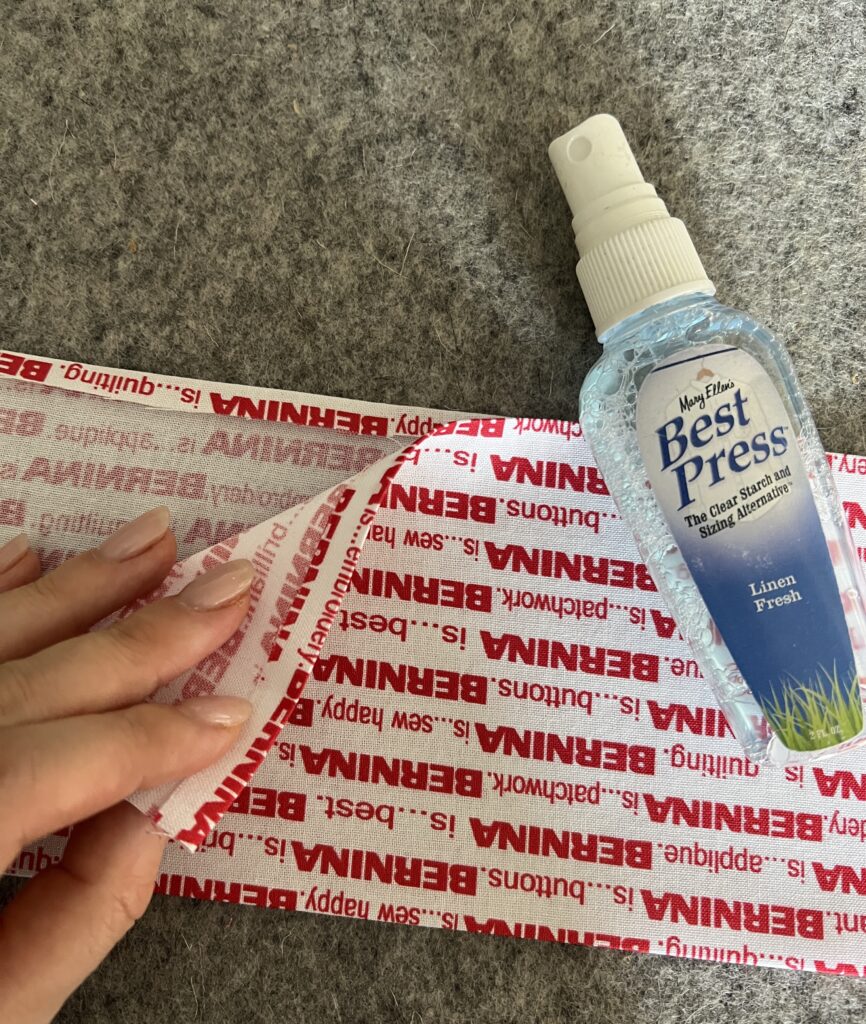
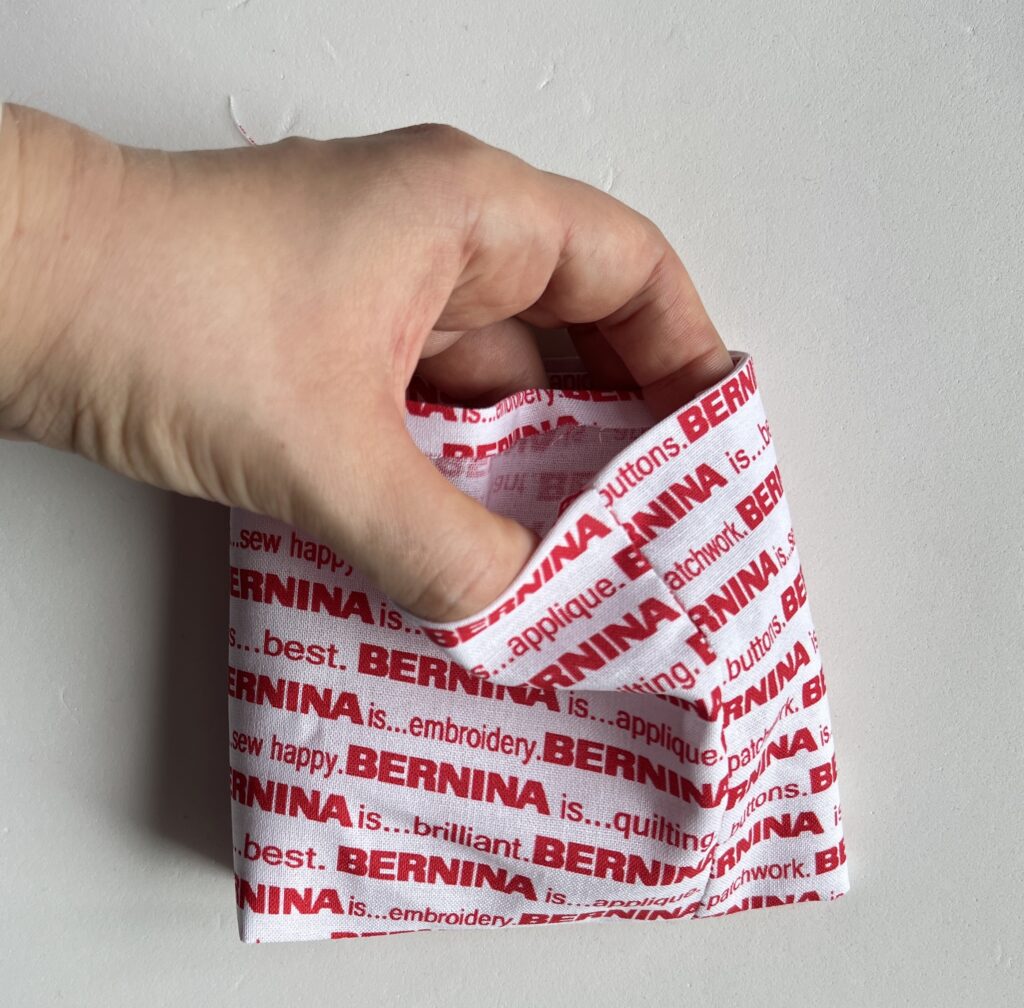
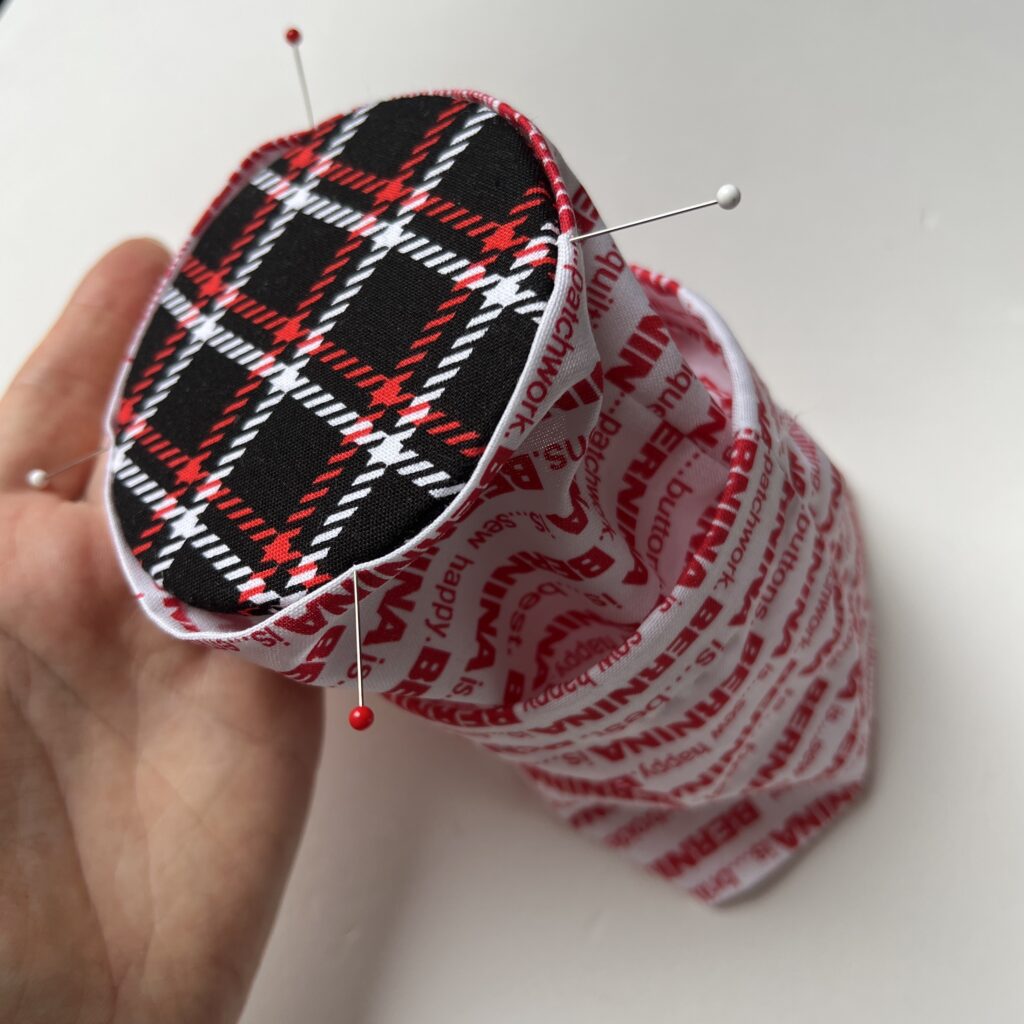
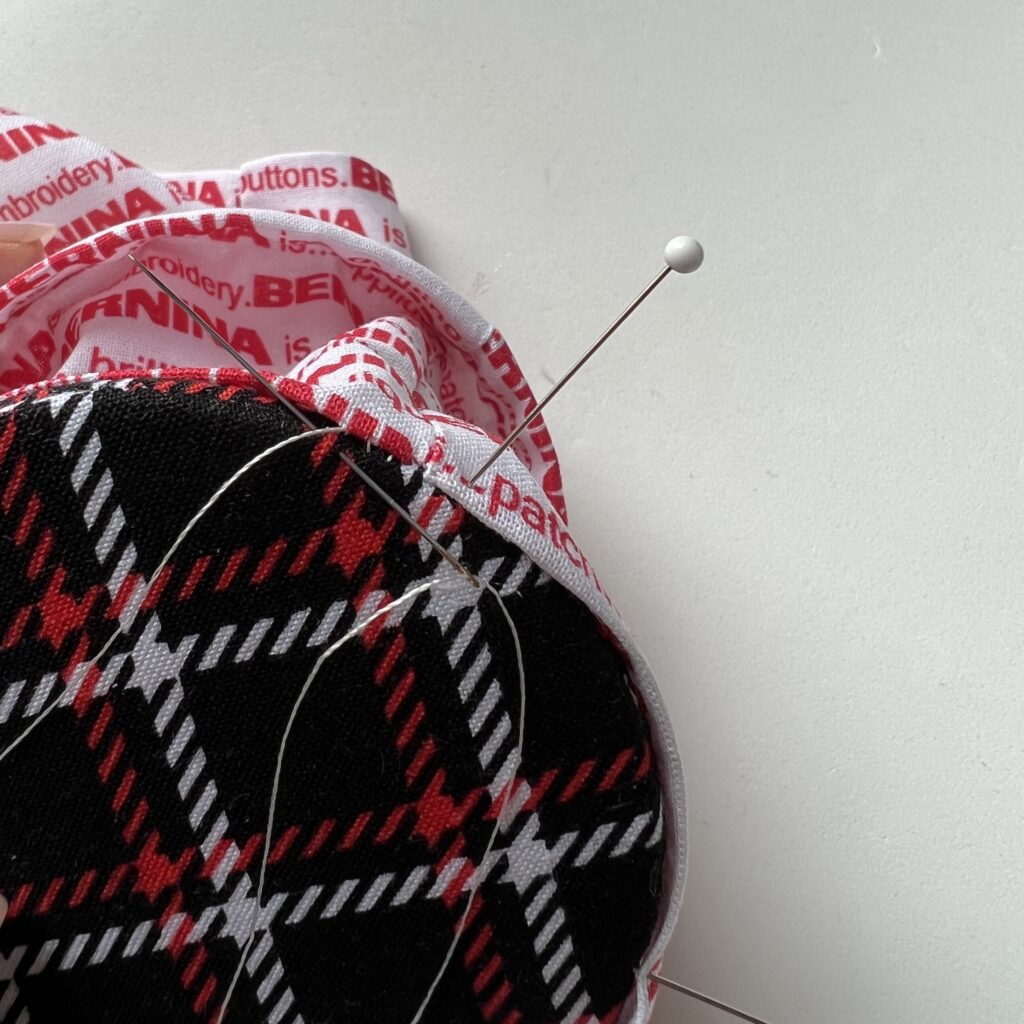
The overall process is sewing basics using stitching by hand or sewing machine if you prefer. The basic process is to measure the base ring, count and cut the fabric according to your measurements and put everything together to create the adorable thread catcher! 

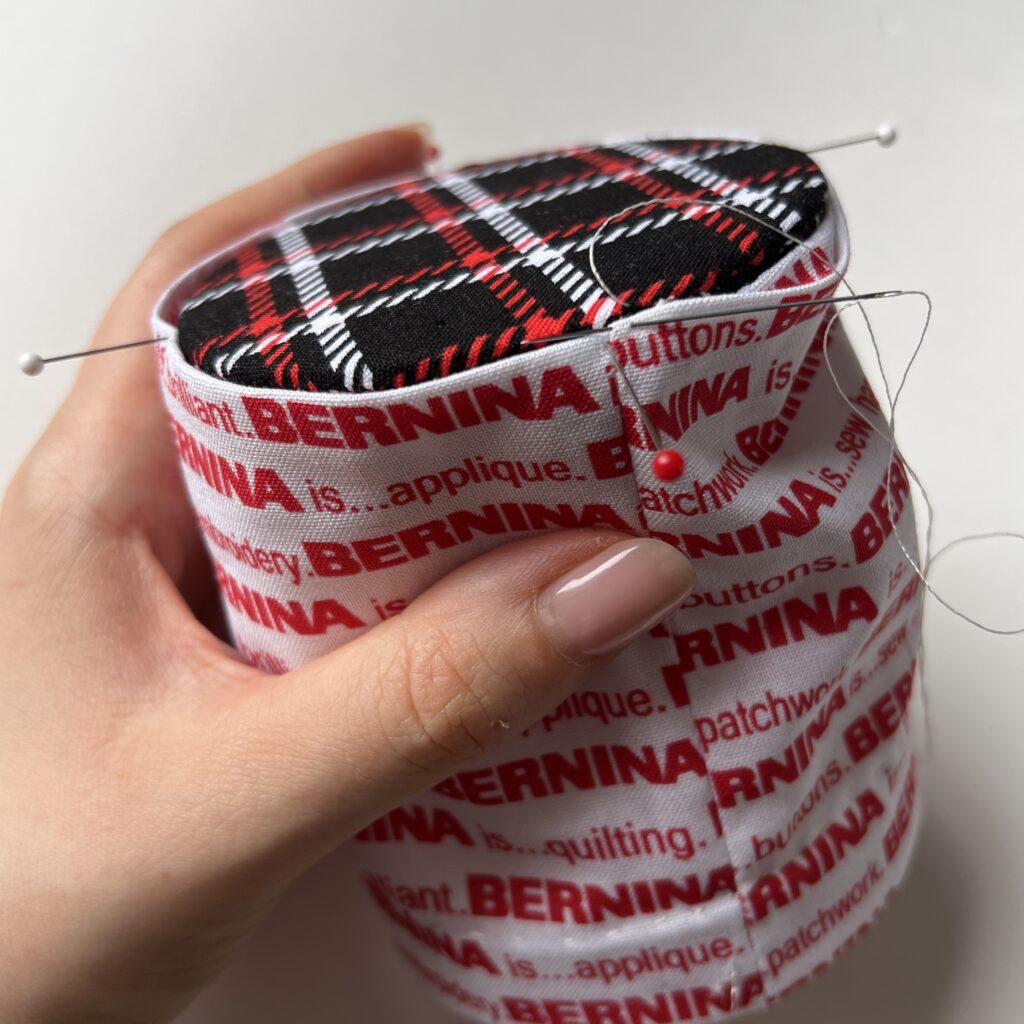
For the fabric measurements I use the following formula: Ring diameter + ½” by 9” (the ready thread catcher will be  3 ¾”height).

So let’s get started!

Materials and Tools (materials are given for ring base 3 ½” diameter)

Fabric 

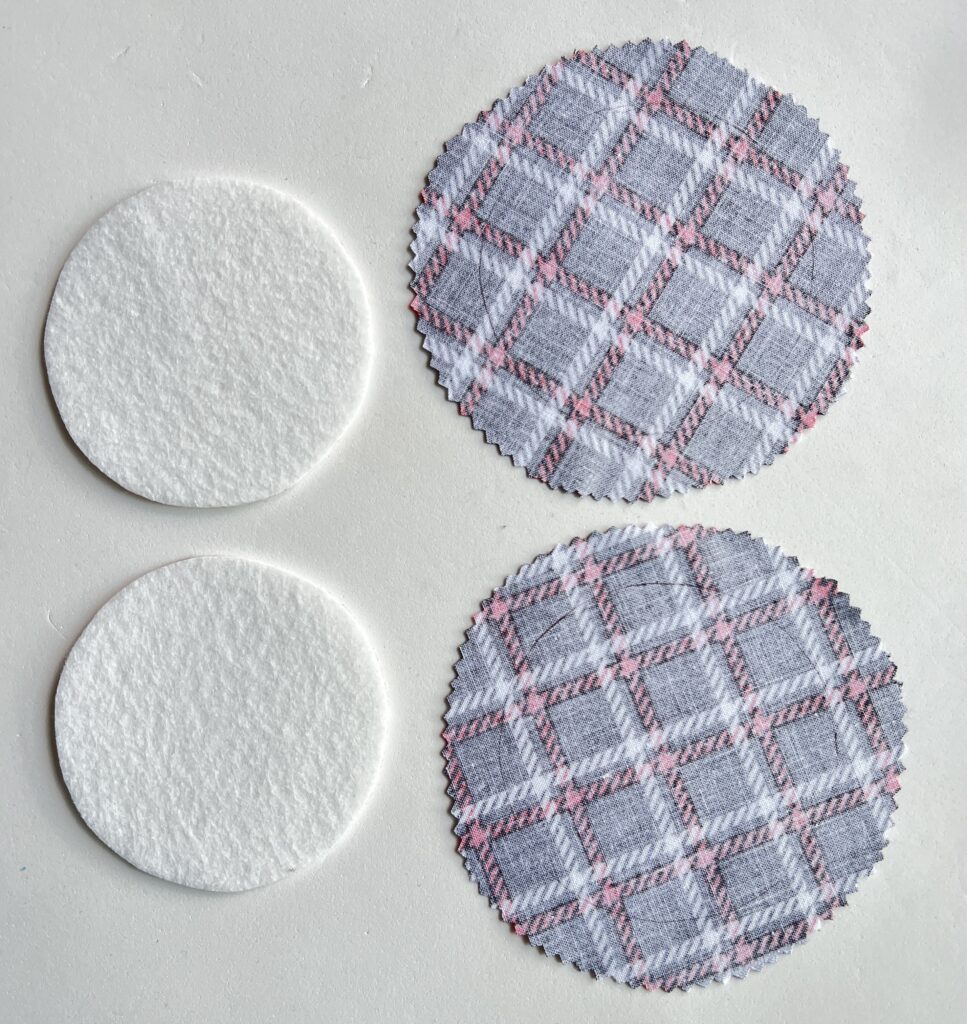
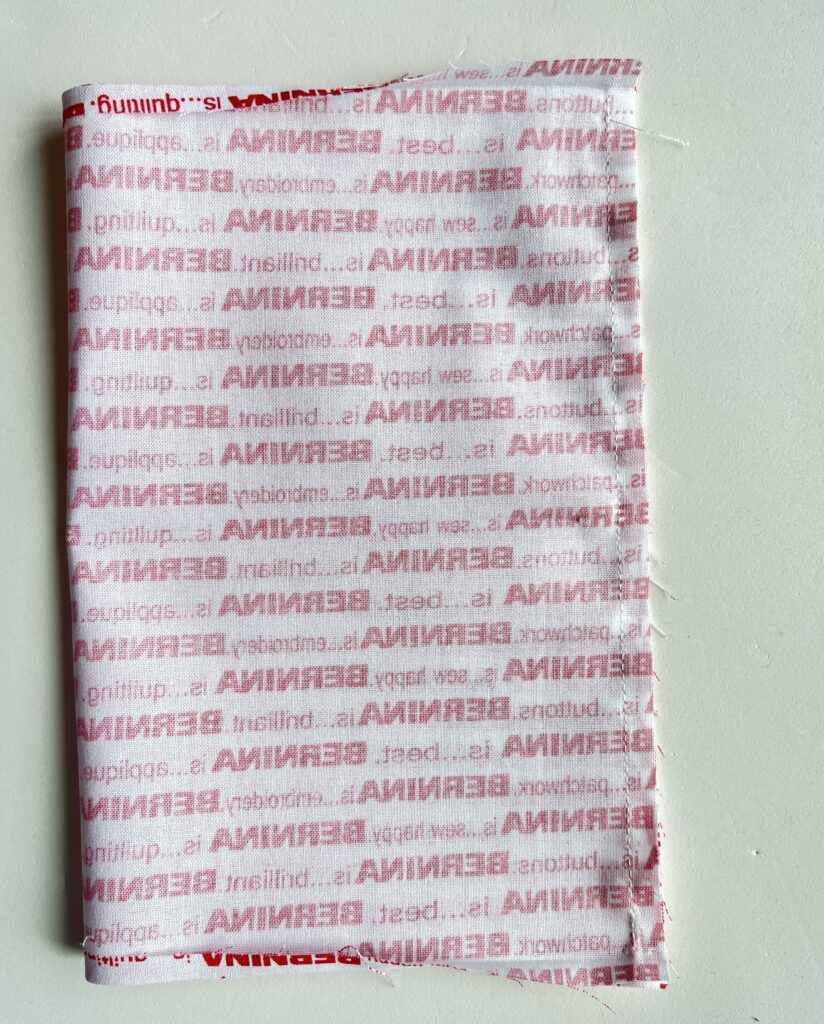
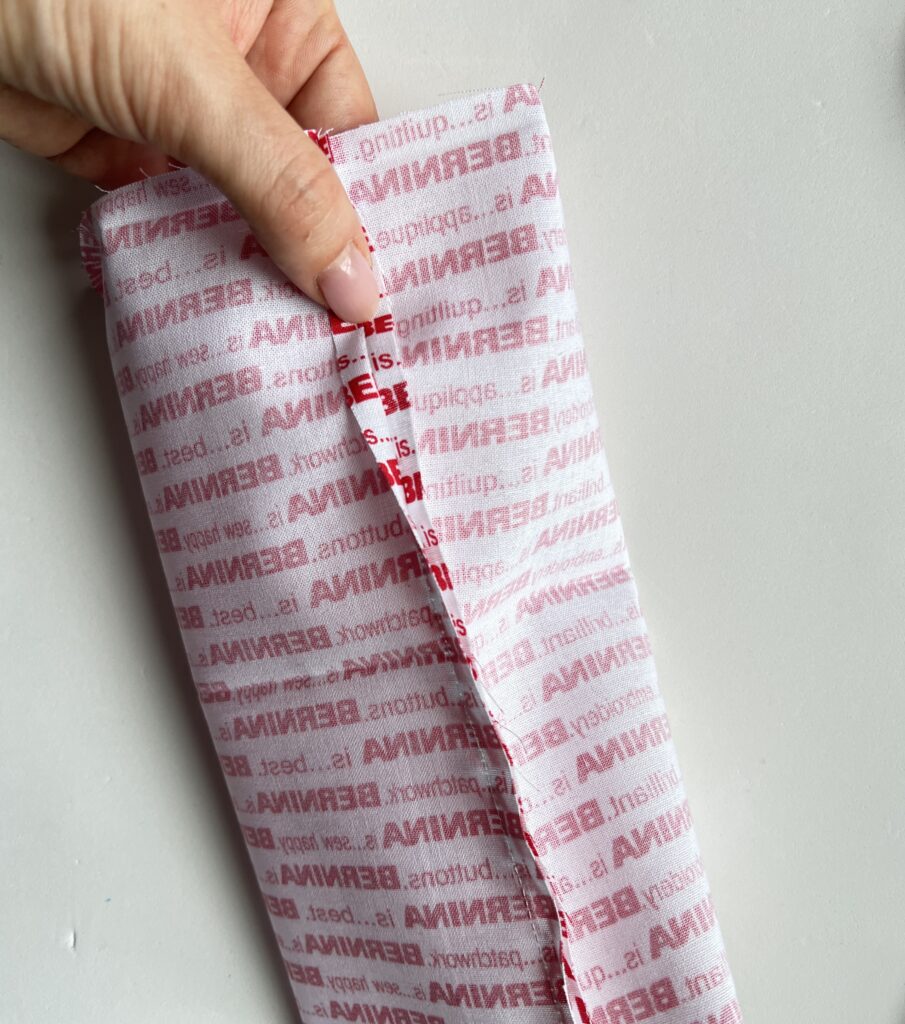
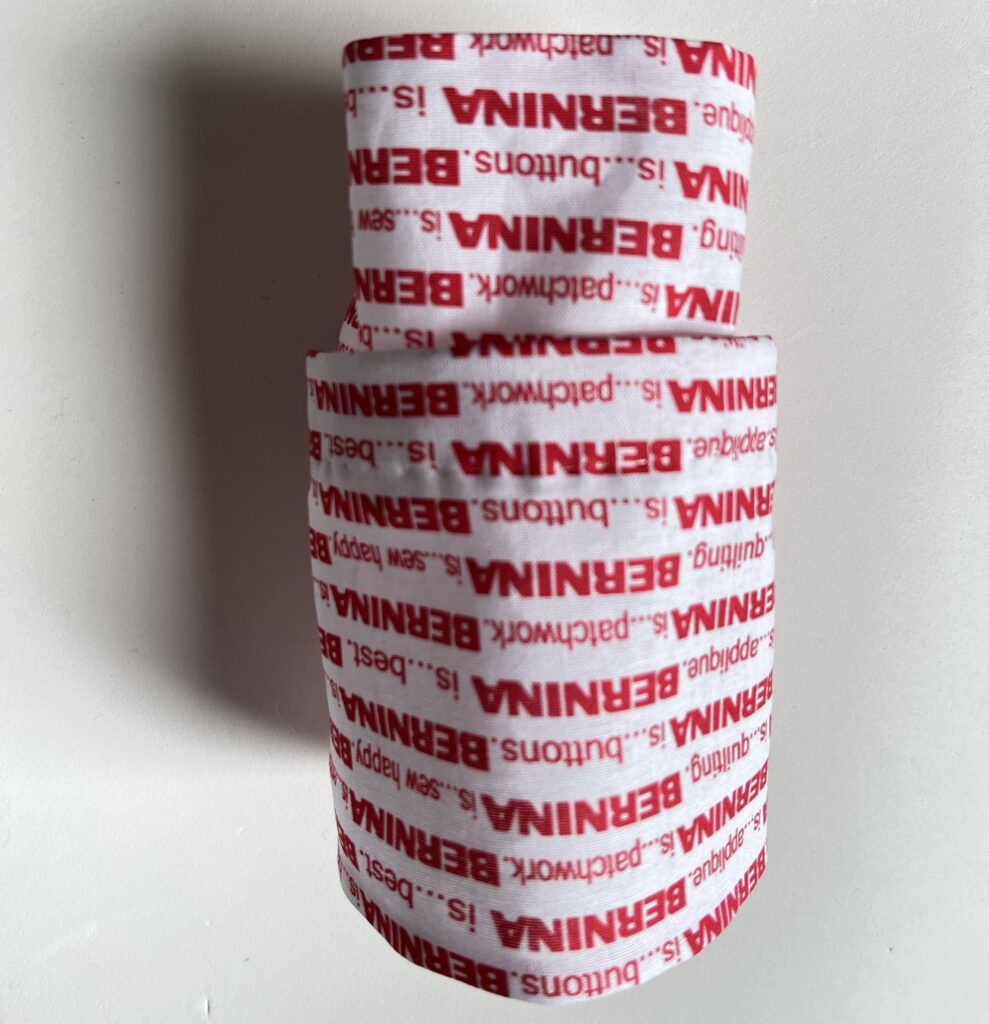
  • 9” x 11 ¼” 1 piece for catcher body;
  • 4 ½” x 9“ 1  piece for base;
  • 3 ½” x 7“ 1 piece of ultra-firm stabilizer.

Threads 

  • piecing thread (40 wt)
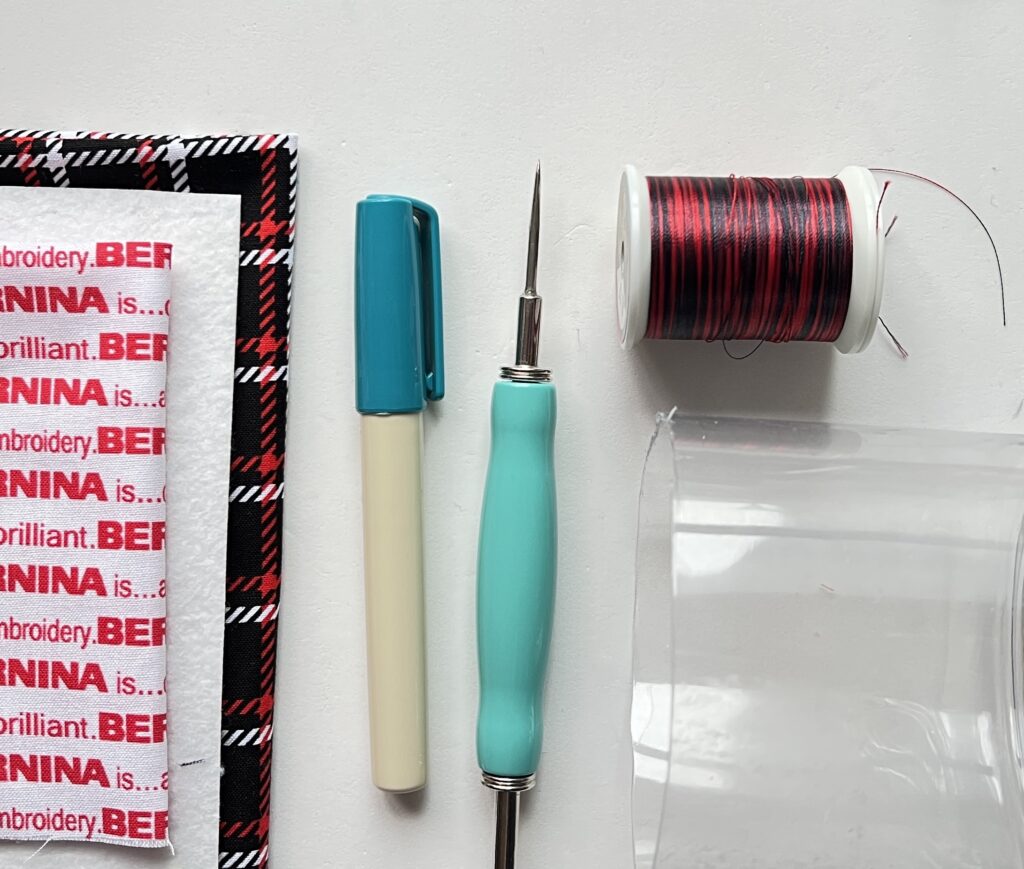
Notions 

  • Non-stick universal machine needle  
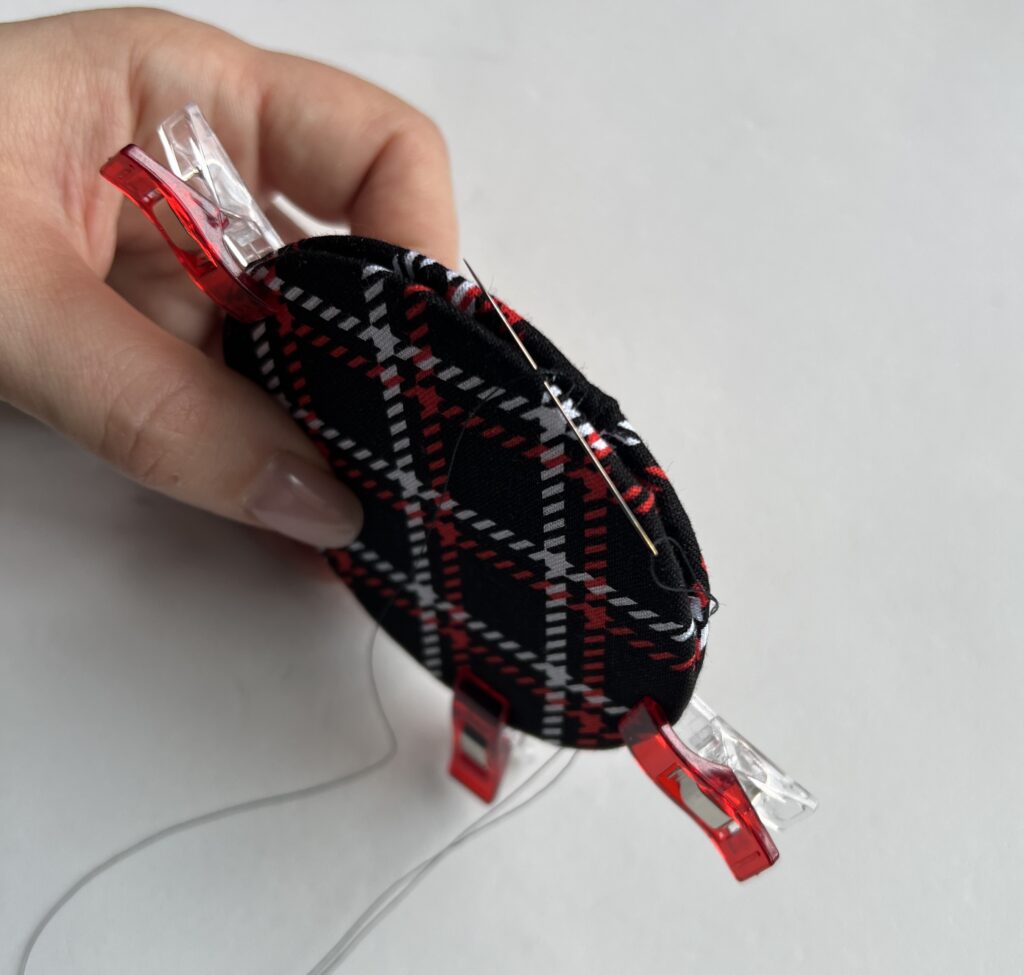
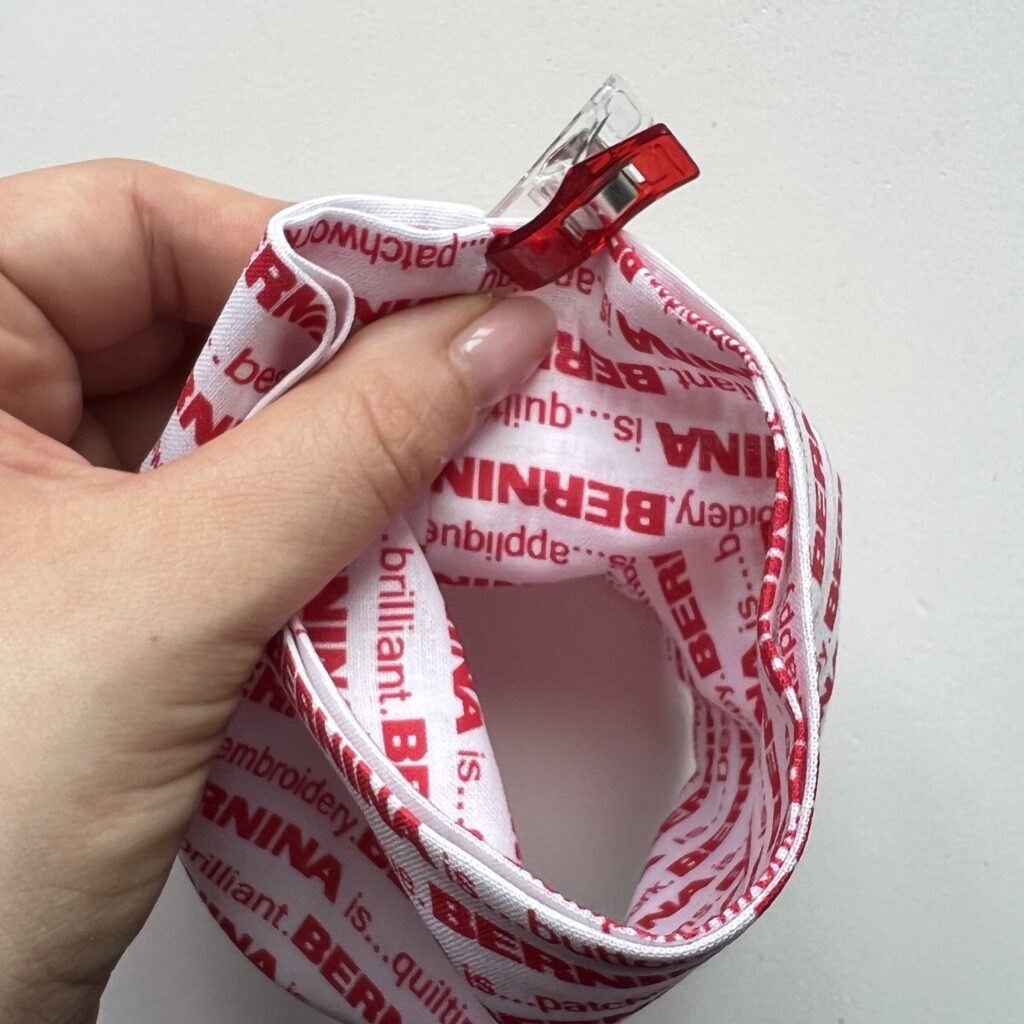
  • Hand sewing needle, clips and pins 
  • Pinking shears (optional)
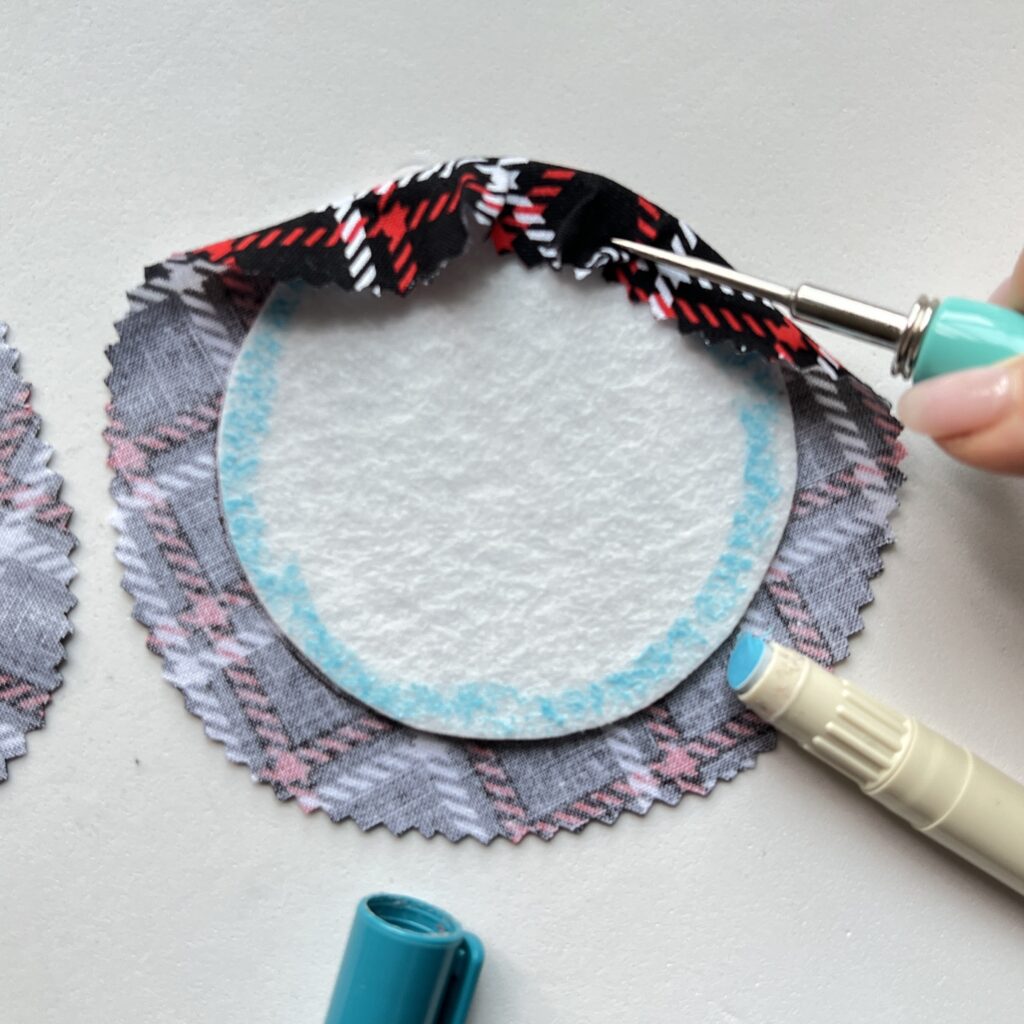
  • Stiletto and fabric glue pen
  • Scissors
  • Plastic bottle or jar
Tip: To keep the catcher shape, I recommend Best Press Clear Starch for pressing.
Step 1. Mark the ¾” with a stiletto.
Step 2. Cut the ring. Use the ring as a template to create a catcher base. Draw with a pencil from the inside the ring.
Step 3. Measure the ring. Use the formula to cut the fabrics: Ring diameter + ½” by 9”. In my case the fabric piece measurements are 10 ¾”+½”= 11 ¼”by 9”.
Step 4. Trace the base circle template twice onto the stabilizer and cut with no seam allowance. Trace the circle template twice to the wrong side of the fabric. Cut with ½” seam allowance.
Step 5. With a fabric glue pencil draw a glue line. With a stiletto fold and press to glue the seams along the shape.
Step 6. Repeat for the second thread catcher base piece. Using clips, clip both base pieces with wrong sides together as shown. Blind- stitch the pieces along the shape.
Step 7. Fold the body fabric piece in half with wrong sides together. Press.
Step 8. Fold and press ¼” seam allowance along both long sides.
Step 9. To hold the seams, fold the body fabric as shown and press with a spray.
Step 10. Fold the body fabric piece in half with wrong sides together along the short sides.  Pin and stitch with ¼” seam allowance.
Step 11. Press the seam open.
Step 12. Fold the tube with wrong sides together matching the seam allowance.
Step 13. Insert the plastic ring and insert it between the sides.
Step 14. Bring the ring all the way down  matching the seam and top edges. Clip to fix the seam match.
Step 15. Fix the ring with clips. Make a running stitch along the ring edge through all fabric layers as shown.
Step 16. Take the inside layer and push it up.
Step 17. Pin the catcher base.
Step 18. Blind- stitch along the shape gathering down the fabric if needed.
Step 19. Push the inner side through matching the top edge.
Step 20. Pin and blind- stitch along the shape.
Step 21. To collapse the catcher, take both top and base sides and twist.
Step 22. Push the catcher base  inside the ring. To open the catcher just push the base.
Our Catcher is ready!!!
Try different sizes and fabric mix to create adorable thread catcher!!!

As a bonus you can FREE download tutorial in step-by-step pictures and pattern in PDF format here (click): Collapsible Thread Catcher

If any questions or help please don’t hesitate to text me on my Instagram

Stay Quilty!!!

Always yours,

Olesya

More to explore

Witch Hat

The timing couldn’t be better to craft some stylish accessories. This stunning felt witch hat is an ideal project for beginners. What’s