Bow Tie Collar For Feline Friend

Facebook
Pinterest
Email
Print

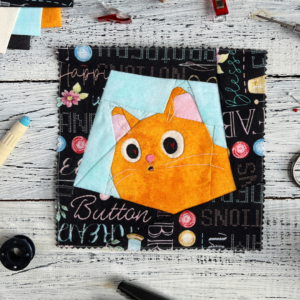
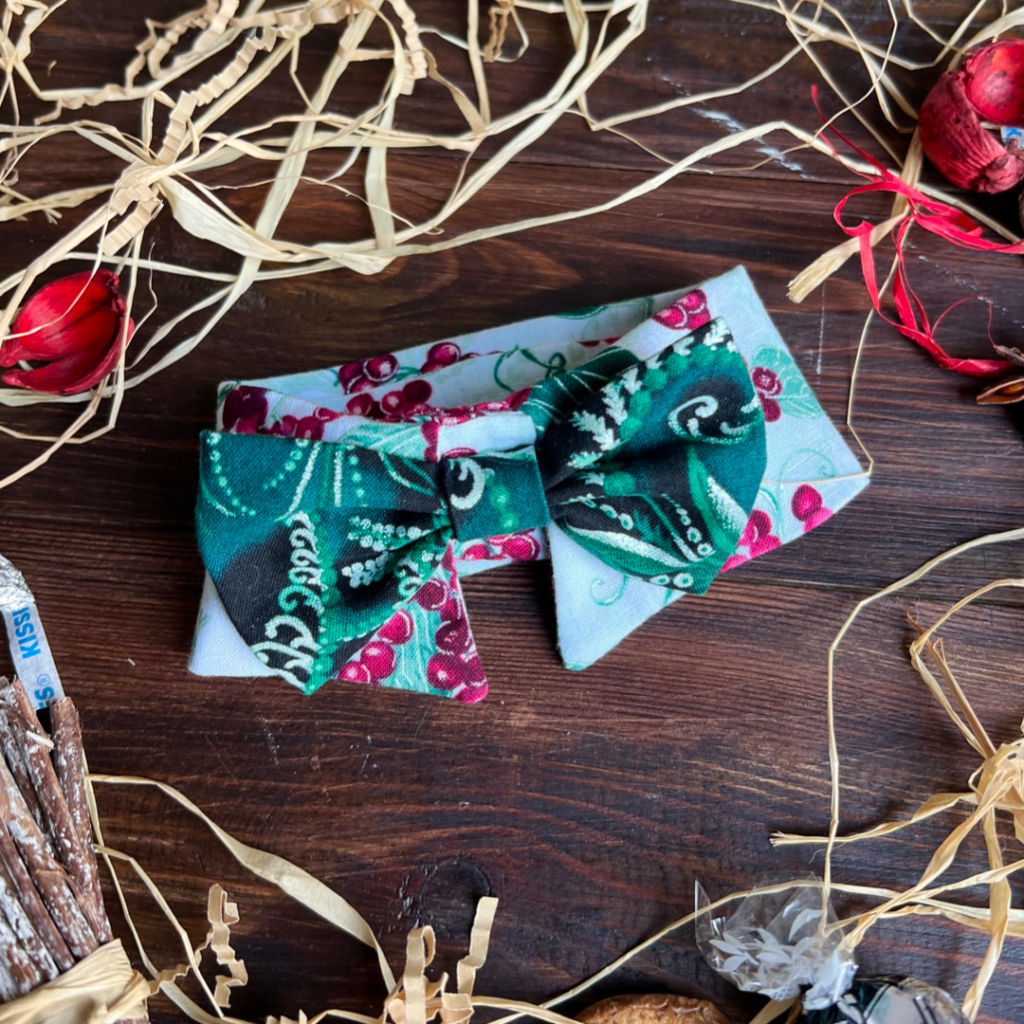
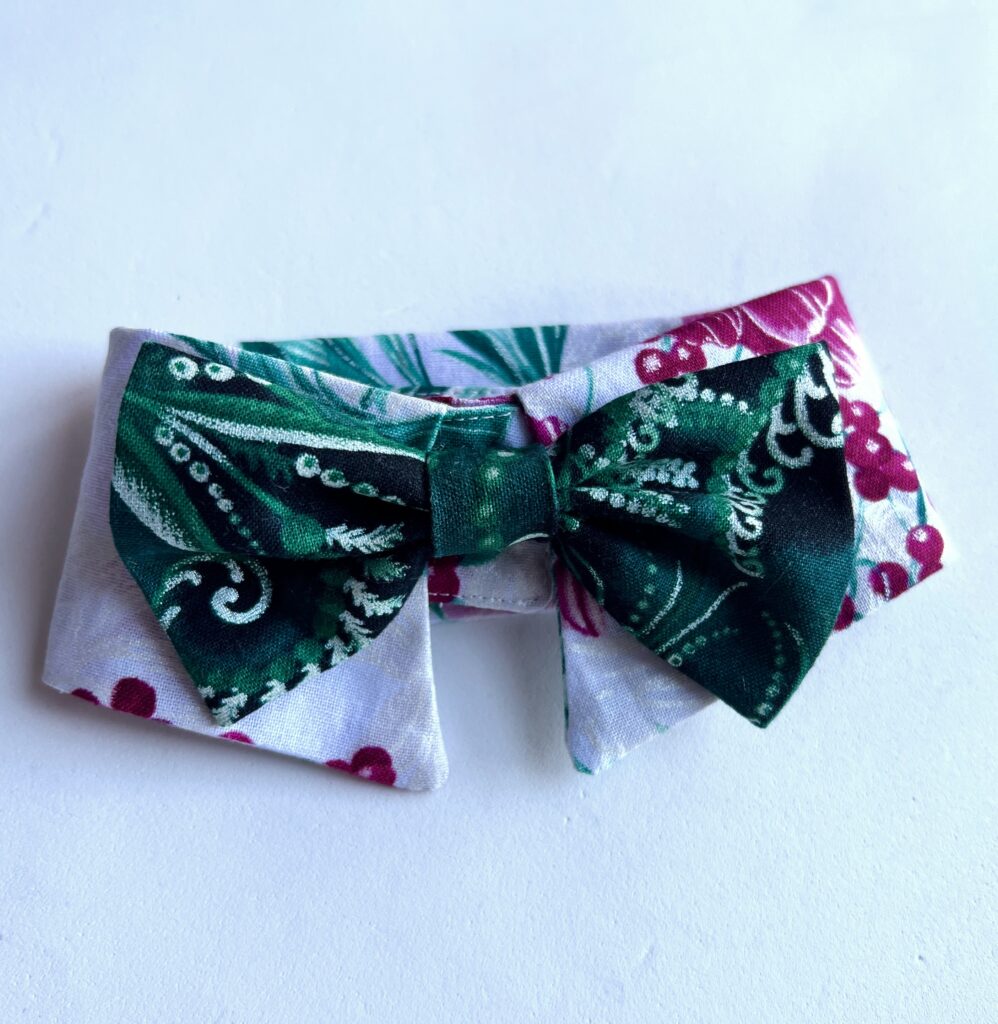
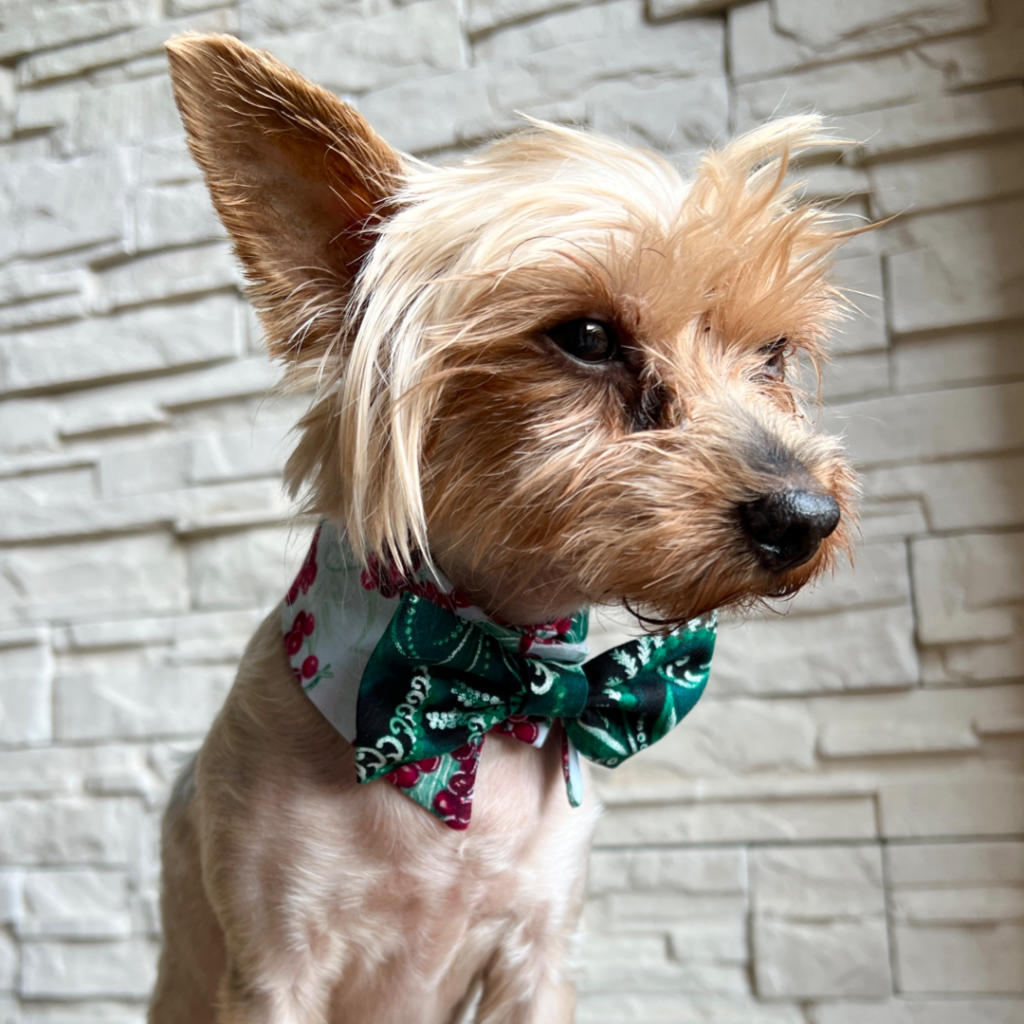
This summer I was celebrating Christmas in July as a Benartex Ambassador! And right now, I am happy to share my latest tutorial: a fancy collar for our adorable feline friends inspired by the nearest ‘WinterBerry’ fabric collection fabric collection 2023 by KANVAS STUDIO.

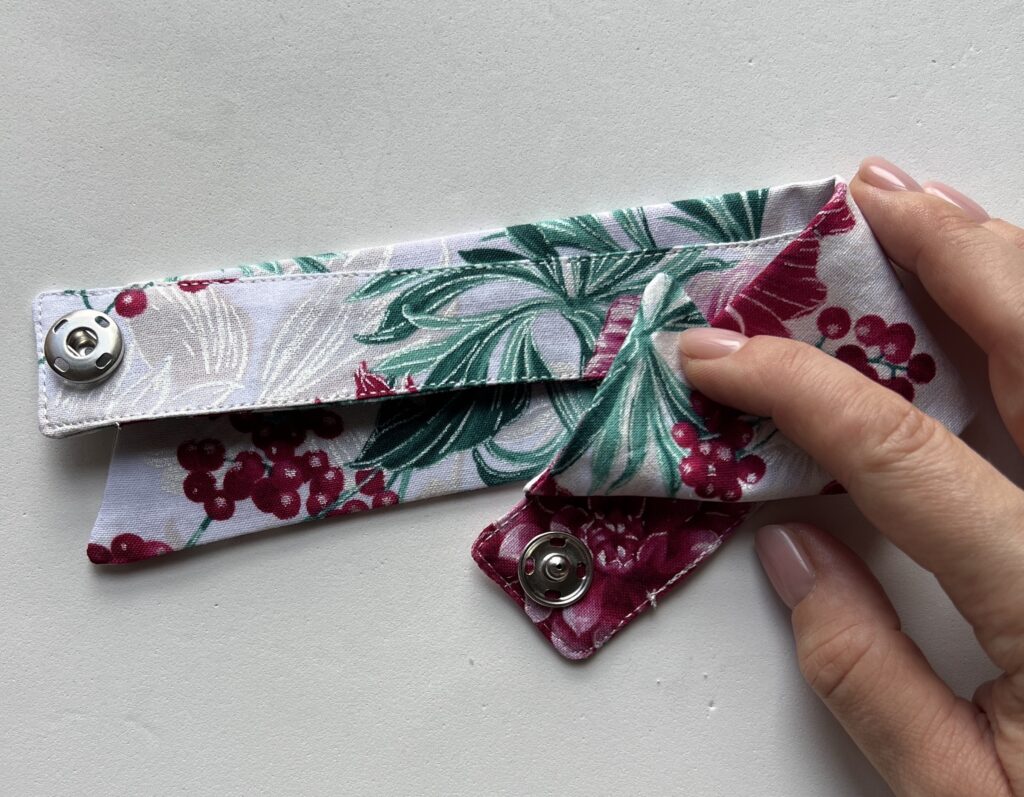
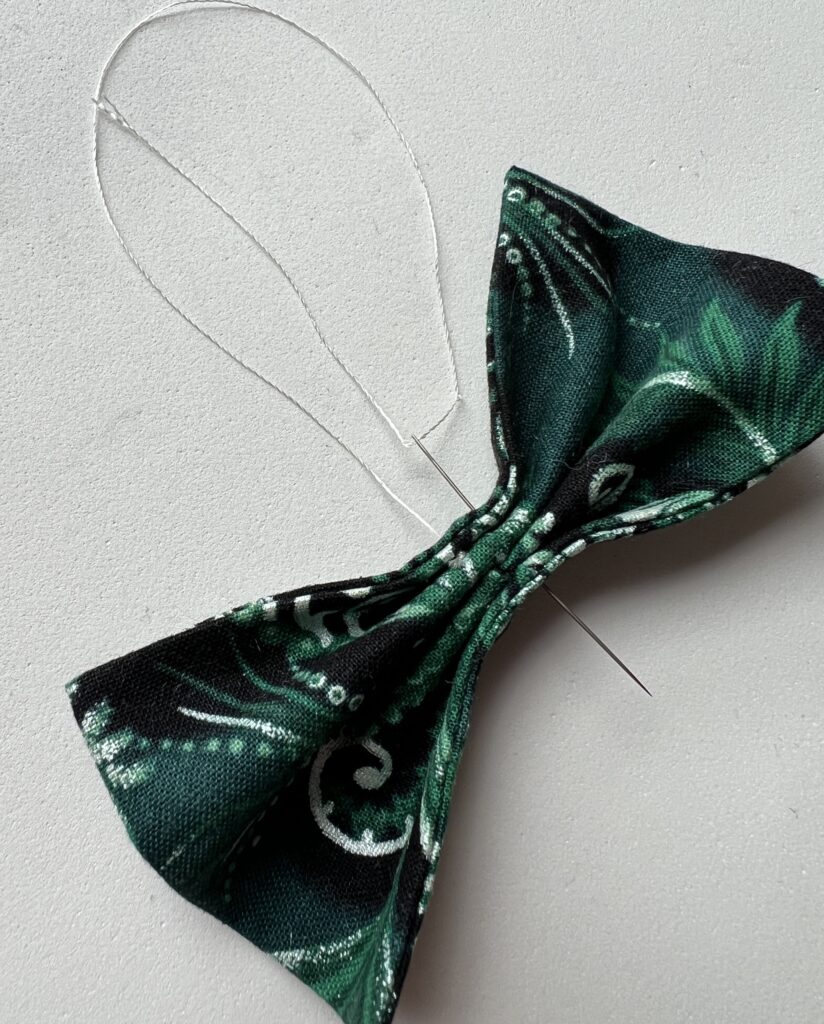
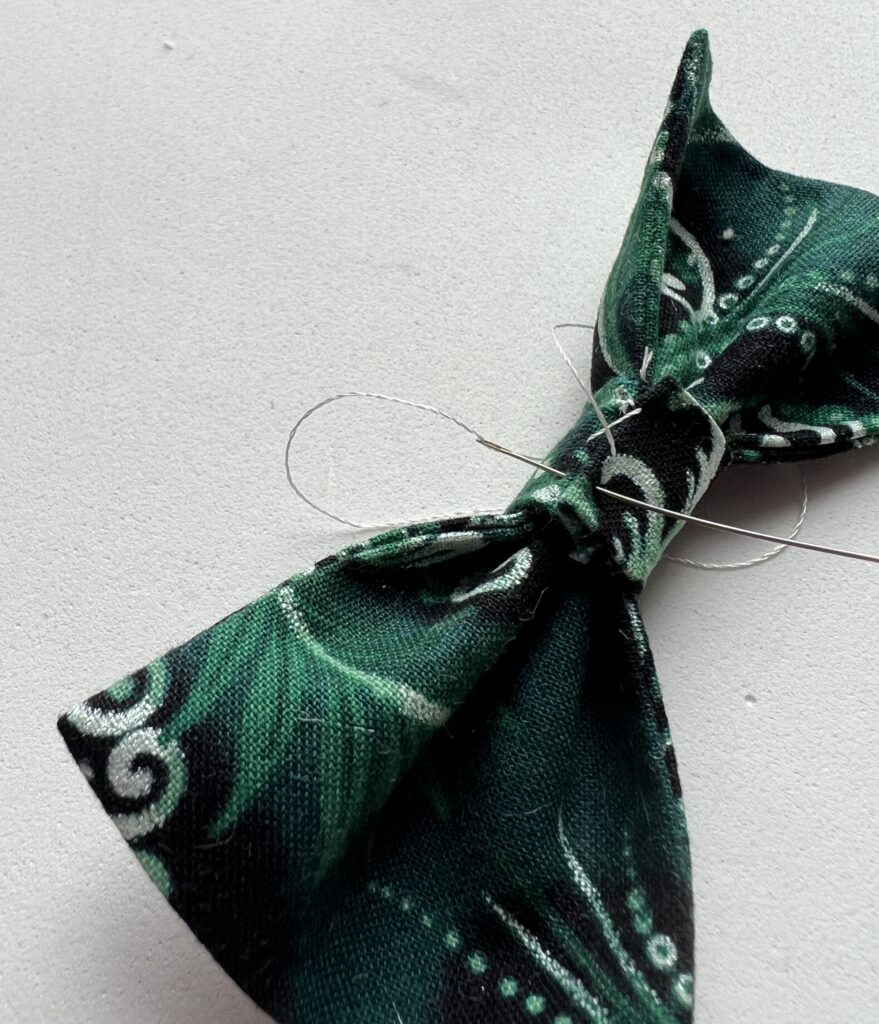
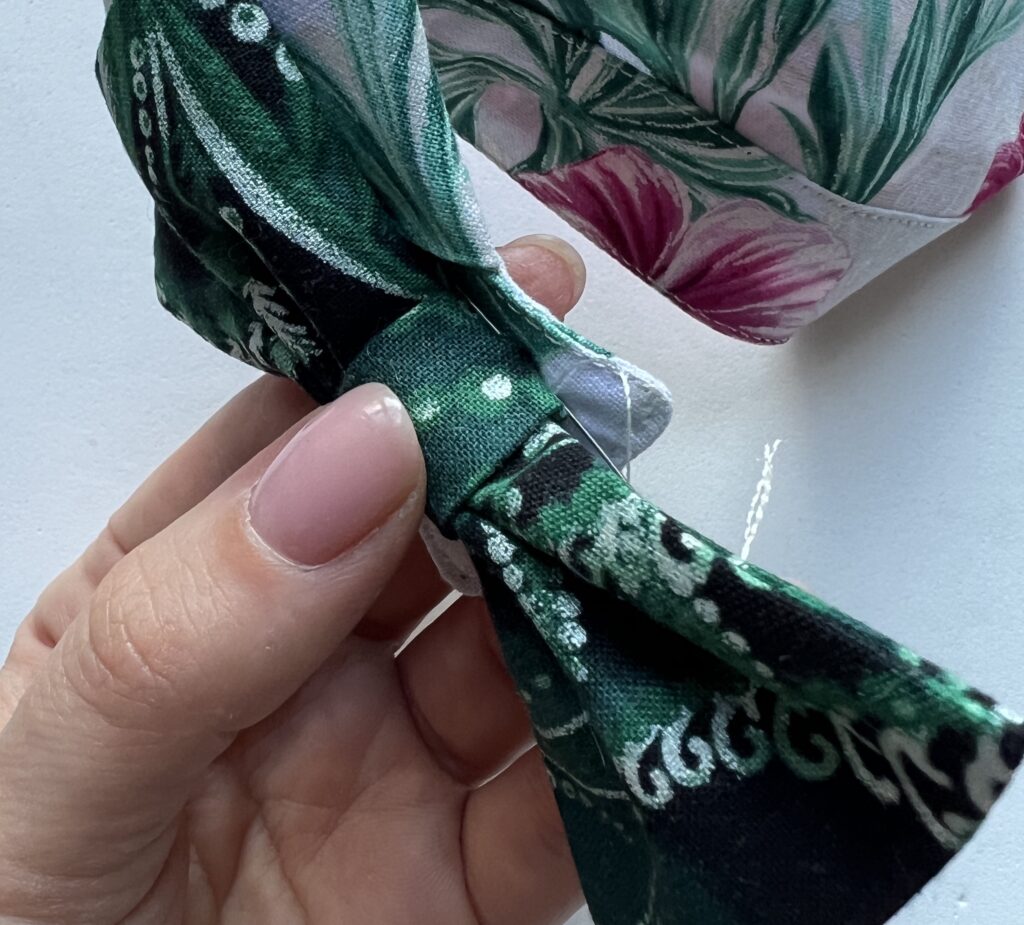
The vivid colors of bright green, beige, and red, adorned with a gentle glimmer of silver metal, were truly captivating. Christmas inspiration danced around me like snowflakes in the winter breeze as I started creating. I had several projects for virtual presentation but one was truly special for me. I made a collar with a fancy bow tie! With each snip and stitch, I poured my love for Christmas into this shirt collar accessorise. You could envision pets wearing such stylish collars during holiday gatherings, bringing smiles to the faces of their families and spreading joy wherever they went.

Skill level Confident beginner Finished measurements depends on pet breed

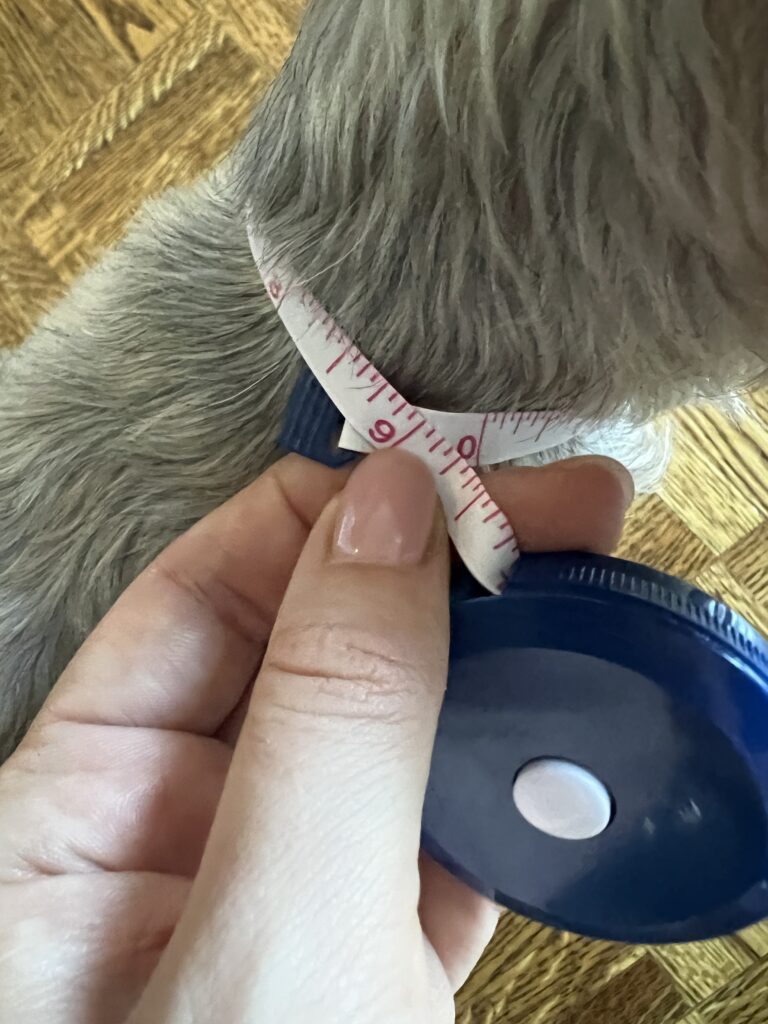
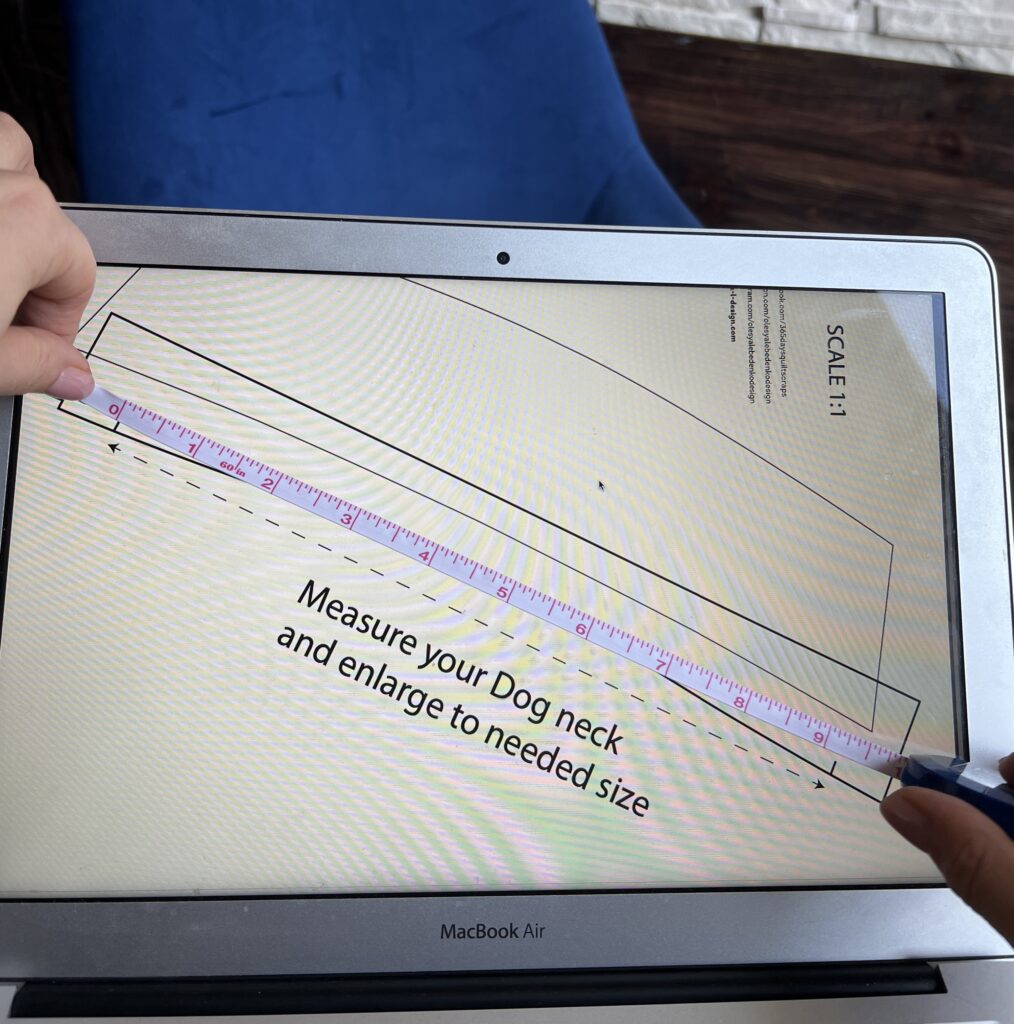
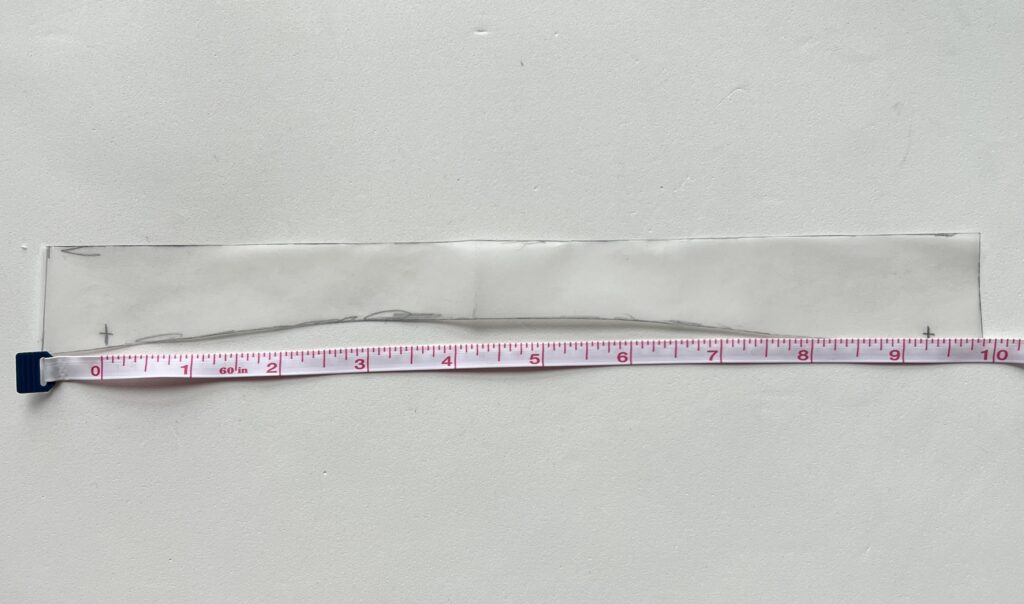
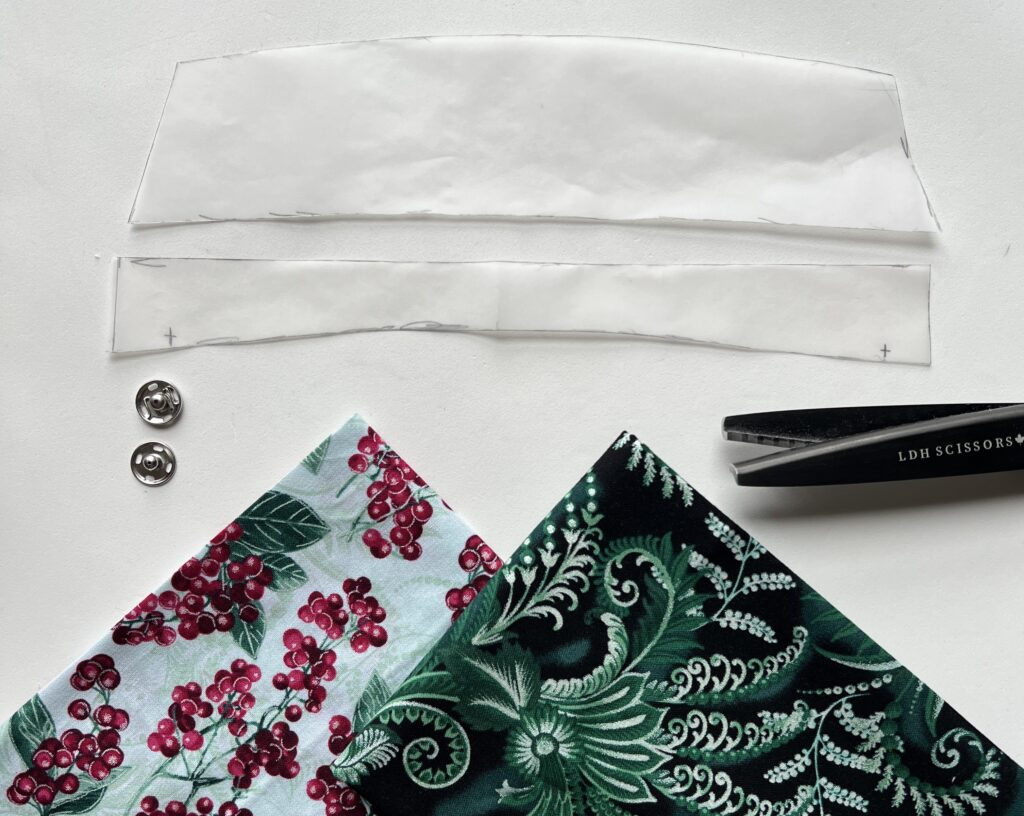
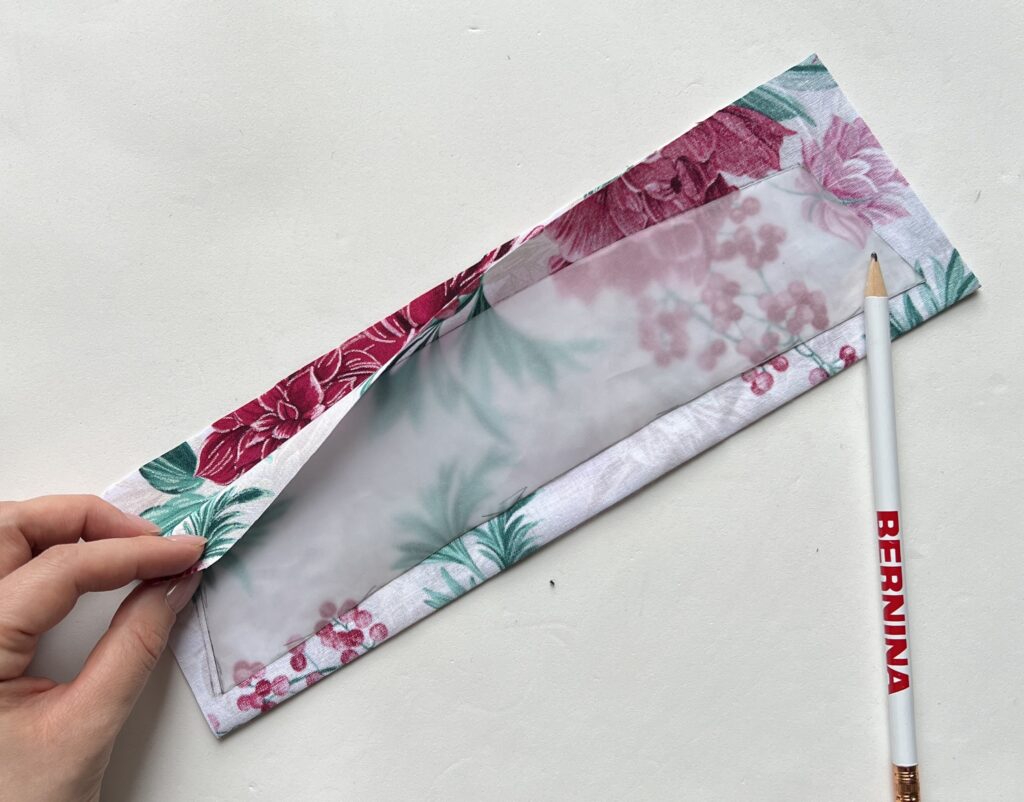
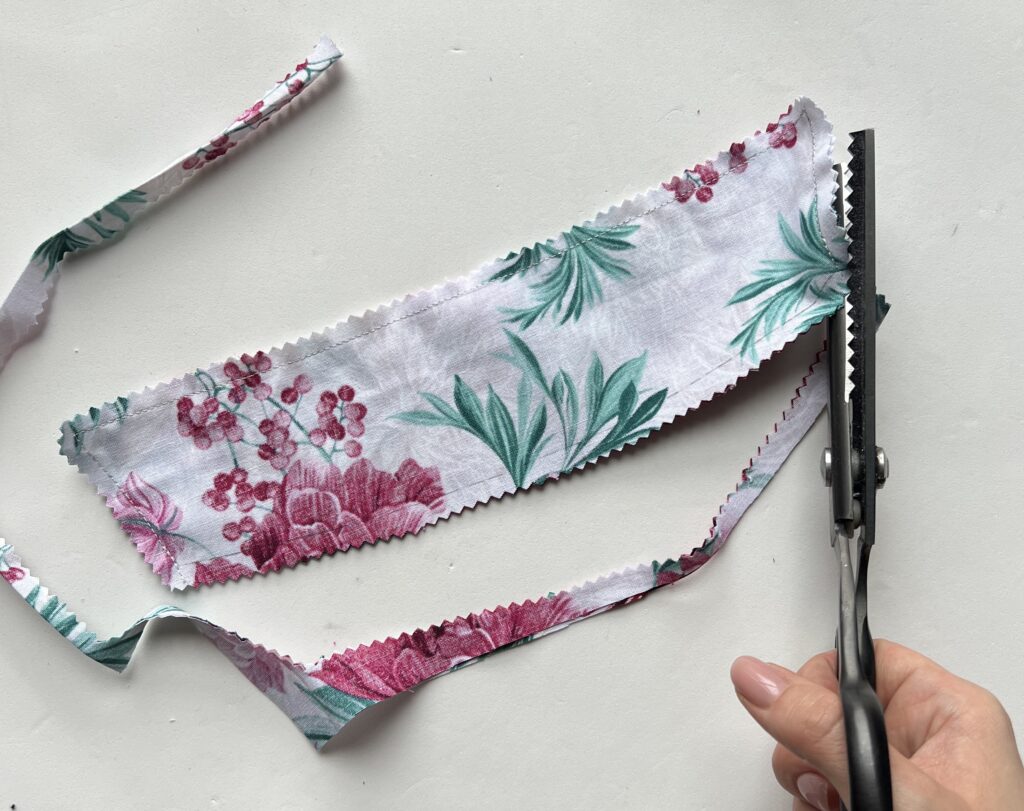
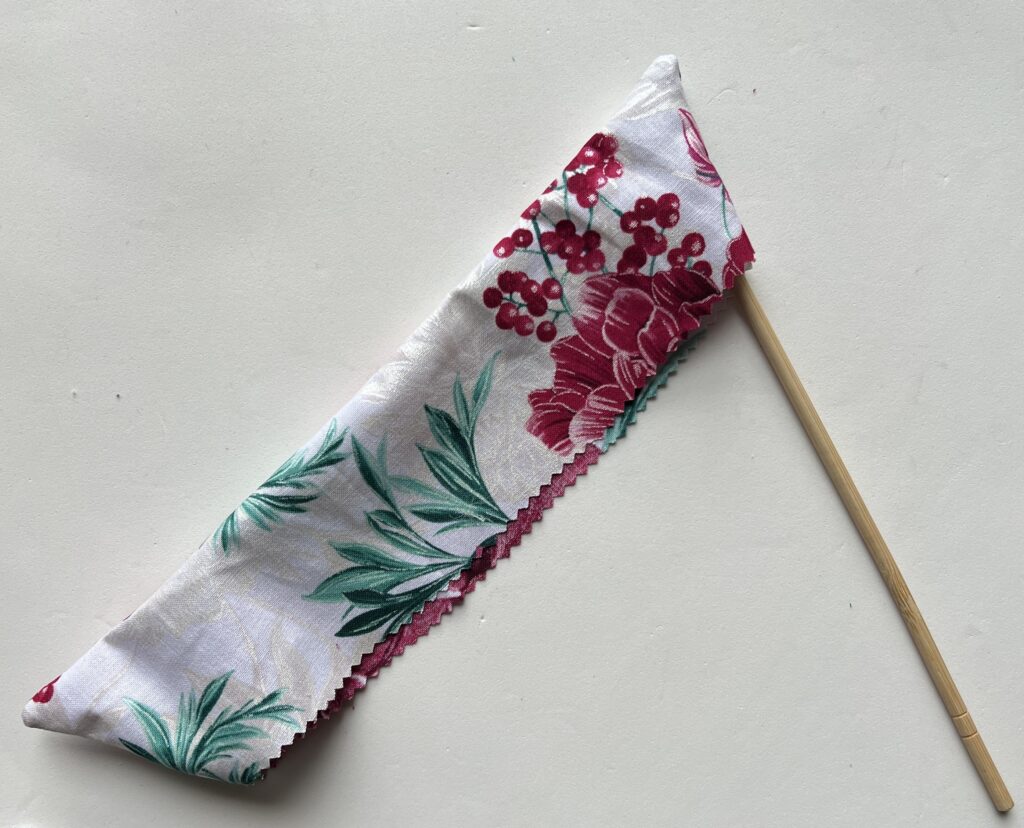
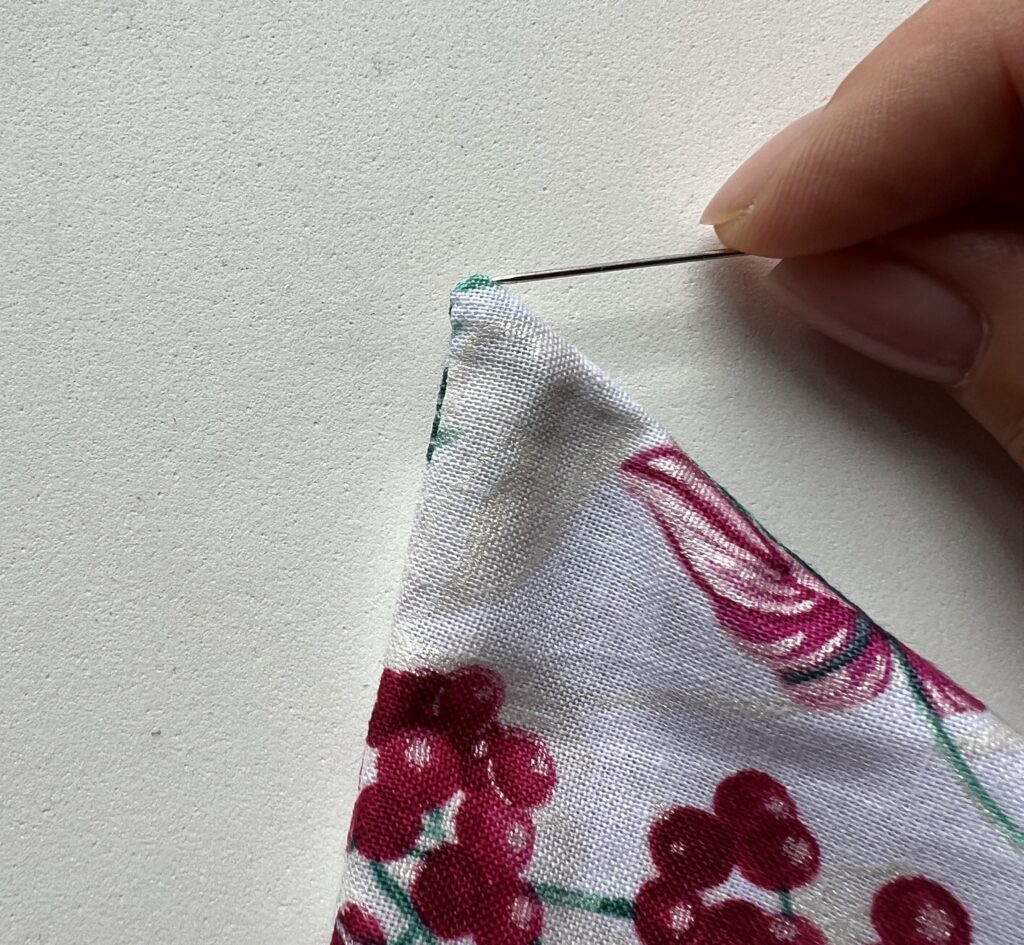
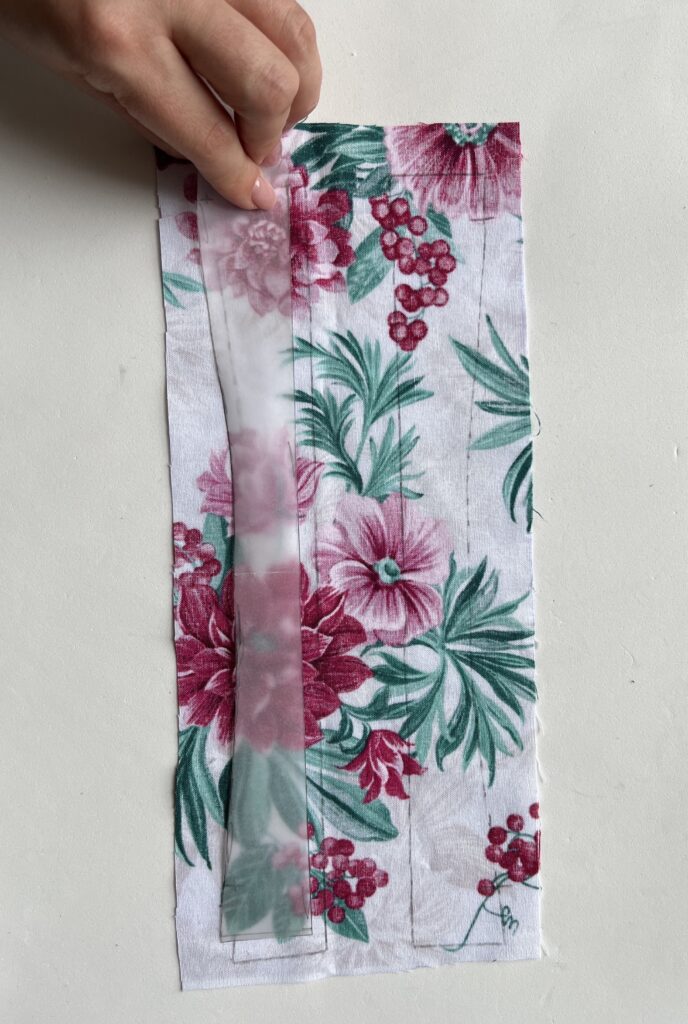
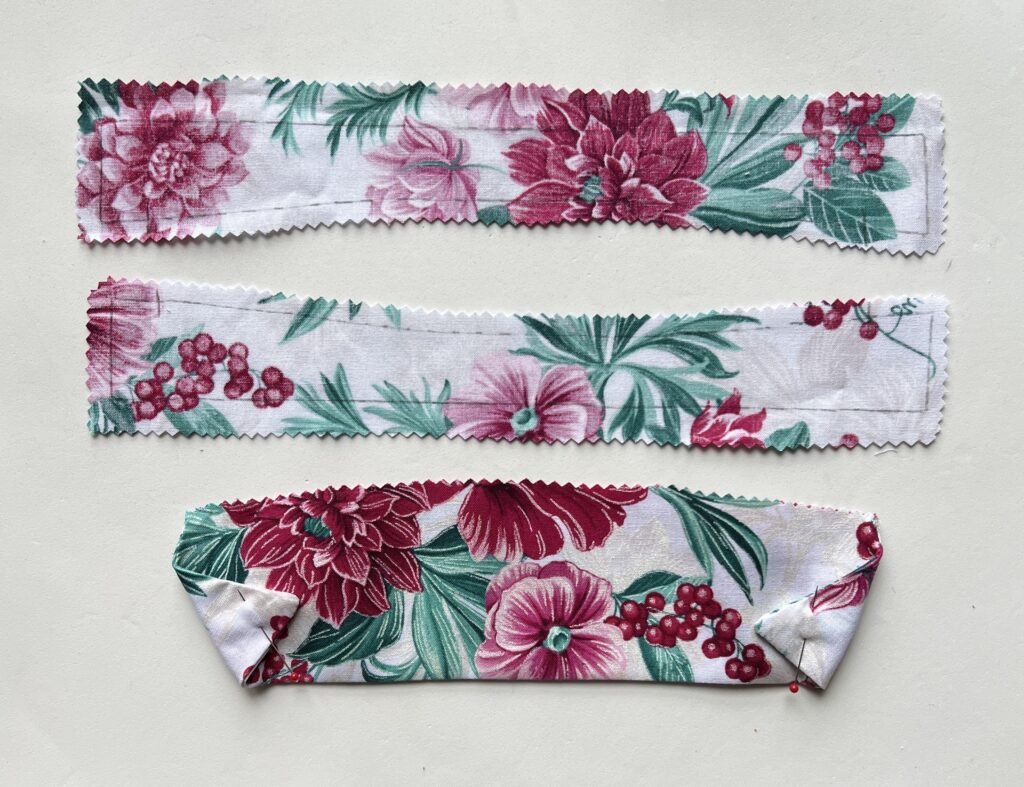
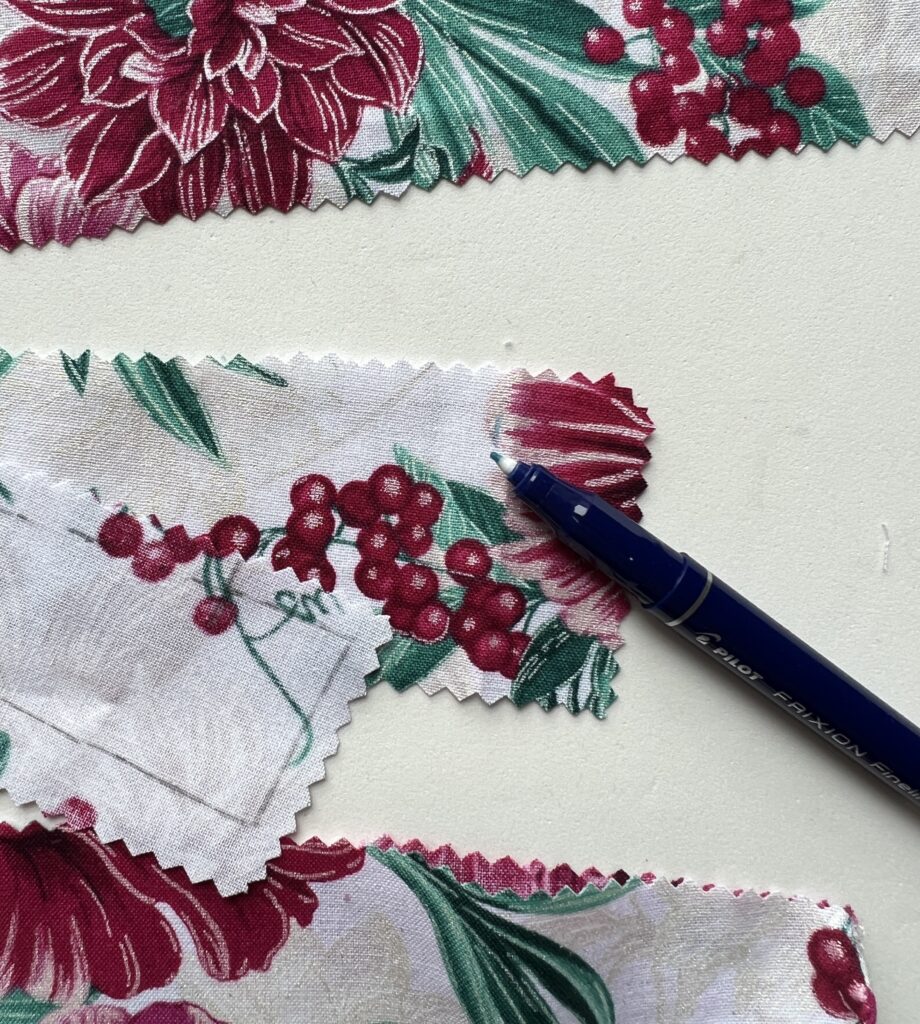
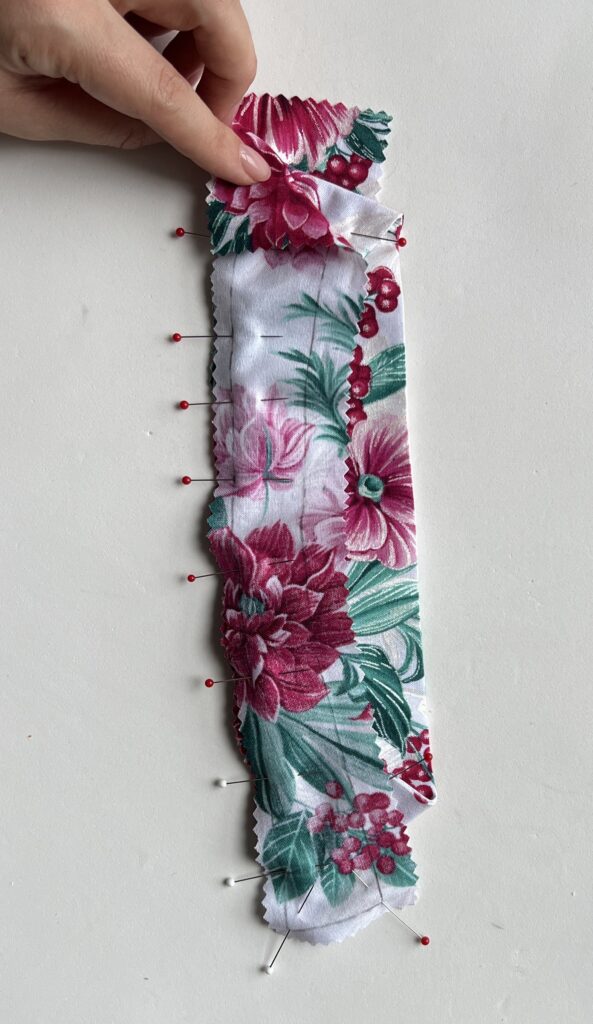
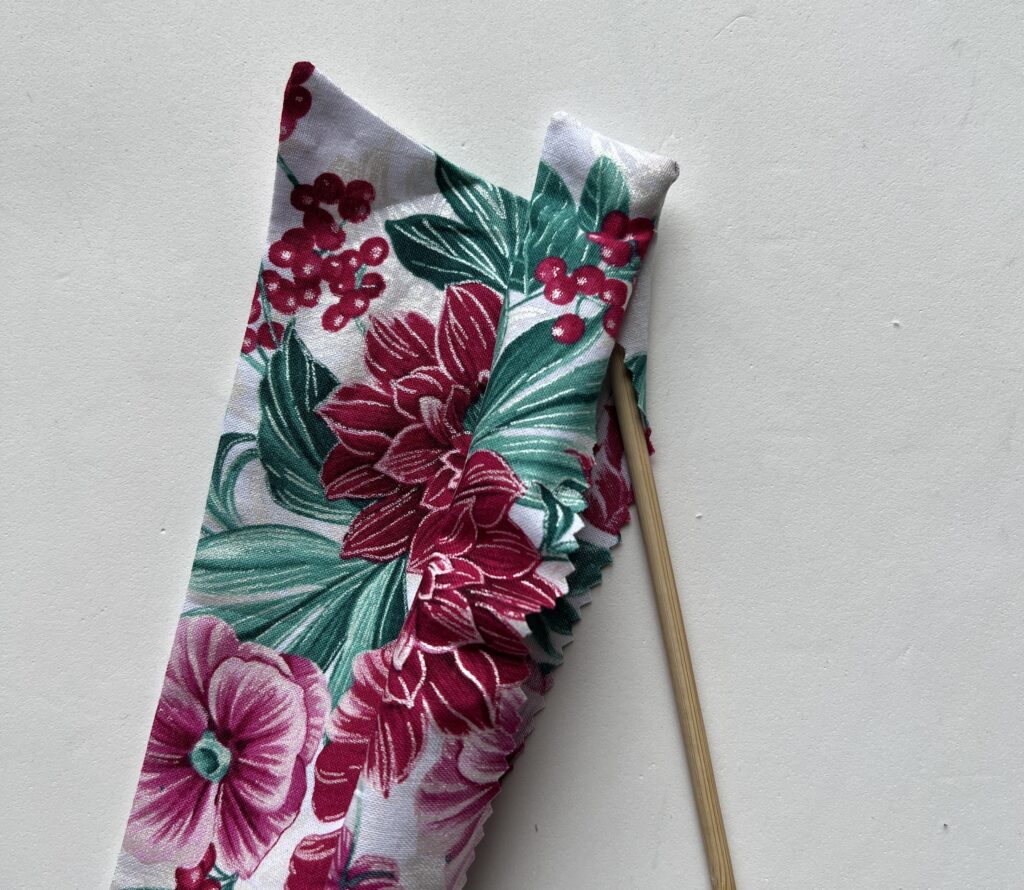
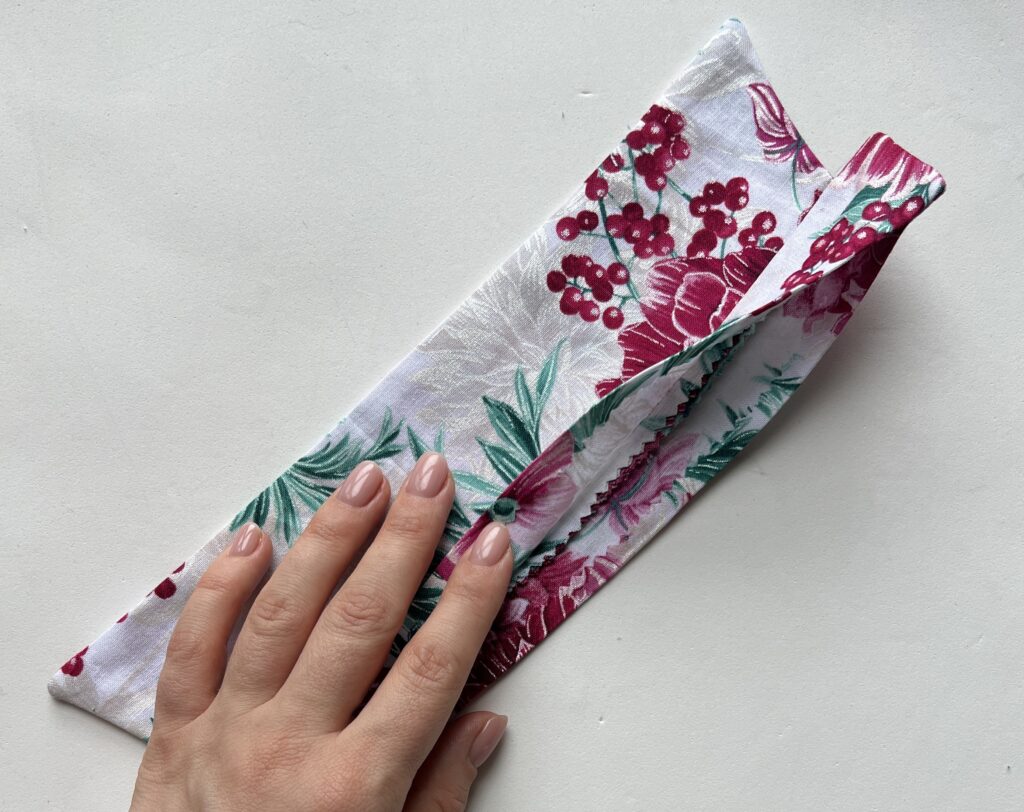
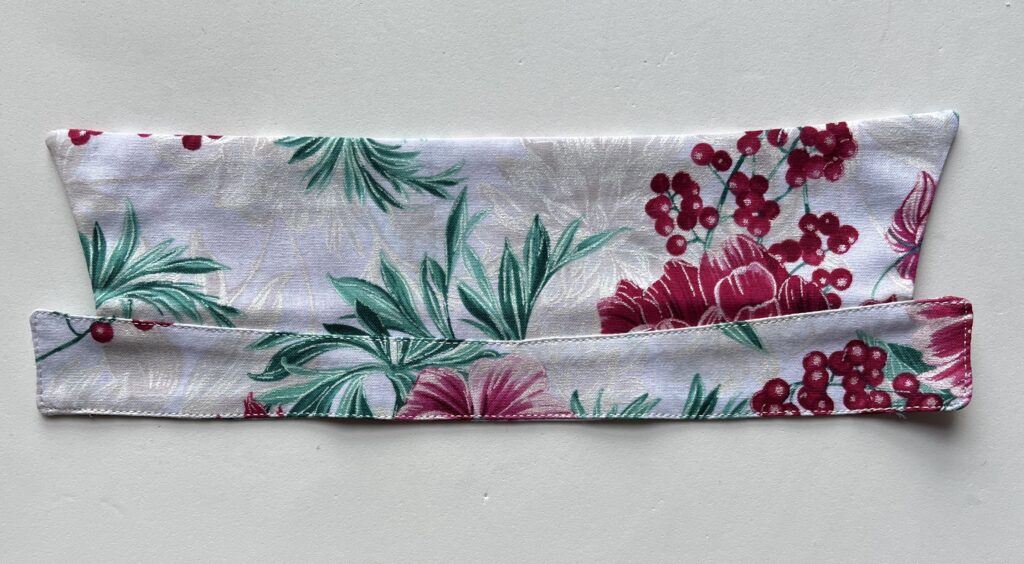
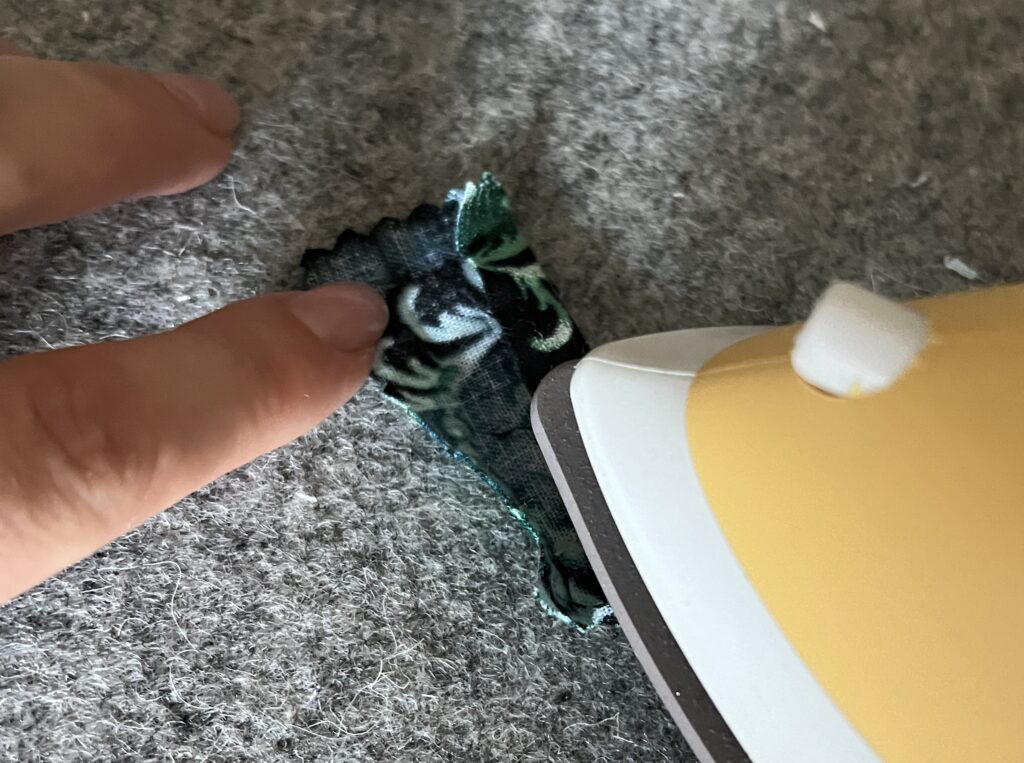
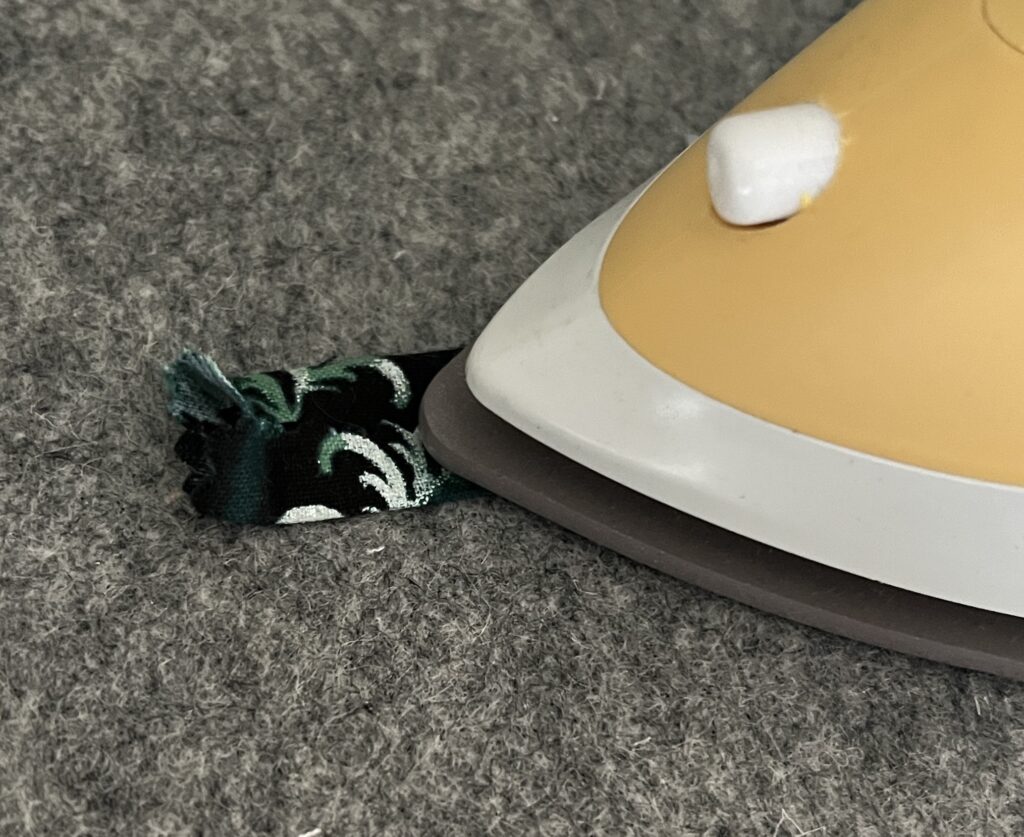
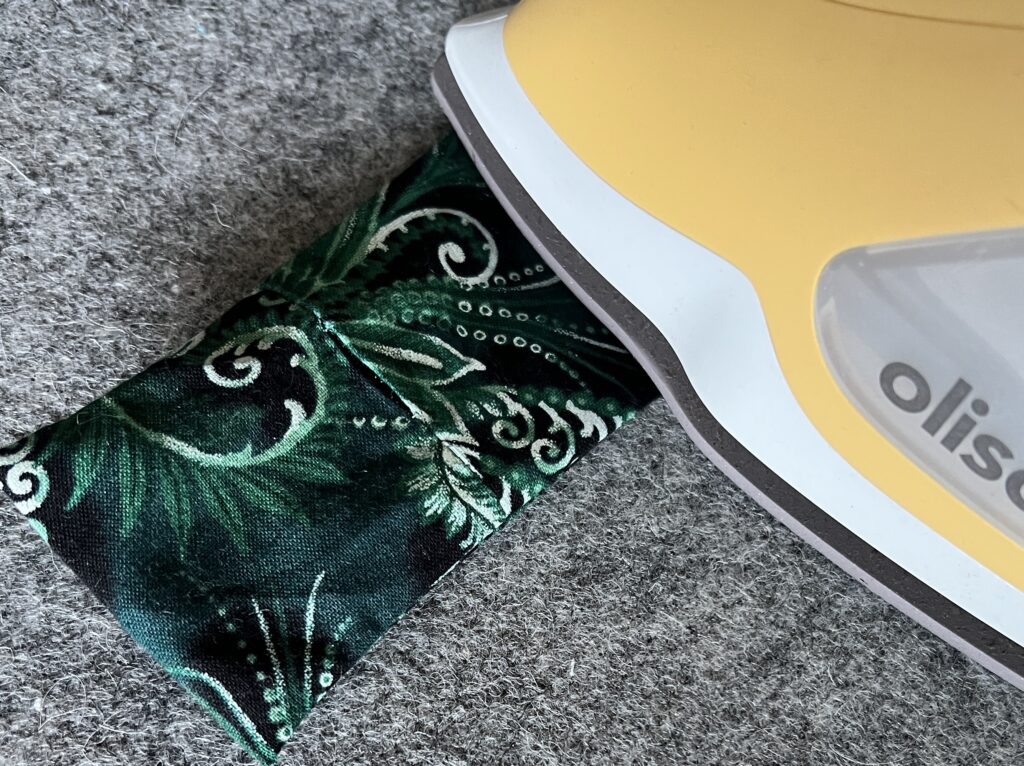
The overall process is sewing and quilting basics using stitching by hand or sewing machine if you prefer. The basic process is to measure your feline friend’s neck, enlarge the pattern to needed size, cut the fabric according to the material list with adding extra for enlarged pattern, work your bestie sewing machine or preferable hand stitching, and put everything together! 

So let’s get started!

Measure your pet neck
Download the PDF with the pattern. Enlarge the pattern to needed size as shown.
Trace and cut the template
Materials and Tools

Fabric*

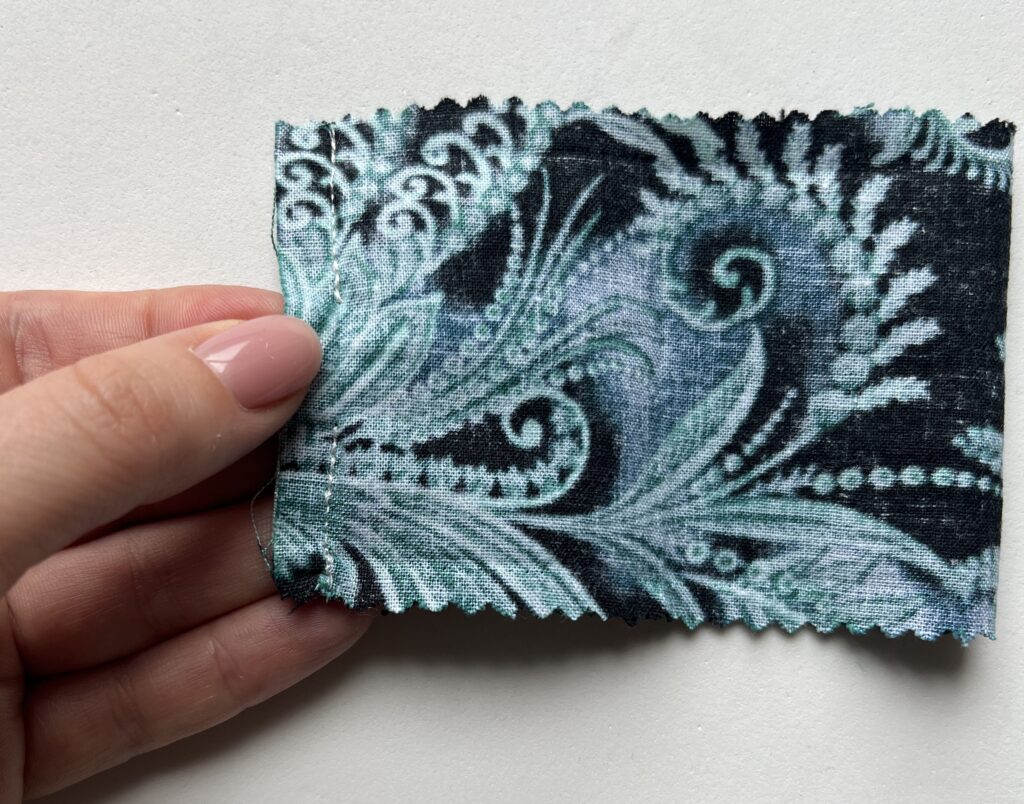
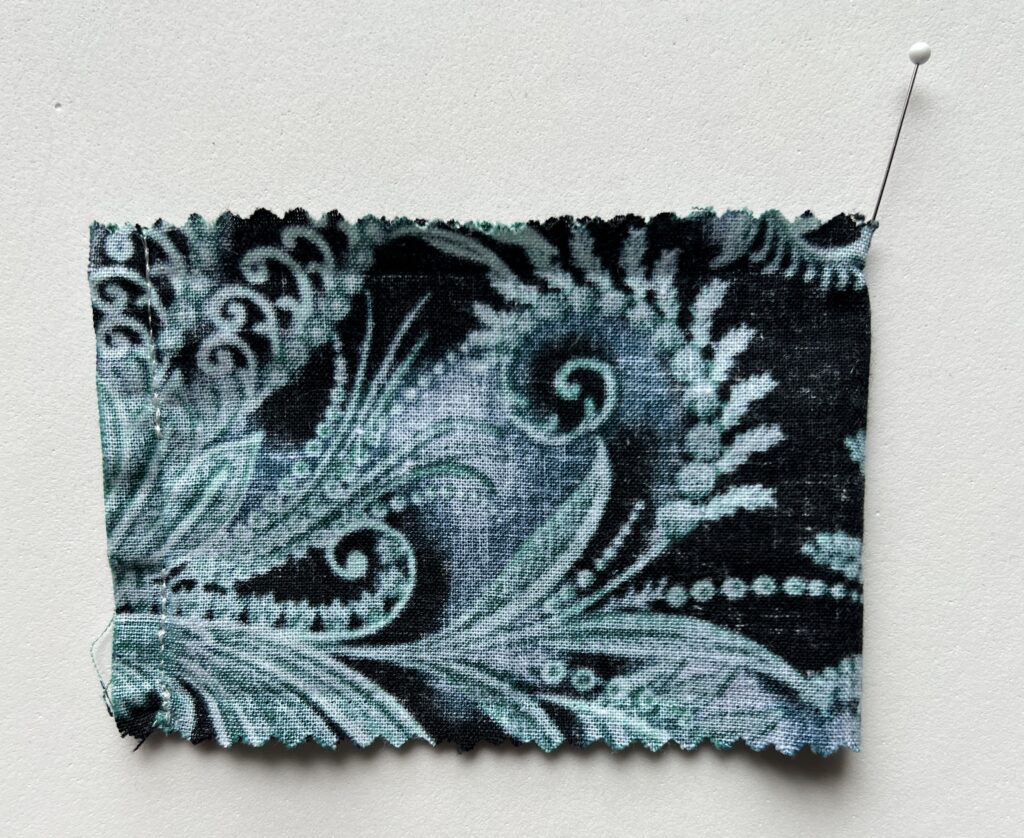
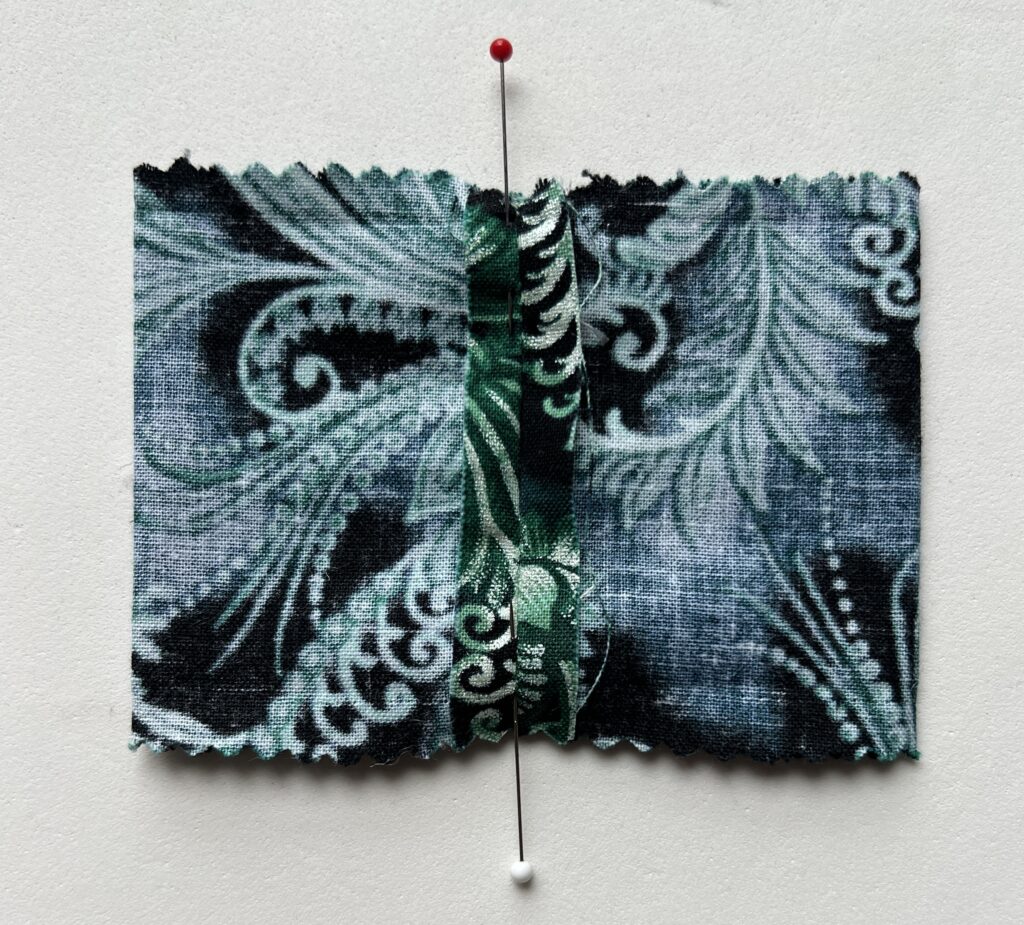
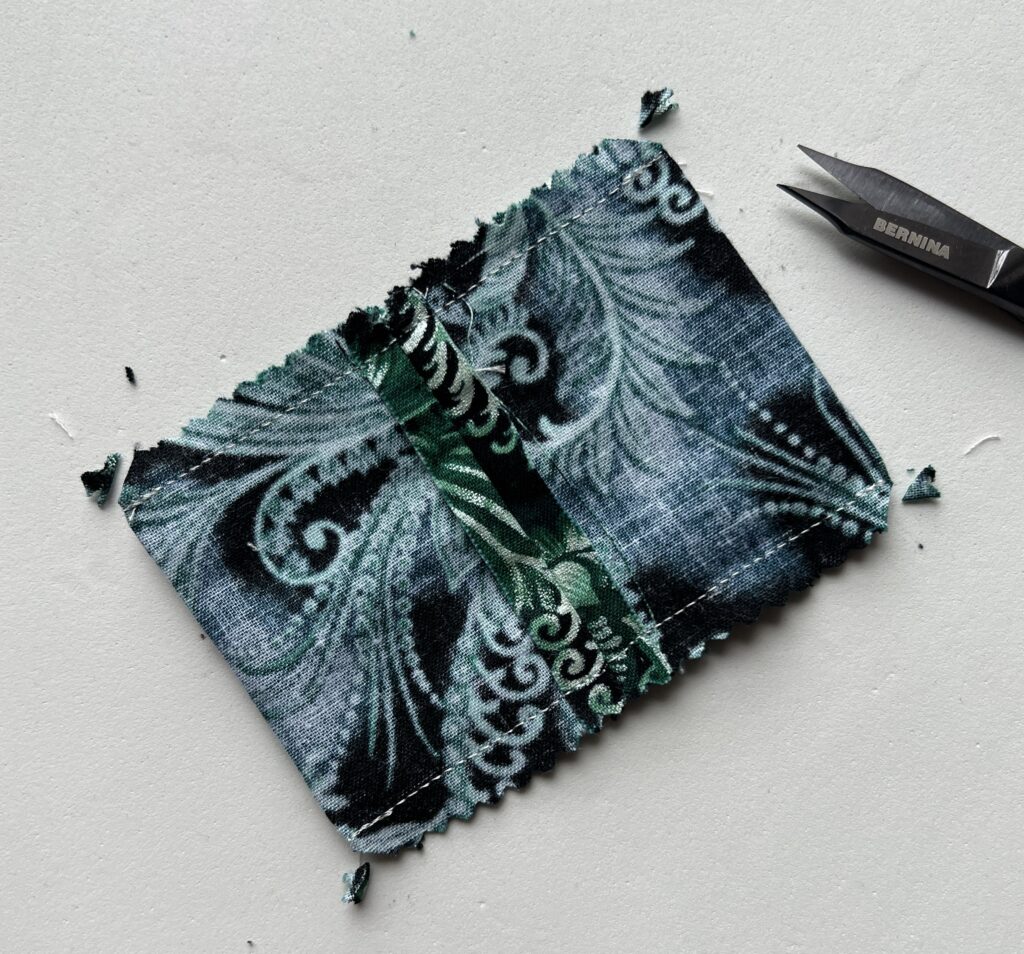
  • 8 ½” x 3” 1 piece for a bow
  • 2 ½” x 1 ½” 1 strip for middle of the bow 
  • 7 ½” x 11 ½” 1 piece for the top of the collar
  • 5” x 12” 1 piece for the base of the collar

*the fabric measurements are given for one collar for a pet with 9 ¼” neck size with a ready bow size 4″ x 2 ⅛”; don’t forget to add fabric according to your sizes

Threads 

  • piecing thread (40 wt)

Notions 

  • BERNINA Feet#37 (or#1)
  • quilting pins
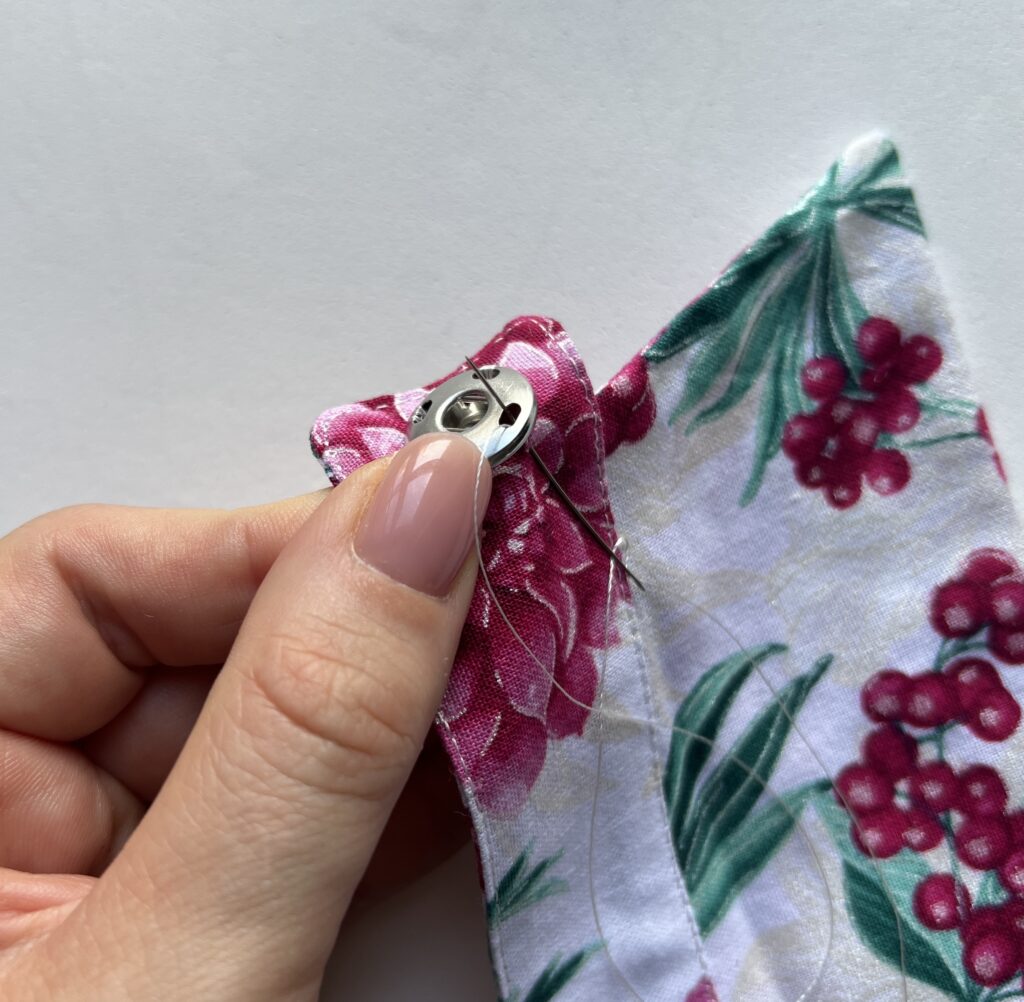
  • 5/8″ (15 mm) sew on snap 
  • quilting ruler, sharp scissors and rotary cutter
  • pinking shears (optional)
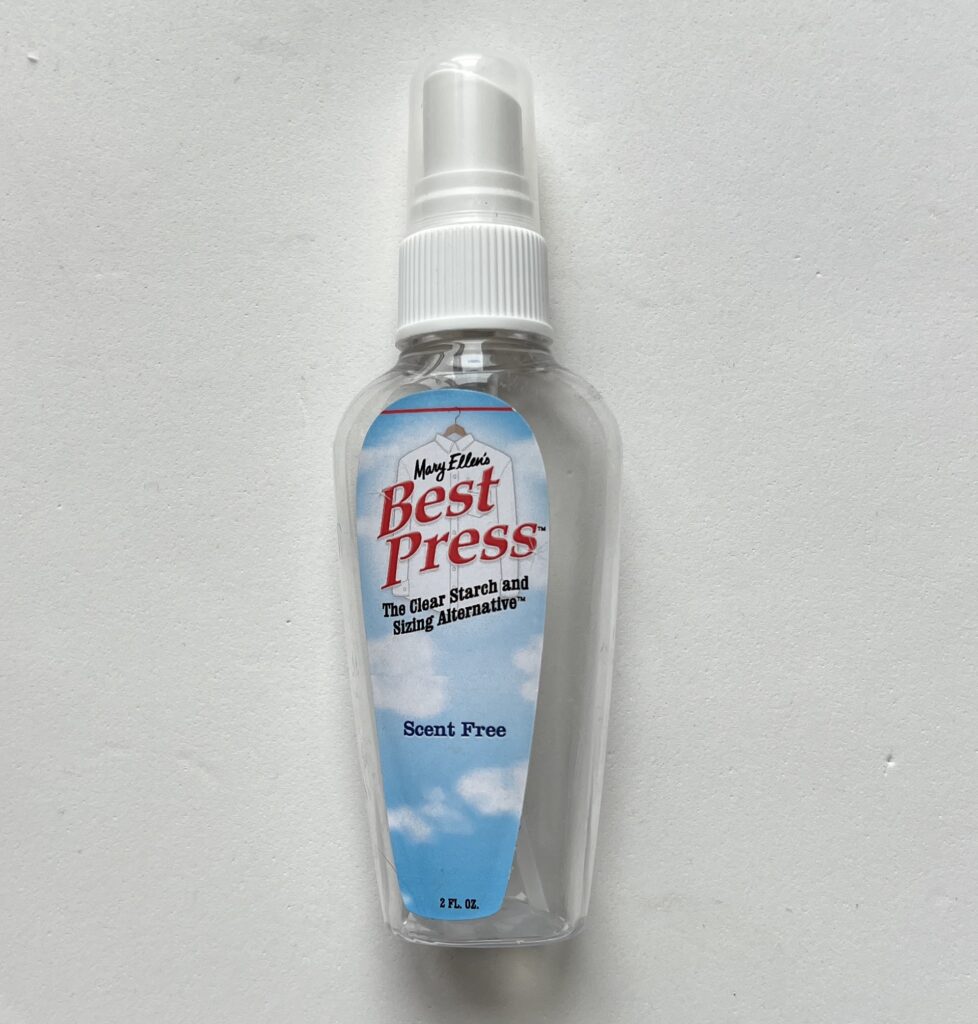
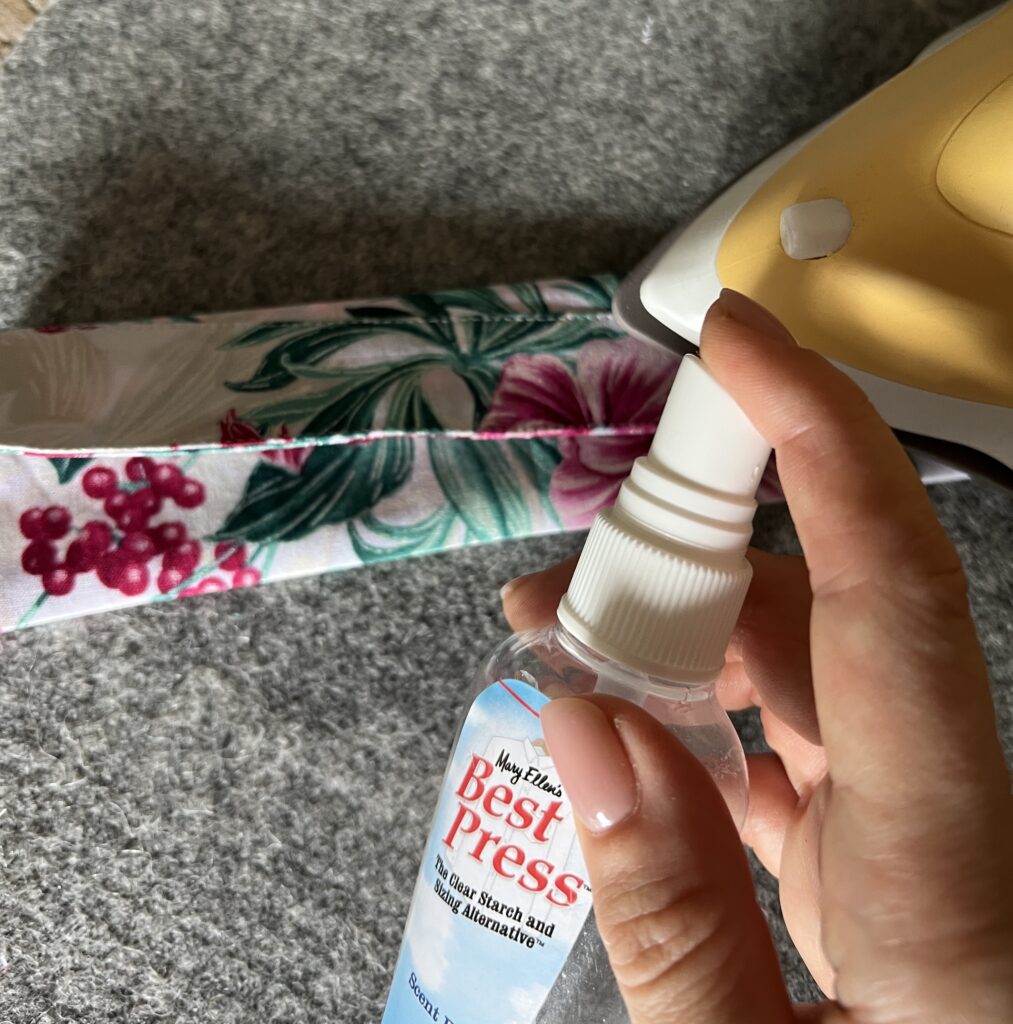
  • Best Press spray Scent Free for easy ironing (optional)
Tip: To keep the collar shape and to avoid any pet’s allergic reaction, I recommend Best Press Scent Free for pressing.
Step 1. Take the fabric piece 7 1⁄2” x 11 1⁄2” size. Fold the fabric right sides together. Trace the top of the collar
Step 2. Pin. Set up straight stitch with length 2.50. Stitch around the shape leaving the bottom open. Cut with 1⁄4” seam allowance
Step 3. Turn right sides out
Step 4. Gently pull the corners with a pin. Press with steam.
Step 5. Take a fabric piece 5” x 12” size. Trace twice the base of the collar in mirror order
Step 6. Cut with 1⁄4” seam allowance. Fold and pin the collar corners as shown 
Step 7. On the right side of the fabric mark the spots for the collar top
Step 8. With the right sides together make a sandwich with the collar top between two pieces of the base. Pin together, making sure that seams match
Step 9. Stitch along the shape leaving the bottom open. Clip the corners, being careful not to clip past the stitch line
Step 10. Turn right sides out 
Step 11. Fold and press the seam allowance along the bottom opening 
Step 12. Pin and stitch along the shape of the base
Step 13. Fold the collar and press with a spray
Step 14. Place the pieces of the snap
Step 15. Attach the snap pieces with several loop stitches
Step 16. Take a strip 2 1⁄2” x 1 1⁄2” to create a middle of the bow. Press the 1⁄4” seam allowance along the long side to the wrong side of the piece
Step 17. Fold and press the other side of the strip
Step 18. Take the fabric piece 8 1⁄2” x 3” size. Fold the fabric right sides together. Stitch with 1⁄4” seam allowance along the short side, leaving a gap of least 1 1⁄2” for turning right sides out
Step 19. Mark a middle with a pin
Step 20. Press the seam allowance open. Pin as shown
Step 21. Stitch the sides with 1⁄4” seam allowance. Clip the corners
Step 22. Turn right sides out and press
Step 23. Form the bow
Step 24. Fix the folds with several stitches
Step 25. Fold the strip to cover folds. Fix with several loop stitches
Step 26. Place the bow and pin it in place
Step 27. Blind stitch the middle of the bow to the collar
Our festival collar is ready!!!
Try a different fabric mix to create more accessories!!!

As a bonus you can FREE download tutorial in step-by-step pictures and pattern in PDF format here (click): Bow Tie Collar For Feline Friend

If any questions or help please don’t hesitate to text me on my Instagram

Stay Quilty!!!

Always yours,

Olesya

More to explore

Witch Hat

The timing couldn’t be better to craft some stylish accessories. This stunning felt witch hat is an ideal project for beginners. What’s